Morphe 35T Taupe Eyeshadow Palette | First impressions

Hey!

This Morphe 35T palette has got to be one of the best eyeshadow palettes I’ve tried and at such an affordable price, it’s a steal! The range of colours are stunning and with 35 shades you can really mix it up with the variety of looks you’re going for. In the Dubai Sephora, I finally picked up the TooFaced Shadow Insurance and I can’t believe I hadn’t used this earlier! I’ve never really been a daily eyeshadow wearer but this eyeshadow primer has now found itself a permanent place in my everyday makeup routine! And paired with the shades from this palette you can create a natural everyday look or a more glam evening look – it doesn’t move for the whole day!

P3220151.jpg

P3220187.jpg

P3220186.jpg


The brand

The U.S. make up brand Morphe Brushes have started to make their mark on the YouTube beauty-sphere, more commonly known for their extensive line of synthetic yet affordable make up brushes, giving some of the higher end brands like MAC and Sigma a good run for their money. As with their brushes, their eyeshadow palettes are becoming more and more popular, with the limited edition Jaclyn Hill palette being a cult favourite.


The colours

This 35T palette takes the signature naked eye to the next dimension! It includes 35 shades ranging from neutral, taupe, metallic coppers, brick red shades and more golden and bronze shimmer shades. I have to say, I was a little disappointed by the lack of matte transitional shades to create a complete look. I’d say to pair this palette with a matte palette like the Urban Decay NAKED Basics or theBalm Meet Matt(e) Nude for an extra variety of shades to create more dimension.


The formula

The application of these shadows are smooth and highly pigmented however I would say the mattes are a little more difficult to build than the shimmers.

P3220164.jpg

P3220165.jpg


The price

The price of this palette is so impressive, I bought this palette on BeautyBay.com and it retails for £18.25!


The look 

IMG_1594.JPG

Crease: 5th row, fourth shade from the left

Lid outer V: 5th row, fourth shade from the left

Lid middle: 4th row, third shade from the right & 2nd row, 5th shade from the right

Lid inner corner and tear duct: 2nd row, fourth shade from the right

Brows: ABH dip brow pomade – dark brown

Liner: Kat Von D ink liner in Trooper and set with NYC liquid liner

Mascara: L’Oréal Telescopic Carbon Black


The brushes I used

P3220192.jpg

From top to bottom

Sigma E40 – Perfectly tapered for blending

Zoeva 231 Luxe Petit Crease – Crease and transitional shade

MAC 213 – Lid

Zoeva 227 Luxe Soft Definer – Smoothing and defining

Bdellium Tools 716 – Inner tearduct highlight


Have you guys tried out this palette or any other Morphe Brushes Eyeshadow palettes? What did you think of them?


Sachita x


Advertisement

Bare Minerals | Ready Foundation | Review

Hey!

I’m back on the blogosphere! Sorry it’s been a while since my last post, it’s been a super busy few weeks with Christmas and exams but now I’m back and ready to update you guys with new posts, hopefully every week!

P1281865.JPG

In this post, I’m going to be reviewing the Bare Minerals – Ready Foundation. This is a pressed compact powder, full coverage, SPF 20 foundation. Straying slightly from my holy grail Mac Studio Fix Liquid Foundation in NC44.5, although this is my absolute fave foundation, I’ve been on the hunt for the perfect powder foundation and have tried the MAC Studio Fix powder foundation, but found that it started making my skin slightly oily after just a few hours of wear. In search of a better alternative, I decided to try out this one.

P1281864.JPG


Now I’d never tried Bare Minerals products before this one because I felt my skin wasn’t at the perfect stage where I was happy to just use a powder foundation that would be enough to cover the imperfections. Recently the hormone imbalances in my skin seem to have levelled out and, let’s just say I’ve been seeing more “good skin days” than bad :). I thought this would be the ideal opportunity for me to try the Bare Minerals products and completely on a whim, I decided to go for the full coverage pressed Ready Foundation as appose to the more popular, light to medium coverage, “Original – loose mineral powder foundation“. I’m always going to be a full coverage girl so I knew this was the foundation for me!

My shade is R430 which is just about the perfect match to my skin tone which I think is definitely important when picking a powder foundation in particular. With liquids, if the shade doesn’t match exactly there are always ways around it, like mixing it with a moisturiser or a lighter/darker shade of foundation.

P1281848.JPG

I’ve worn this foundation for a few days now and so far I’ve been loving it! It leaves my skin looking smooth with a slight glowy finish – perfect for a night out! The coverage is great and immediately counteracts any discolouration or scarring. It’s very long wearing which is definitely a plus for a powder foundation and doesn’t transfer!

In a sleek, black and matte compact packaging with a mirror, it makes this product super travel friendly, although there can be quite a bit of fall out after being used a few times.

Although this foundation applies really well with great coverage, one of the downsides is that it really accentuates the size of pores making them look larger than they are. This has slightly put me off using this foundation all over my face, however I’ve started to apply the foundation in areas where I don’t have many pores, and just stick to my NARS Radiant Creamy Concealer in the areas with slightly more pores – this method has seemed to work really well for me 🙂

P1281861.JPG

I aslo purchased the Bare Mineral Precision Face Brush which applies the product seamlessly with its dense hairs and think it’s the perfect applicator for this foundation! Slightly on the pricey side at £24 just for the brush, which retails just slightly less than the £26 Ready Foundation, I think it’s still worth it for the unique shape and density of this mineral synthetic brush.

Overall I think this foundation serves it’s purpose well leaving my skin looking bright and youthful, as it claims to. However I’m not sure if I’ve found that perfect powder foundation yet, to leave me with a light and natural feeling to the skin. I would definitely recommend this foundation to those with more oily skin types as it definitely does well in keeping excess oil to a minimum. The shade range is also really great!


Have you guys tried this foundation? What did you think of it and what skin type do you have? I would love to know your thoughts! 🙂


Sachita x


Africa again! | Cape Town, SA

Hey!

So you guys may have been wondering why I haven’t posted in a while and that’s because I was on holiday in Cape Town, South Africa! This was probably one of the most incredible holiday destinations I have ever been to and just the views itself were breathtaking! Whether it’s a relaxing beach holiday, an adventure packed holiday or even one for the wine enthusiasts, Cape Town has everything to offer!

I just arrived back in London yesterday morning and couldn’t wait to share my experiences with you guys so be prepared for a long stream of picture overload!

IMG_5595.jpeg

Cape Town International Ariport

IMG_3152.jpeg

Panoramic view from our Villa

PC101256.JPG

Tandem jumpers on Lions Head

PC101240.JPG

Camps Bay

On our first day, we went on the Hop on Hop off Tour bus (HOHO) and decided to take the Blue Mini Peninsula route. This was such a great and inexpensive way to start off the holiday, taking in the gorgeous views of the iconic Table Mountain, Constantia Winelands and the stunning white sand beaches like Camps Bay. Definitely a must do when in Cape Town!

Day 2&3

We spent a night at Gondwana Game Reserve where we experienced an authentic African safari along the scenic Garden Route. Since visiting Masai Mara National Reserve in Kenya, East Africa earlier in the year and loving it, we had to have the South African experience this time around and it was extraordinary!

IMG_8239.jpeg

Gondwana Game Reserve

PC111317.JPG

Lunch upon arrival

PC111399.JPG

Afternoon game drive

PC111403.JPG

African Impala

PC111432.JPG

Black Rhinos

We had a strange encounter with the Rhinos as they came dangerously close to our Jeep and started to move it with their horns. It was so crazy and pretty scary if I’m totally honest!

PC111456.JPG

Lion Brothers

PC121556.JPG

Giraffe

On our journey back to Cape Town, we visited a cheetah rehabilitation centre called Cheetah Outreach which is a must for those who want to challenge their fears touching a wild predator haha!

This was such an incredible experience and the fact that these animals aren’t sedated and go back into the wild made it even more satisfying.

IMG_0675.jpeg

My dad and I with Rafiki the Cheetah!

PC121629.JPG

Jus’ chillin’

Day 4

On the fourth day we travelled through Cape Peninsula down to Cape Point, part of Table Mountain National Park, the most South Western point of South Africa. We rode the funicular up to the lighthouse where we enjoyed breathtaking, panoramic views of the Western Cape.

OLYMPUS DIGITAL CAMERA

Cape Point

IMG_5466.jpeg

The last stop of the day was Boulders Beach, famous for being home to a breeding colony of over 2000 African penguins. We strolled down Foxy Beach for the best glimpse of the colony and it was truly a special experience.

IMG_1152.jpeg

Foxy Beach – Boulders Bay

IMG_8555.JPG

Penguin selfie! Outfit – Jumpsuit: Dorothy Perkins

Day 5 & 6

We visited Kirstenbosch Botanical Gardens which is acclaimed to be one of the greatest botanic gardens of the world and I can assure you, it was beautiful against the backdrop of Table Mountain’s eastern slopes.PC141740.JPGPC141757.JPG

PC141736.JPG

PC141764.JPG

We stopped for a lovely afternoon tea at the Belmond Mount Nelson Hotel, which compared to afternoon tea’s in London, this was much more affordable and also had a much larger variety! I would definitely recommend this to any of you guys who love a bit of afternoon tea and are visiting Cape Town, but do book in advance as it can become very busy.

PC151785.JPG

I opted for the authentic South African Rooibos tea

IMG_9609.jpeg

Outfit – Dress: H&M on sale!, Necklace: Forever 21

PC151790.JPG

Day 7

South Africa being famous for its winelands, we couldn’t leave without a bit of chocolate and wine tasting and a visit to one of the oldest vineyards in the whole of South Africa, the Groot Constantia producing wines for over 300 years!

We ended our day at the Victoria and Alfred Waterfront, a very popular tourist destination so it was always very busy! And they had a MAC store and H&M haha!

IMG_8557.JPGIMG_8556.JPG

PC091211.JPG

Victoria & Alfred Waterfront – Victoria Wharf Shopping Centre

PC091206.jpg

Outfit – Shorts: Dorothy Perkins, Vest top: Hollister, Cardi: New Look, Sunglasses: Ray Ban

Day 8

On our eighth and final day in Cape Town, luckily the weather was suitable for us to take our trip up to the summit of Table Mountain, as the cable car does not operate in high winds so be sure to check the wind forecast before you go!

It was the best way to end our holiday with the phenomenal scenery of iconic landmarks such as Lions Head, Robben Island, the Olympic Stadium and Clifton Bay. cable-car.jpg

PC161823.JPG

PC161830.JPG

IMG_8558.JPG

Outfit – Dress: Foschini (South Africa), Bag: H&M

Day 9&10

Back to London! We left from Cape Town International Airport on Thursday 17th at around 1:30pm and arrived back in London at around 6am on Friday 18th!

South Africa is an amazing country and one I will be sure to visit again in the future! I loved trying some crazy new experiences and it’s a must for those of you who enjoy an adventurous and thrilling holiday!

IMG_5145.jpg


Hope you enjoyed, thanks for reading! Have any of you been to Cape Town or anywhere in South Africa before?


Sachita x


Charlotte Tilbury Magic Foundation | First Impressions

Hey!

I know it’s been a while since my last post on my holiday to The Canaries, but I’m back in the game after much relaxation and ready to share my first impressions of one of the most talked about, iconic, luminous and weightless foundations out there – Charlotte Tilbury’s Magic Foundation. After walking into Selfridges and collecting a few samples to play around with myself at home, I felt that shade 9 was the perfect match for my skin tone and decided to buy it on my next visit which was yesterday! When I was matched at the Charlotte Tilbury counter, I felt at first that it was slightly more on the warm side, but after wearing it throughout the day, the colour grew on me more and more, and the luminosity that was brought out by the foundation, totally overpowered that slight mismatch in colour – so for me, this is the perfect shade!

Magic foundation is heralded as miracle in a tube with it’s flawless, powerless and long-lasting coverage, I can definitely say, it lives up to it’s promises! As a full coverage girl, who has some scarring – I’m always looking for that extra bit of coverage and after a first buff of this foundation into my skin, I can instantly see my skintone looking more even and with it, a subtle glow, blurring out my pores and covering my scars.

The finish of this foundation is demi-matte on me and I have a combination skin type. I feel like I don’t need to wear any concealer on top of the Magic Foundation to cover up any blemishes or scars, I would just add a touch of my NARS Radiant Creamy Concealer in the shade Caramel to brighten up my undereyes for that highlighted effect. It feels comfortable on the skin and stays on for a long time without transferring. Although the end result is a radiant, luminous finish, it sets into a gorgeous, velvety texture.

One of the reasons, I was so drawn to this foundation was because of one of the main ingredients in the formula – Hyaluronic Filling Spheres – For a long time now, I have been researching a solution for minimising acne scarring and the pitting caused by this, and although hyaluronic acid acts as an anti-aging property, it’s a great product for plumping the skin by increasing the collagen production around problematic areas on the face. This is something that immediately drew me in and I was also very intrigued by Charlotte Tilbury Magic Cream also containing hyaluronic acid as well a number of natural magical ingredients. Retailing at £70, I thought i’d try out the foundation before I made the splurge, but I may be enticed to make the purchase very soon.

Previously, I would wear MAC Studio Fix Fluid (SFF) in NC44.5 and this has been my holy grail foundation for so many years now! In comparison to the SFF, Magic Foundation definitely has a deeper and fuller coverage, and minimises the look of pores really well. I feel like SFF can have a slightly drying effect on the face as the finish is matte rather than demi-matte like the Magic Foundation, which can sometimes result in flakey-ness around blemishes. The Magic Foundation is great at preventing a dry look and leaves the skin feeling hydrated and luminous all day!

The swatch above shows the Magic Foundation in shade 9 with no blending and the swatch underneath shows how it looks when blended. As you can see, I’m still rather tanned on my arms from my holiday so the colour of the foundation doesn’t match too well on my arms, however i can assure you it looks like a perfect match on the face haha.


Have any of you tried the Magic Foundation or any other products by Charlotte Tilbury? I can’t wait to get my hands on the Magic Cream!


Sachita x

My Fave Blushes ❤️

Hey!

IMG_2612

Following on from my post on ‘My Favourite Mascaras‘, I thought I’d continue this short series and write the second post on my favourite blushes, as requested 🙂 My current MAC foundation shade is NC44.5 so I would say I have a medium-tan skin-tone shade, just so that you have an idea of the shades of the blushes.

IMG_3692

Ingot Face Blush #41

IMG_4167 IMG_5198 IMG_2145

As mentioned in my July Favourites post, one of my all time favourite everyday blushes is the  INGLOT Face Blush #41

INGLOT have such a great range of colours and with their unique Freedom System, it allows you to mix and match colours and products to custom design your own palette. This way you can experience their massive range of colours and pick and choose your favourites! They also come as individual face blushes like you can see in the photos above.

It’s a gorgeous matte brown-red shade and great for summer – it’s so long wearing and gives a smooth application. I usually use the Real Techniques Blush Brush to apply this. It gives a nice healthy glow to the face and paired with a gorgeous highlighter, it creates great dimension on the face. I love it!

MAC Sheertone Shimmer Blush – Peachtwist

IMG_6678 IMG_0214

Although a shimmery blush, MAC’s Peachtwist gives the perfect amount of pigmentation for a natural look. It actually creates more of a light sheen rather than a shimmer to your cheeks which can be blended for a sheer look or built up for a more shimmery look. I usually pair this with the INGLOT #41 above, or the NYX Bordeaux below, applying this underneath for a slightly more matte look as I typically go for matte blushes during the day.

As I have more of a medium-tan skin tone, I would think that this blush, being a rosy, peach colour with a subtle gold sparkle, may be slightly too strong for those who have a fairer skin-tone, in which case this blush can be blended out to create more of a rosy glow on the cheeks.


Milani Baked Powder Blush – Rose D’Oro #02

IMG_3581 IMG_0834

I love the Milani Baked range, as I mentioned in my July Favourites post, the baked blushes were the first Milani products I tried. With them being super inexpensive I found myself in possession of three of the Baked Blushes; Milani Rose D’Oro, Milani Berry Amore and Milani Red Vino. I am obsessed with all three of these, but the one I tend to reach for most is the Milani Rose D’Oro, just because it’s great for a more natural look and the others can sometimes be a tad intense so I tend to save those for nights out 🙂

They have such a beautiful, silky texture and easy application. Rose D’Oro is very shimmery with an immediate swatch, but once blended it can also create a lovely sheen just like the Peachtwist above. It can be built up to look vibrant as well, and can be used for a beautiful highlight on the hight points of the face. With its golden shimmer, it looks great on more of a tanned skintone and can be paired with a matte blush for a more subtle, everyday look.


NYX Powder Blush – Bordeaux

IMG_6023 IMG_6024 IMG_6025

NYX Powder Blush in Bordeaux is a deep red-brown with a slight shimmer in the pan but actually goes on the cheeks matte! This blush paired with MAC Retro Lipstick is such a nice combo! Although a slightly darker shade, once blended the colour looks stunning on! I love the NYX formula and the fact that their products are very affordable.

I purchased this blush at IMATS (see my haul video here) and as there were no testers at the NYX stand, I was unable to go in for a quick swatch, but thank god I picked it up! It’s another of my go to blushes and again, like the INGLOT #41, perfect for everyday. I find that I would wear this on less of an oily-skin day or if I don’t have any blemishes on my face, as the slight shimmer in the pan can tend to come through after a few hours of wear.


Benefit Rockateur

IMG_6021 IMG_6020 IMG_3262

As you may have already noticed, I love anything Rose Gold! The Benefit Rockateur is one their many Box O’ Powders and of course is rose gold in colour. I just find that rose gold compliments my skin tone really well and am always drawn to it, whether it be in make up or jewellery.

The Rockateur generates a healthy flush that brightens up the complexion without being overly shimmery and this one is actually great for all skin-tones! As the colour is build-able, just like most of the other blushes I have mentioned, it can be taken from day to evening really easily. It goes on like a light cream product but is actually a finely-milled powder, creating a lightweight feel to the face. It also comes with a small brush inside making it very travel-friendly. This blush with a gorgeous natural, but lengthened lash using the Roller Lash is perfect!

Another thing I love about this blush is the packaging! I mean look at the packaging! Isn’t it gorgeous?! I’m such a sucker for beautiful packaging haha.


Please let me know your thoughts if you’ve used any of the blushes I have mentioned, and I’d love to know your favourite blushes in the comments 🙂


Sachita x

My Everyday Makeup Routine

Hey!


This blog post has been highly requested and I have finally come around to writing it. My daily make up routine changes quite regularly and sometimes I tend to use different products depending on my mood and quite importantly, the changes in weather – the weather in the UK is totally unpredictable! I tend to have the same staple items in my make up bag like my primers and setting bases but I love to play around with mascaras, blushes and lipsticks – still gravitating towards the nude shades for everyday.


Step 1 – Prime

IMG_5829 IMG_5830 IMG_5832

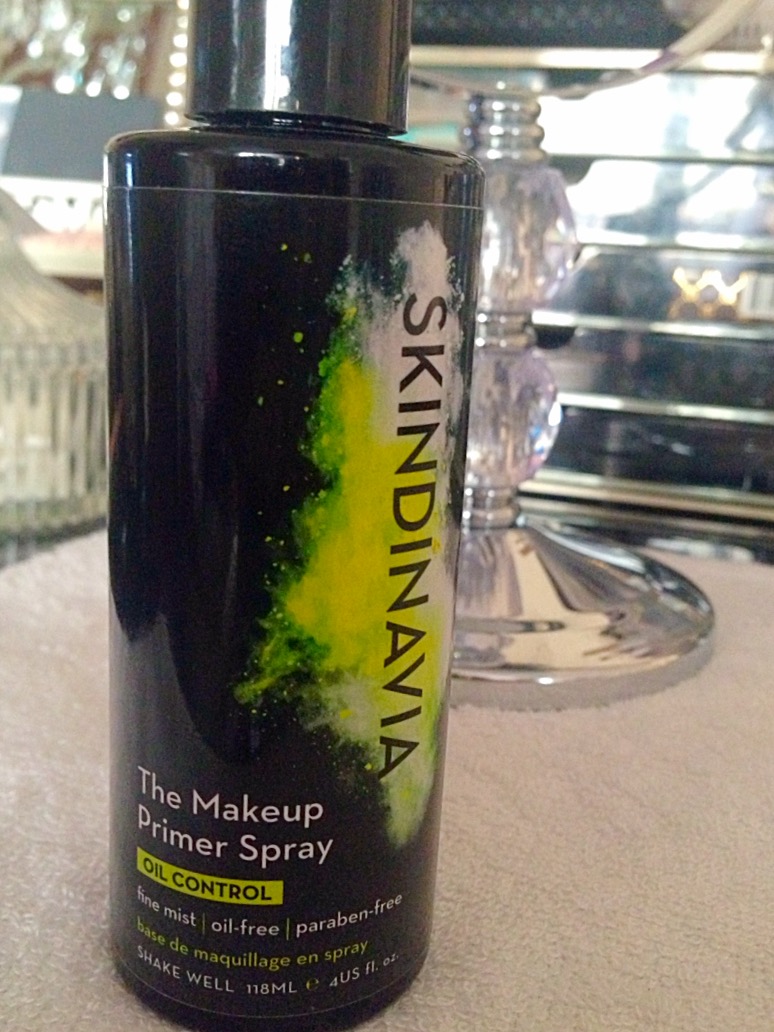
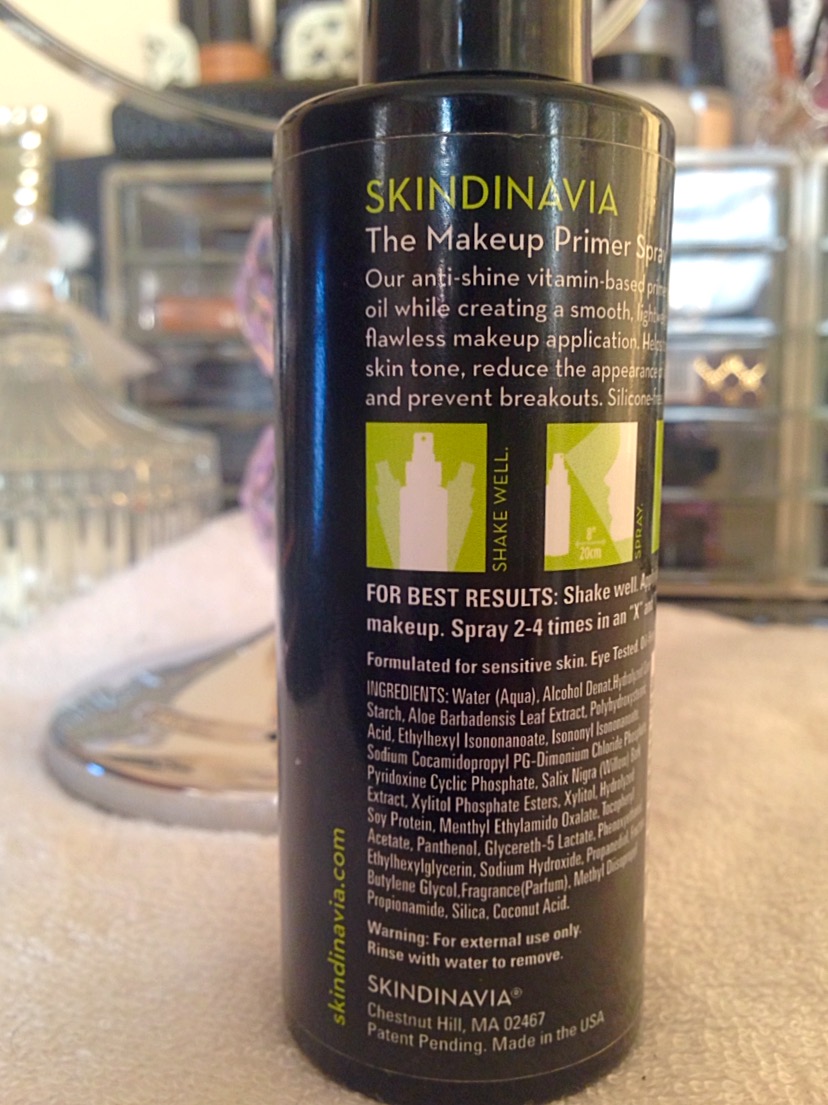
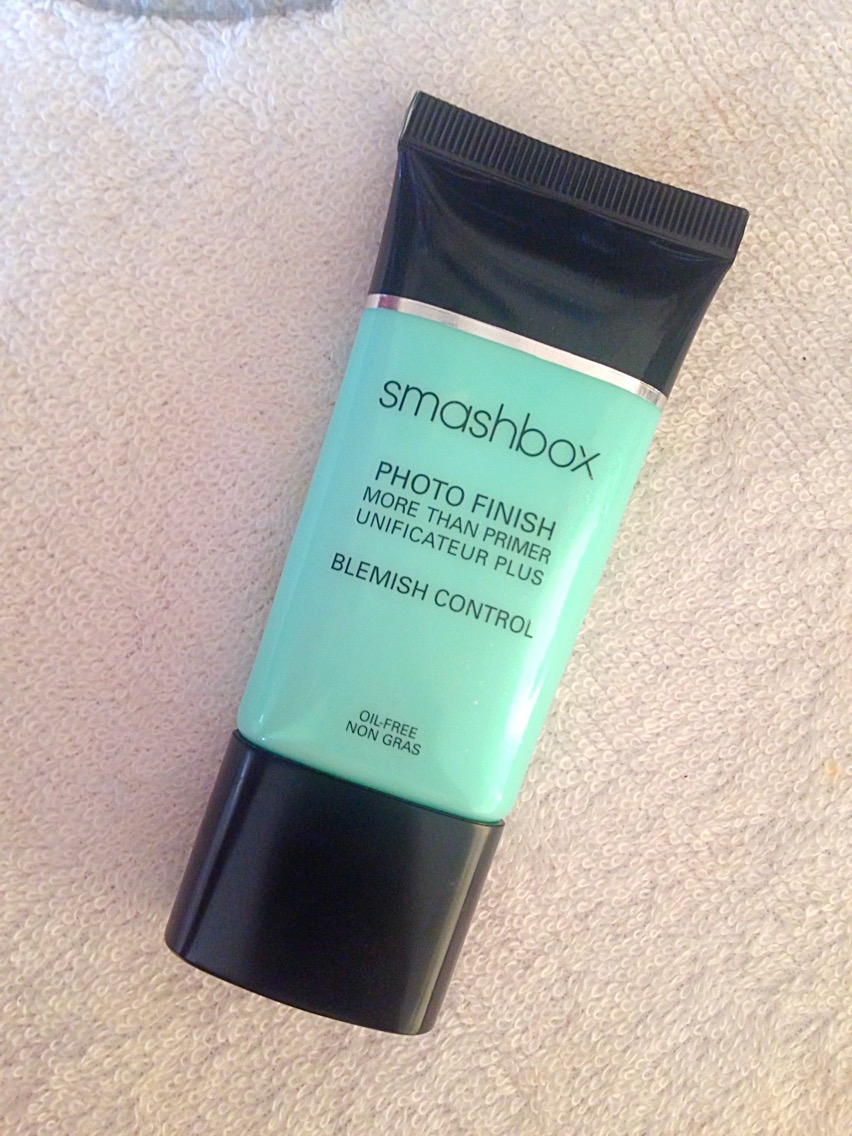
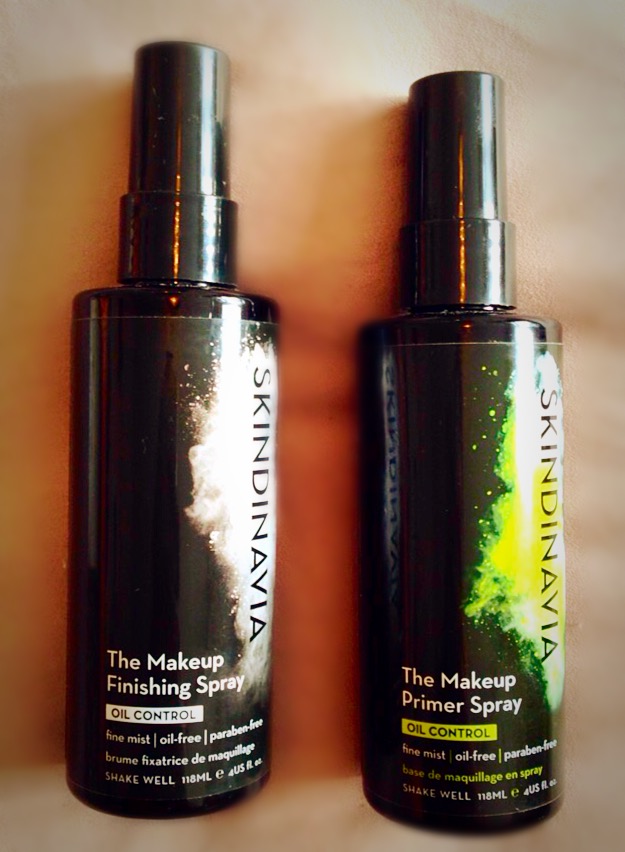
I first spray a light mist of the Skindinavia Makeup Primer Spray – For more info on this check out my July Favourites post. Followed by the amazing Smashbox Photo Finish Blemish Control Primer. I take a pea sized amount on my hands and rub it into my face like a moisturiser. My skin type tends to be quite prone to blemishes and honestly this primer is great to minimise and control the oil on my face when I have blemishes. It’s super lightweight and really helps your make up to stay in place all day, paired with the Skindinavia!


Step 2 – Base

IMG_3099 IMG_7471

IMG_2900 IMG_8913

IMG_4687 IMG_7040

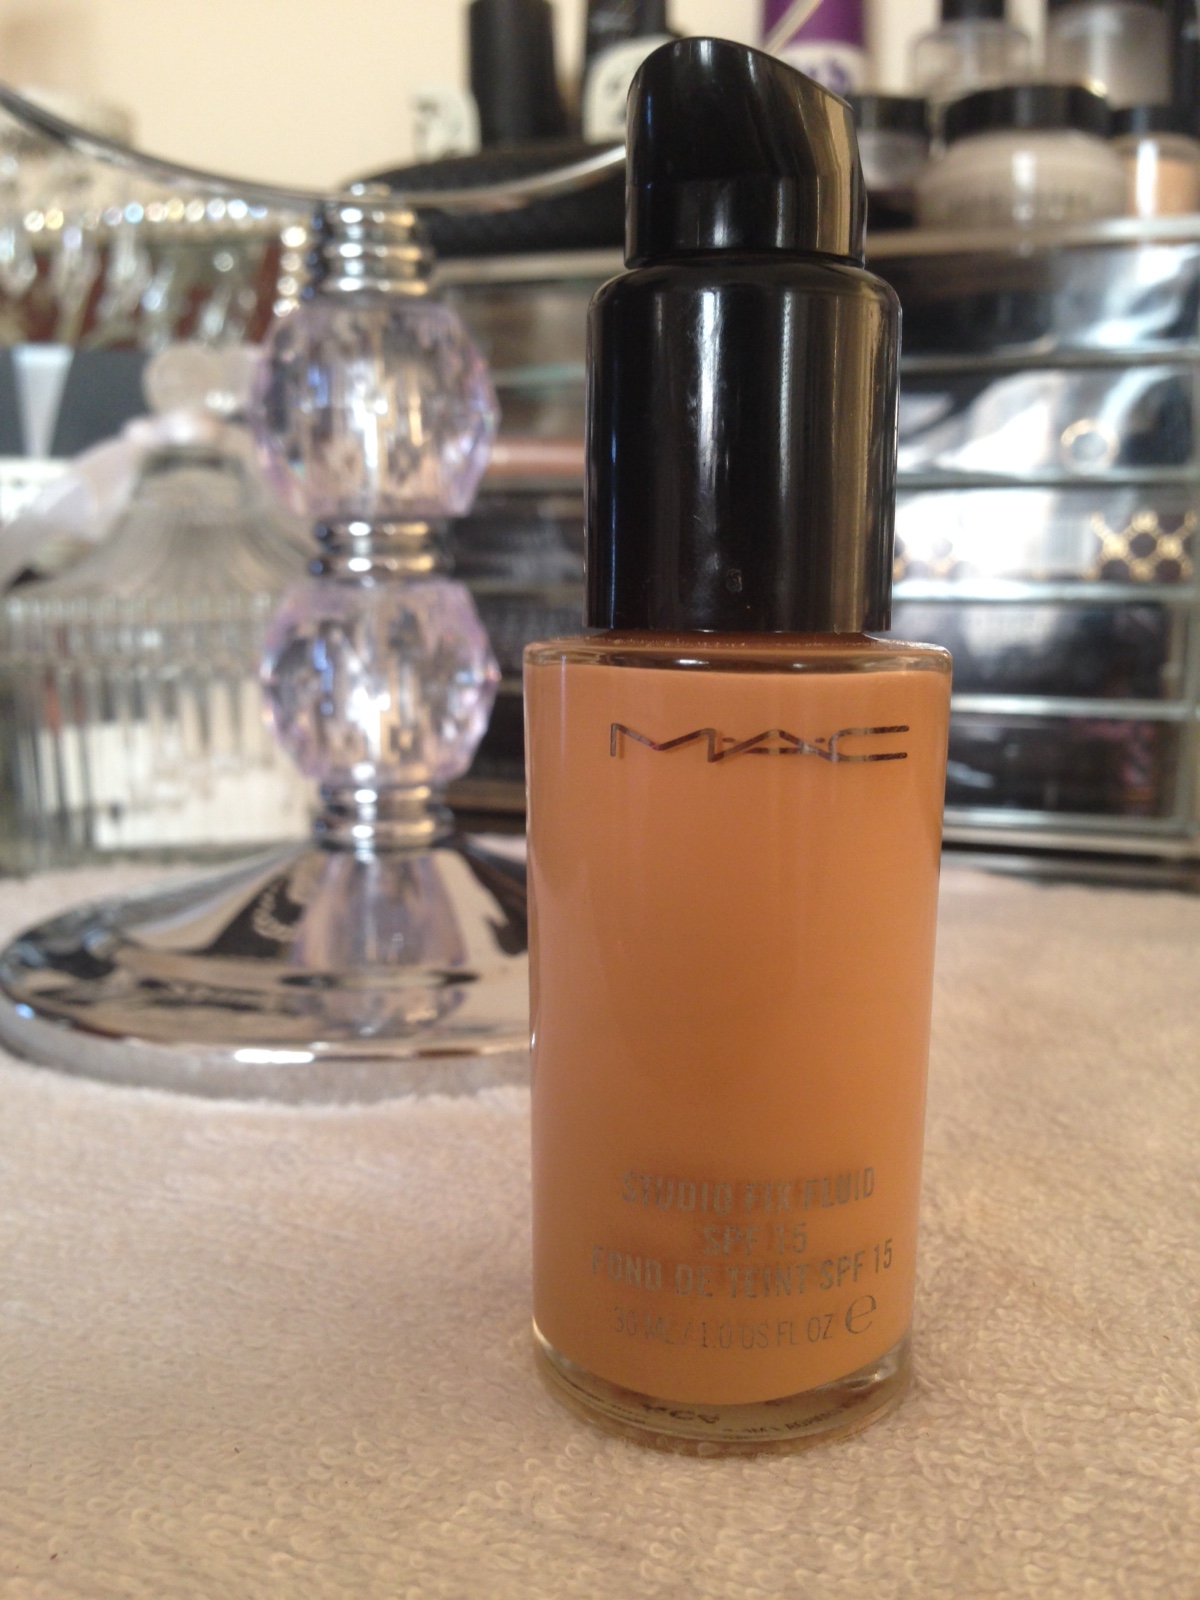
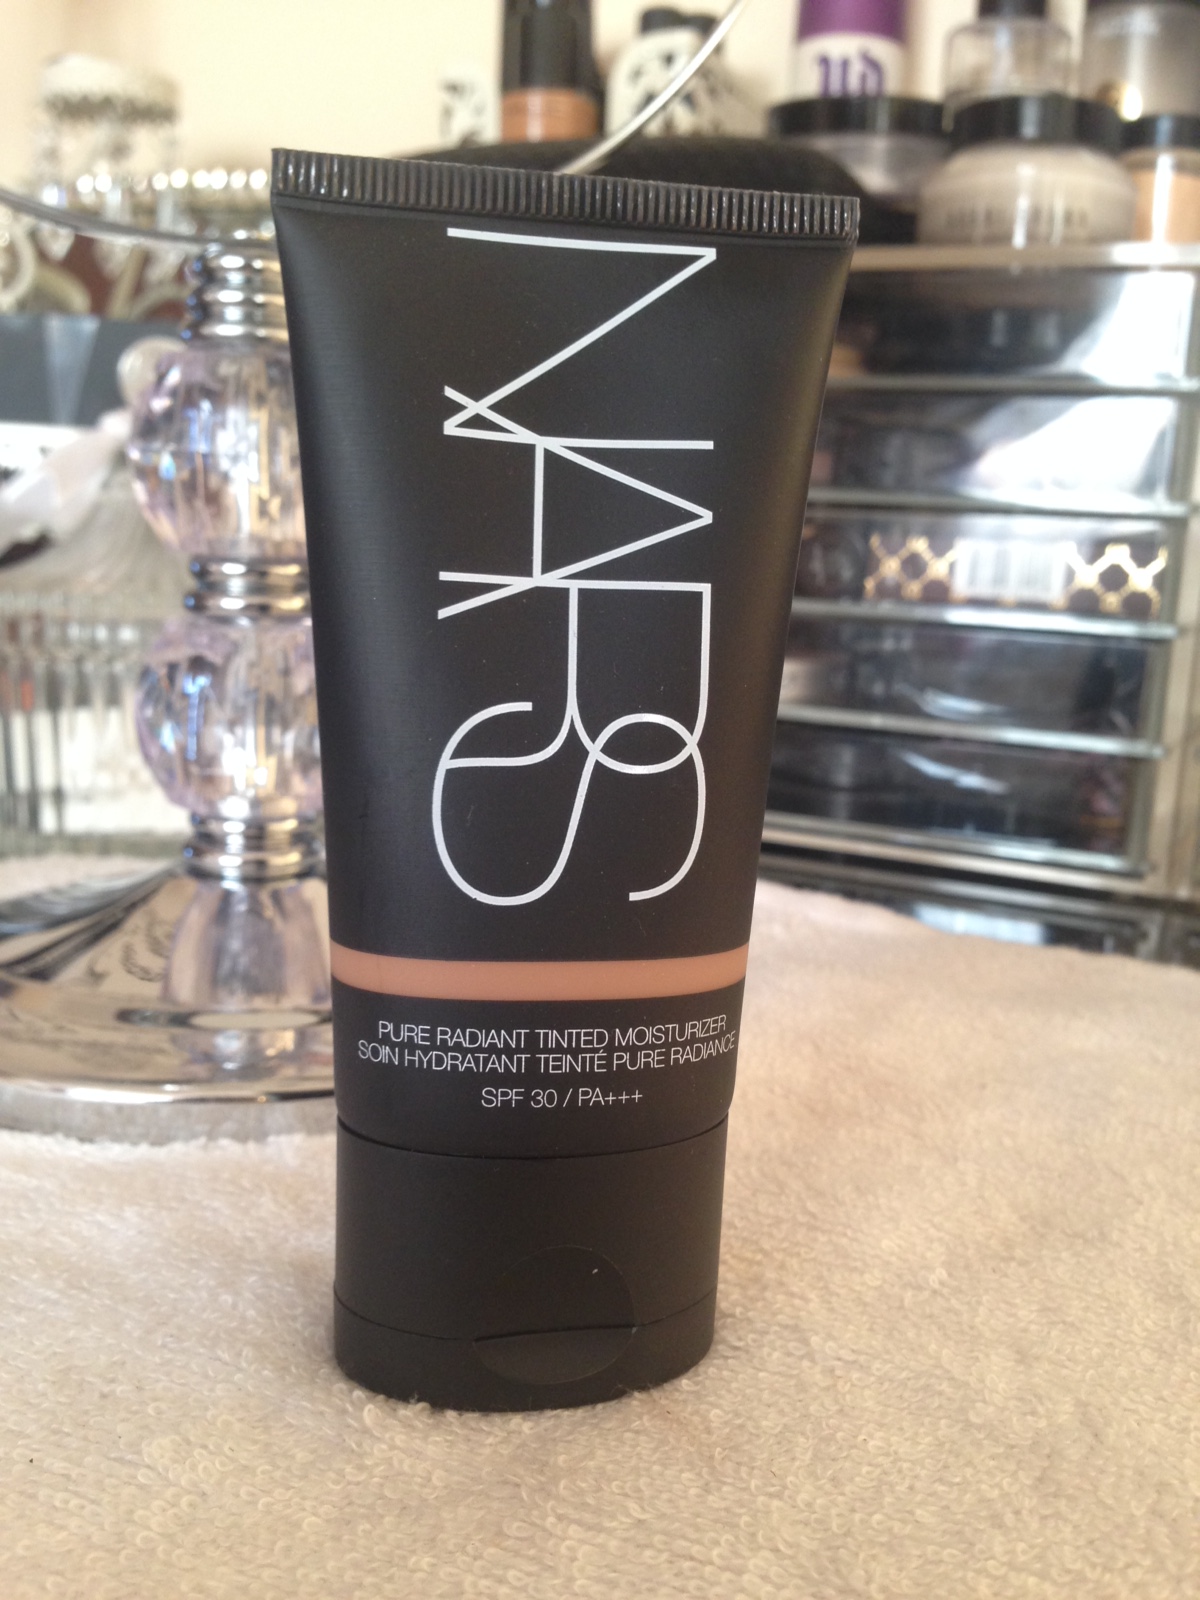
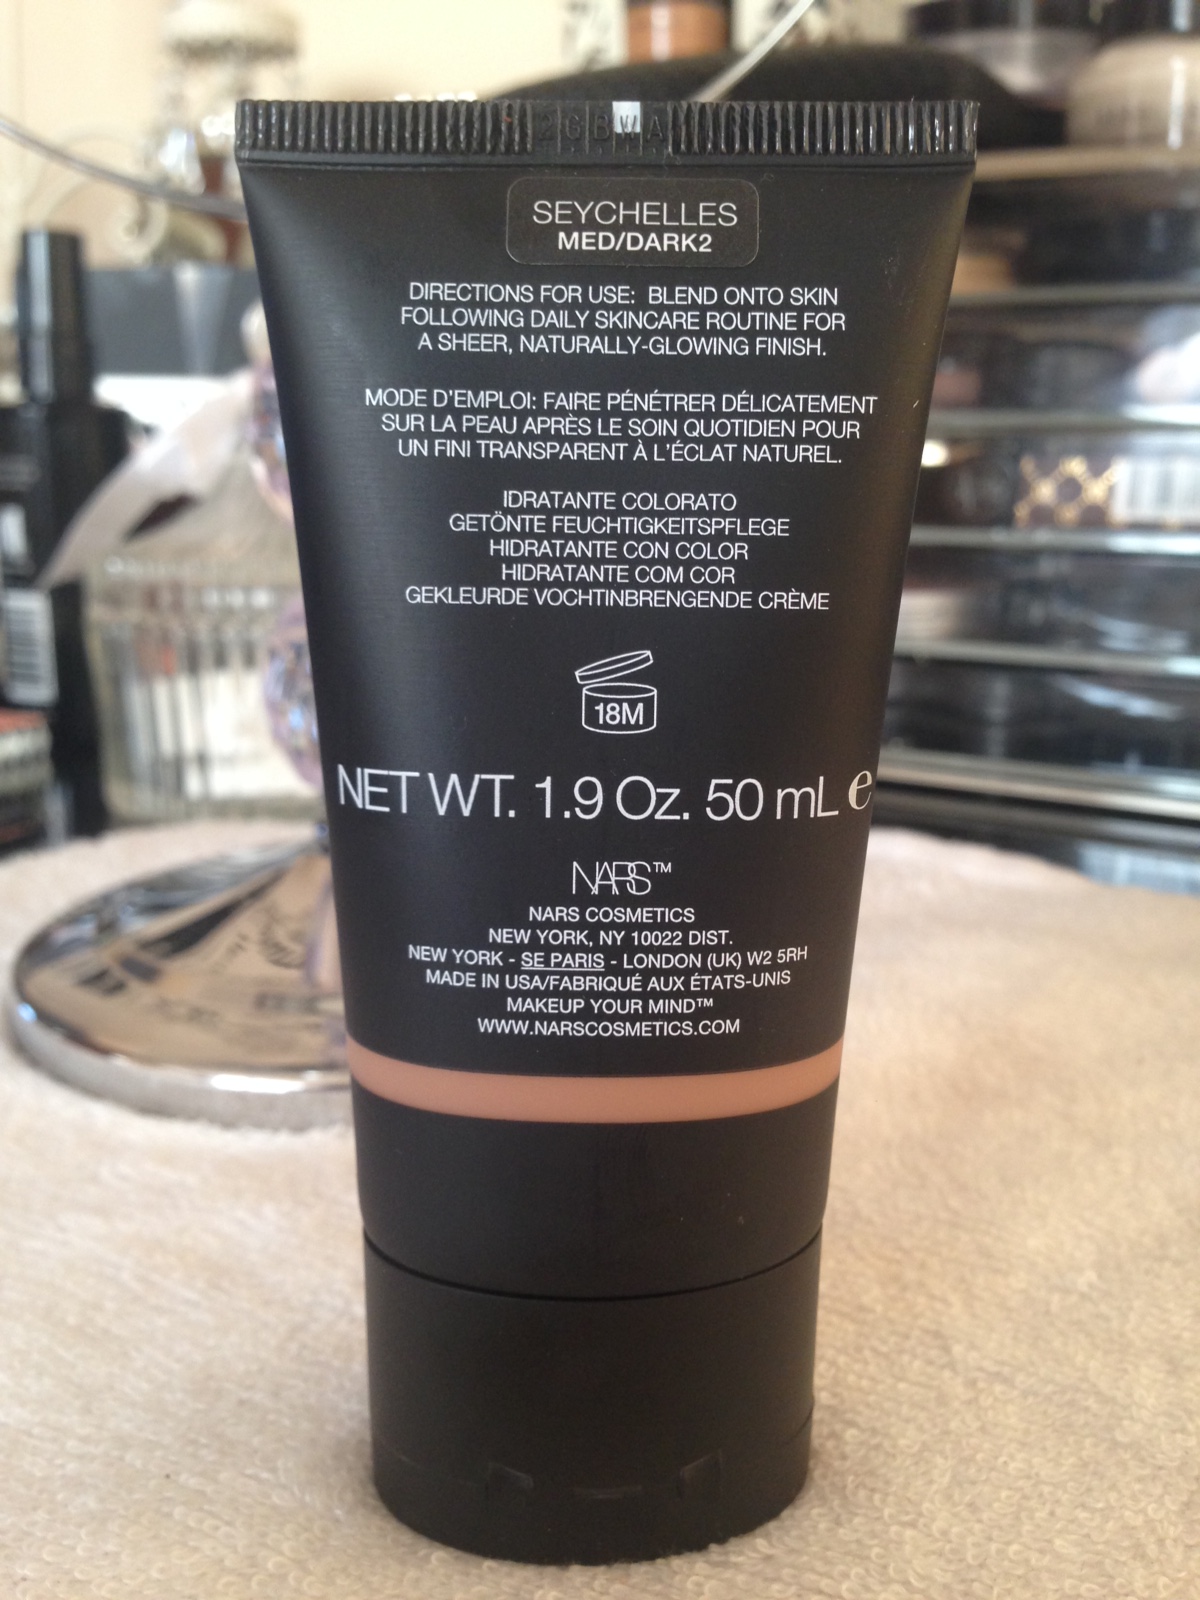
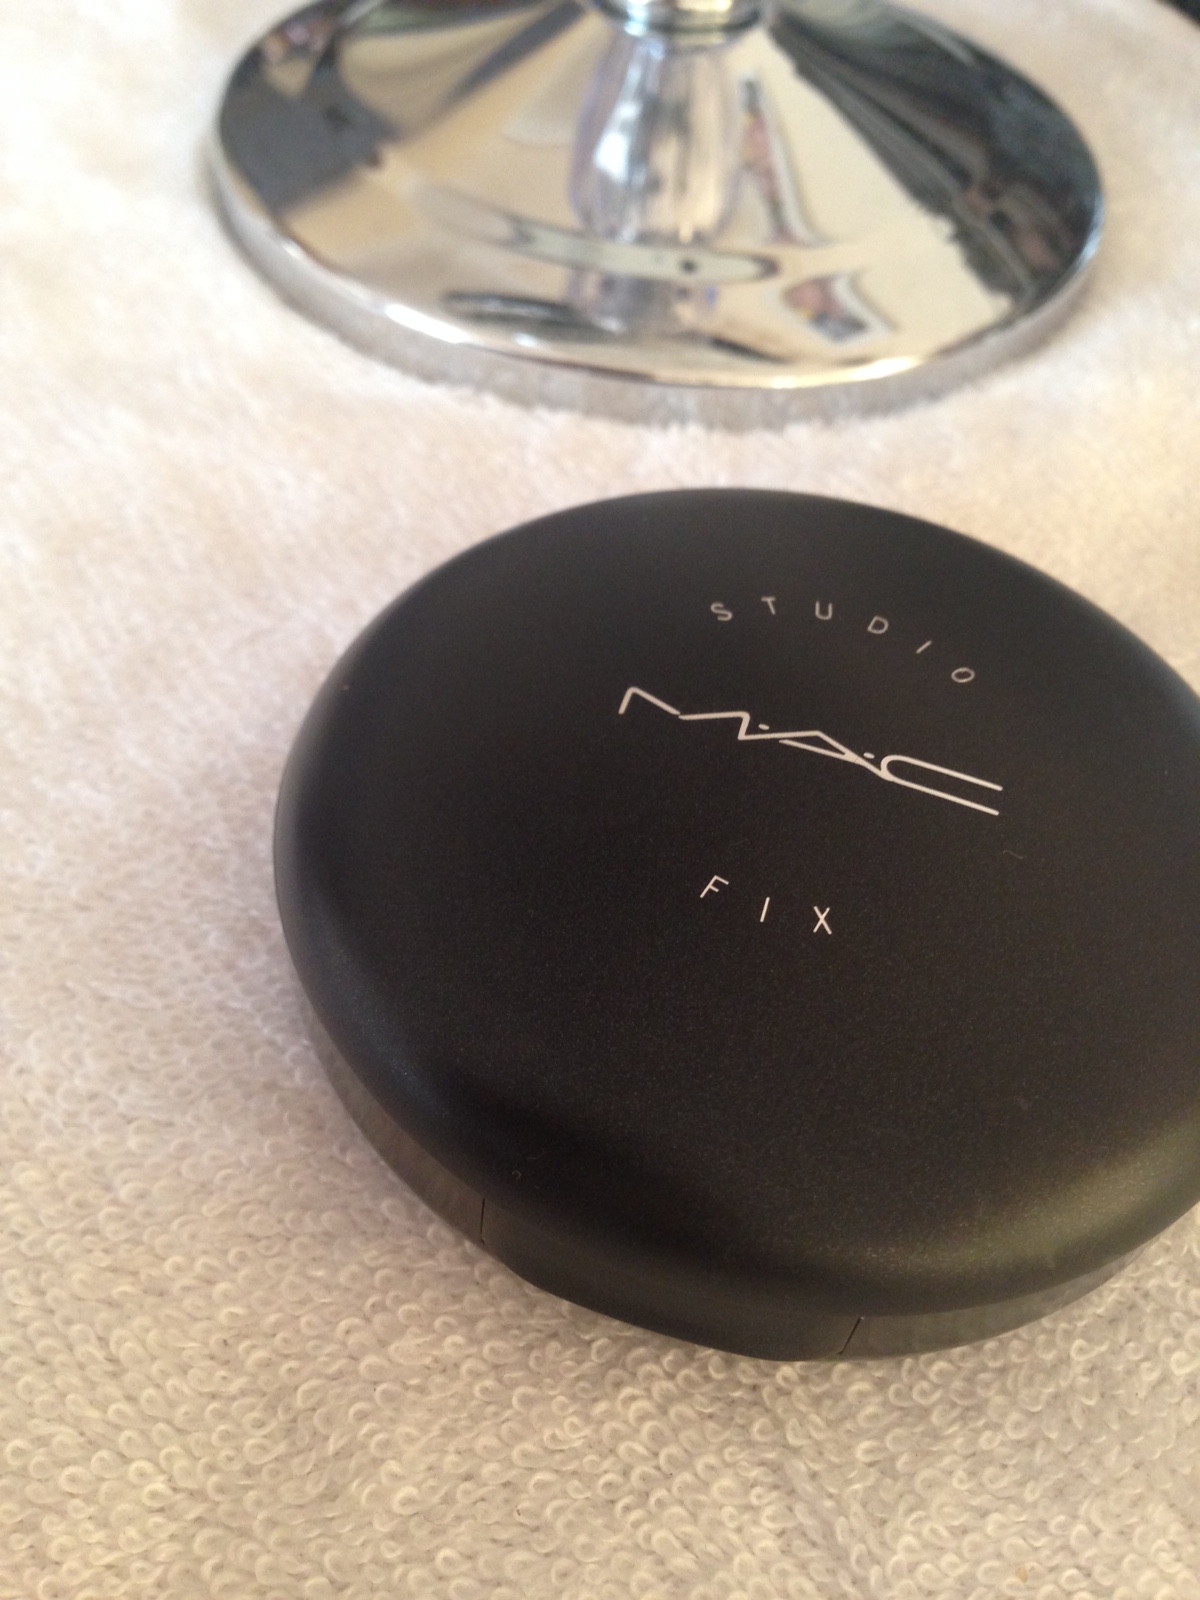
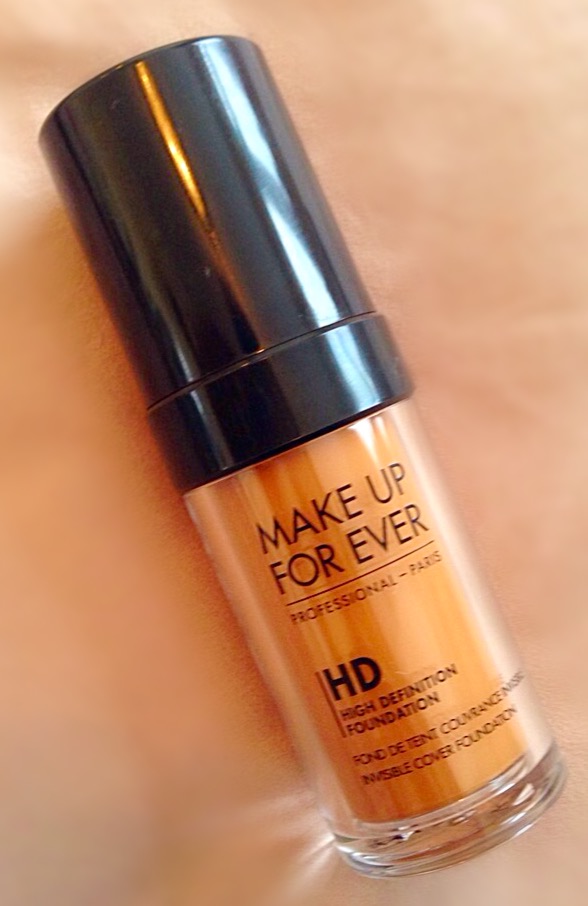
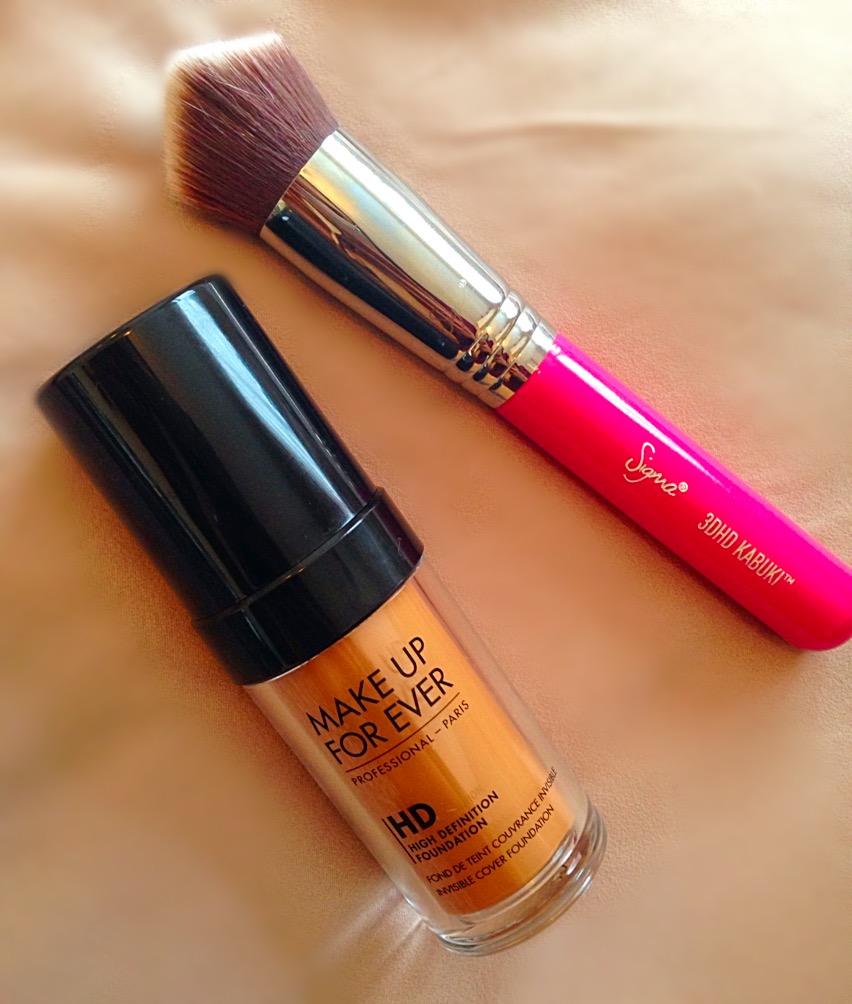
Starting with my holy grail of foundations – MAC Studio Fix Fluid – NC44.5I apply this all over my face with my Real Techniques Buffing Brush from the Core Set. This is a medium to full coverage foundation and it’s very build able so depending on how much coverage I need, I apply accordingly. On a good skin day, I apply my favourite tinted moisturiser – NARS Pure Radiant Tinted Moisturiser – SeychellesThis tinted moisturiser is really great! It gives a lightweight, “barely there” feeling and great for everyday. It doesn’t transfer, and has a radiant, slightly dewy finish which is perfect for a natural look.

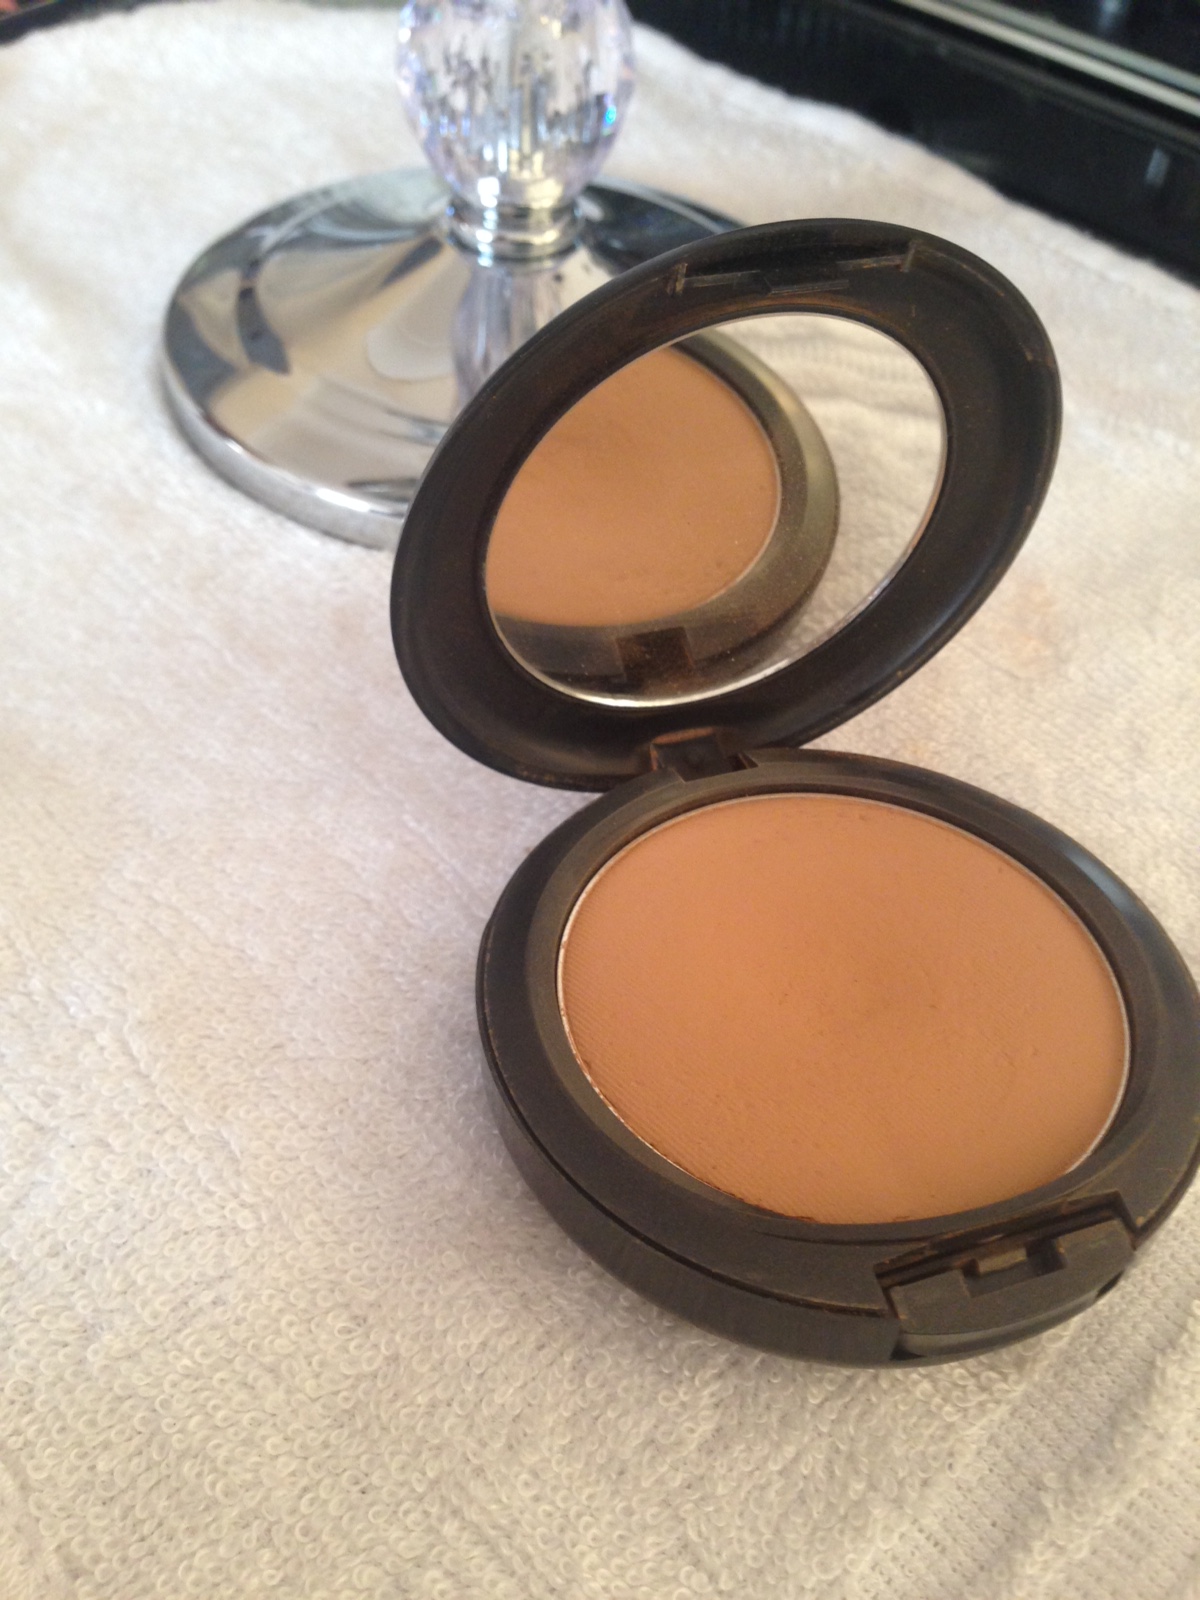
Dusted over with the Mac Studio Fix Powder Plus Foundation – NC45, it sets a great base with a bit of extra coverage for the redness that may not be perfectly covered up.


Step 3 – Conceal

IMG_8446 IMG_3631

IMG_8899 IMG_8205

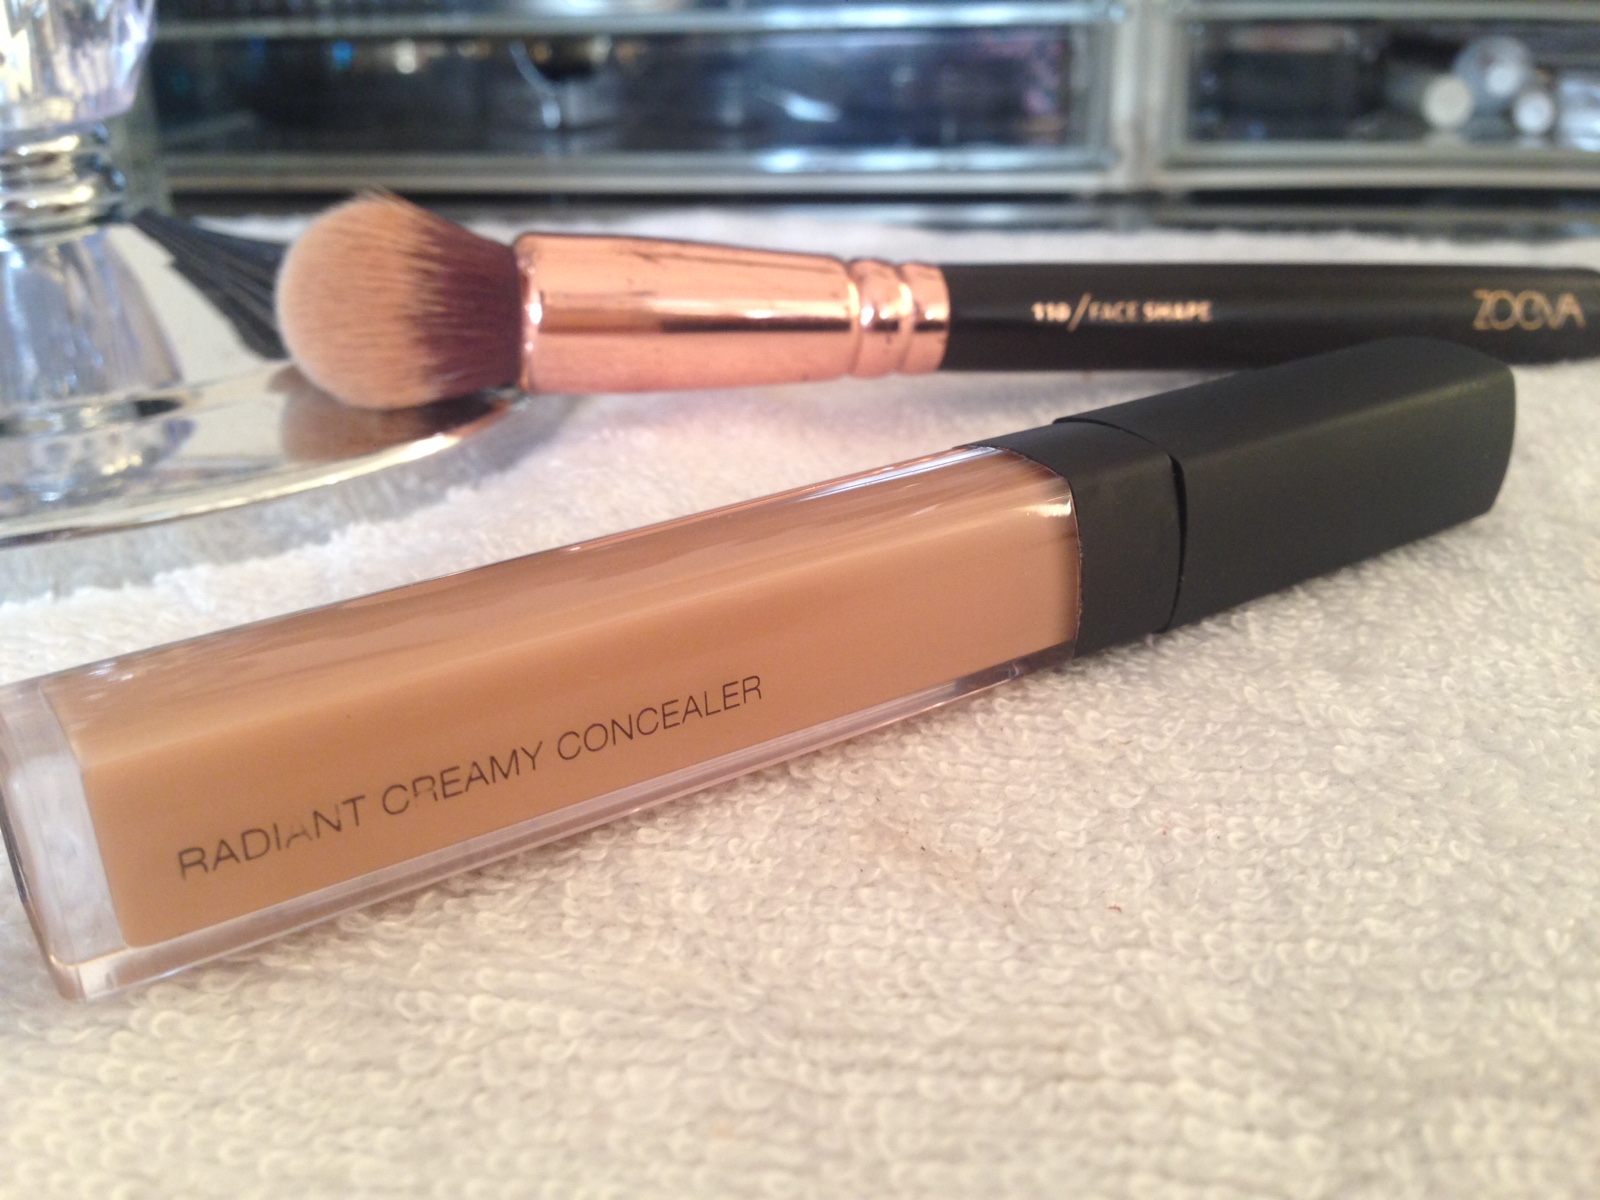
My absolute favourite concealer – NARS Radiant Creamy Concealer – CaramelI apply this in a triangle shape under my eyes and take it along the centre of my nose, the centre of my forehead and a touch on my cupid’s bow. I love the Zoeva 110 Face Shape Brush to blend this in and sometimes use a damp Beauty Blender when I want a lighter coverage.

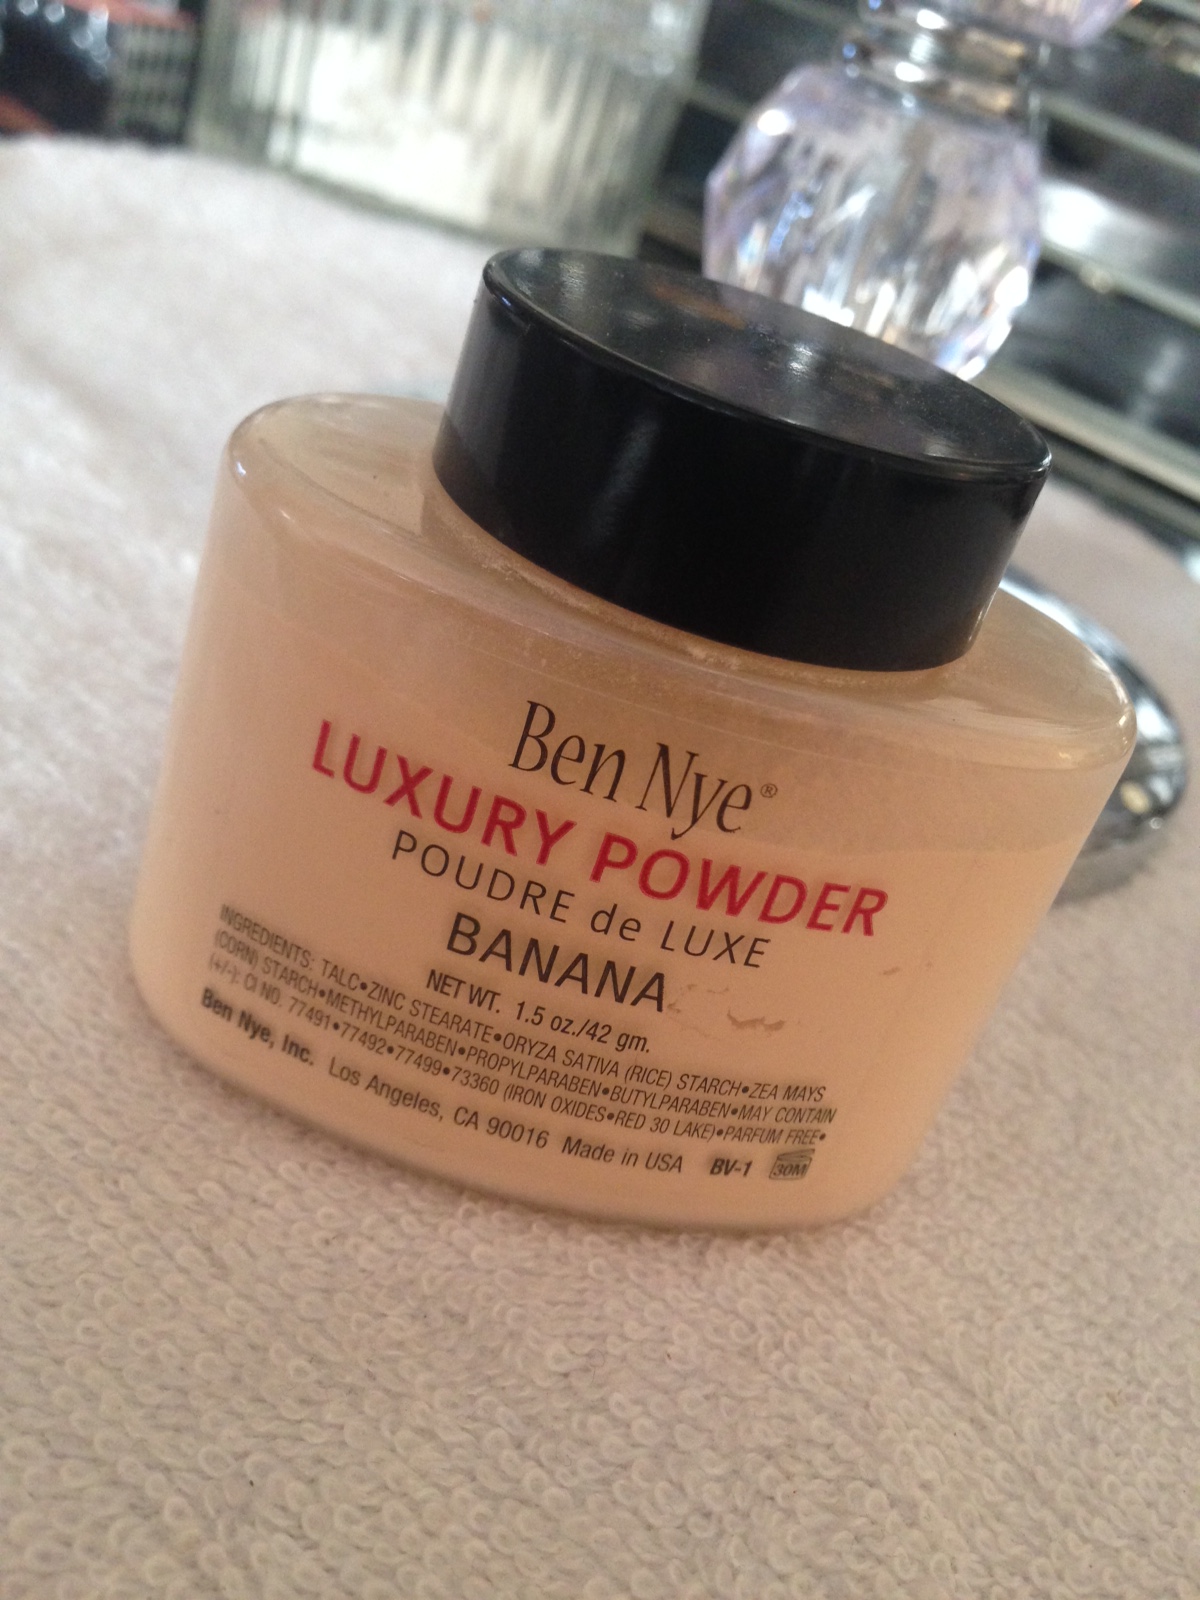
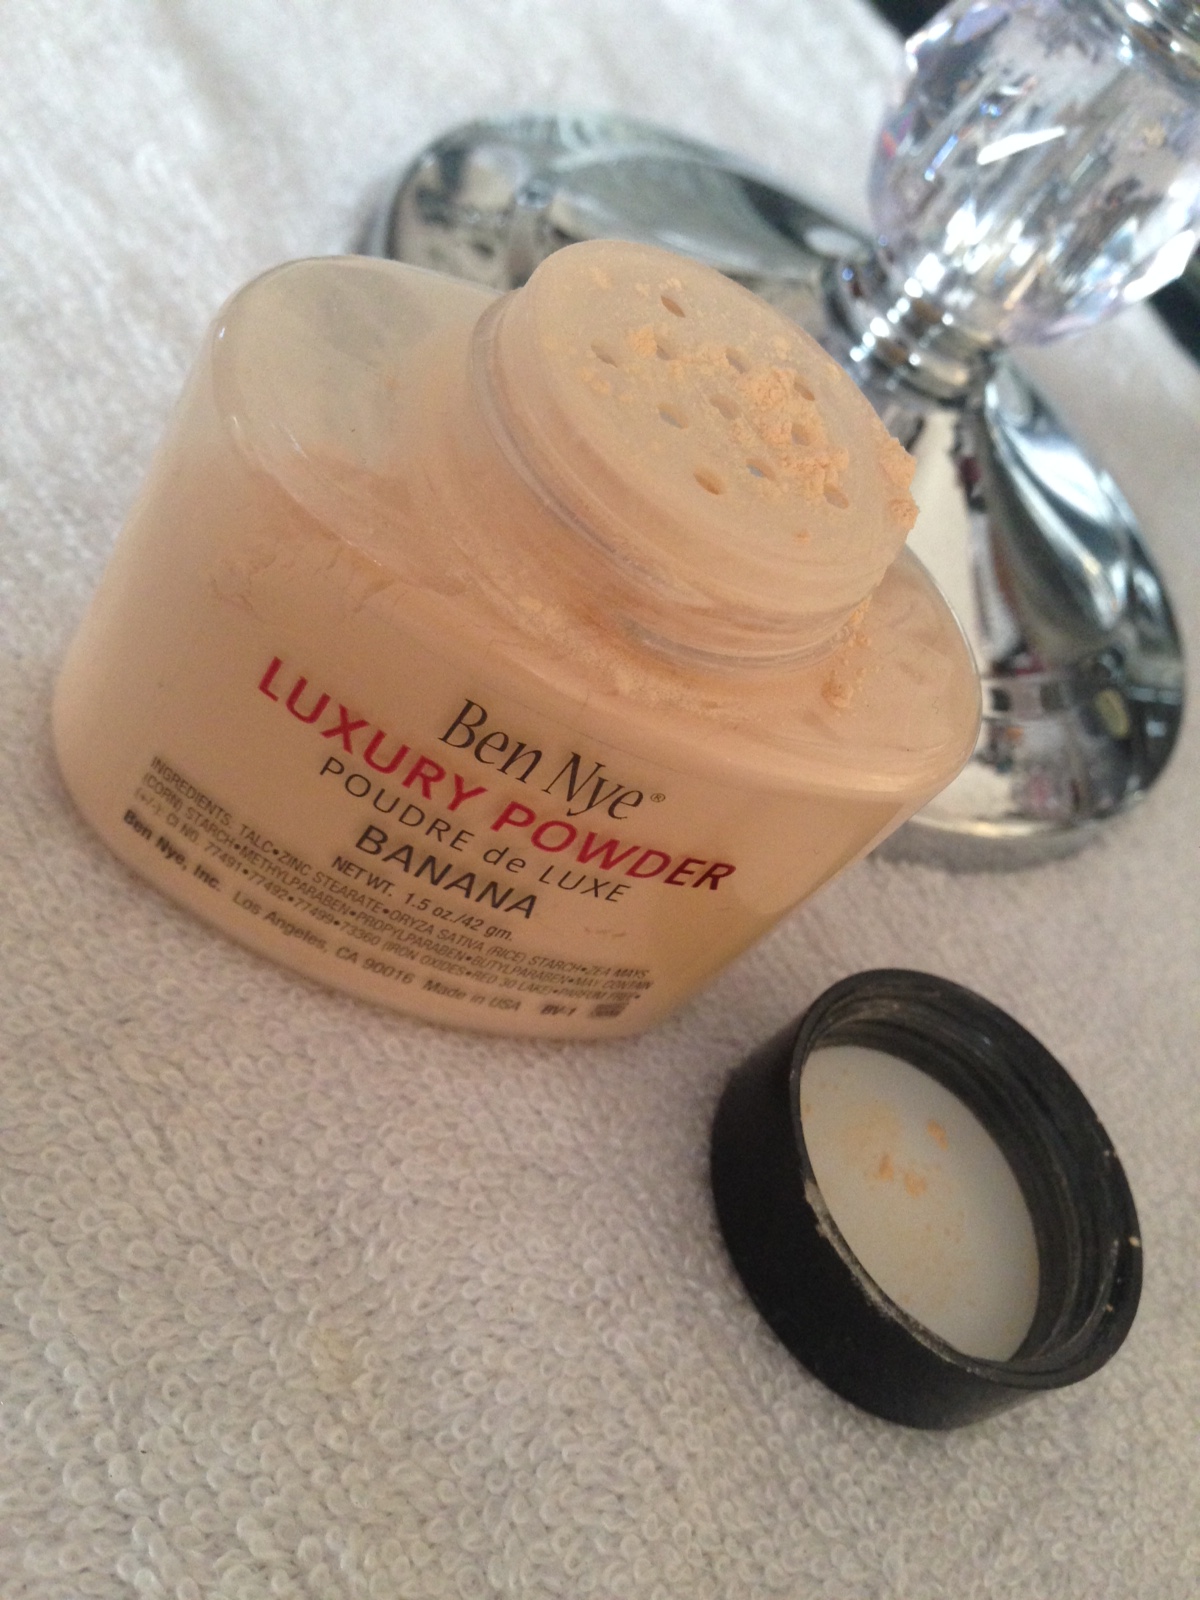
Setting my concealer with the famous Ben Nye Banana Powder, I tend to apply this with my beauty blender and leave it to ‘bake’ until I have finished my eye makeup. By baking, I receive a longer lasting coverage and a more matte finish with prevented creasing.


Step 4 – Brows

IMG_6855 IMG_2087

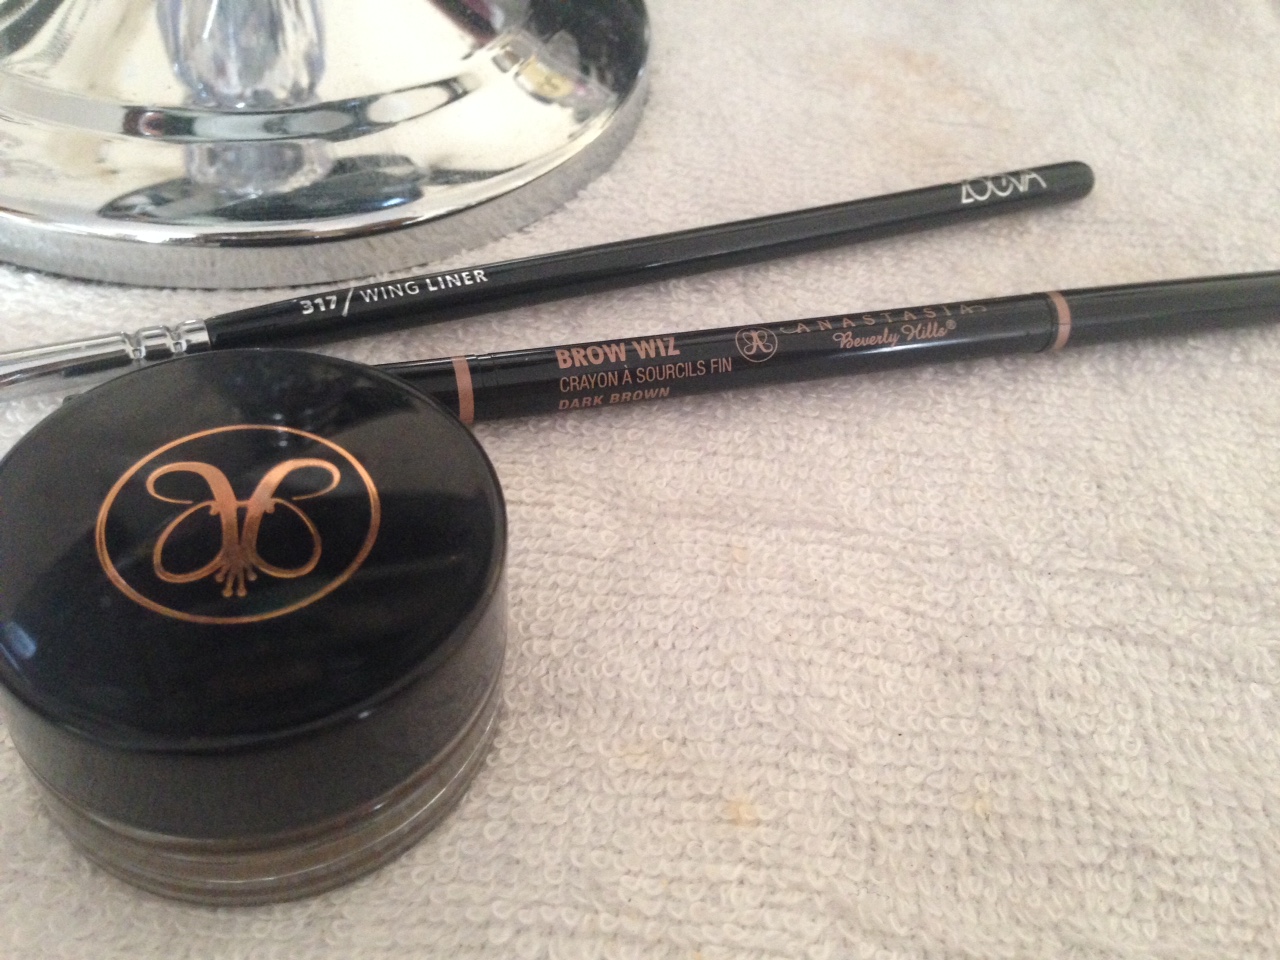
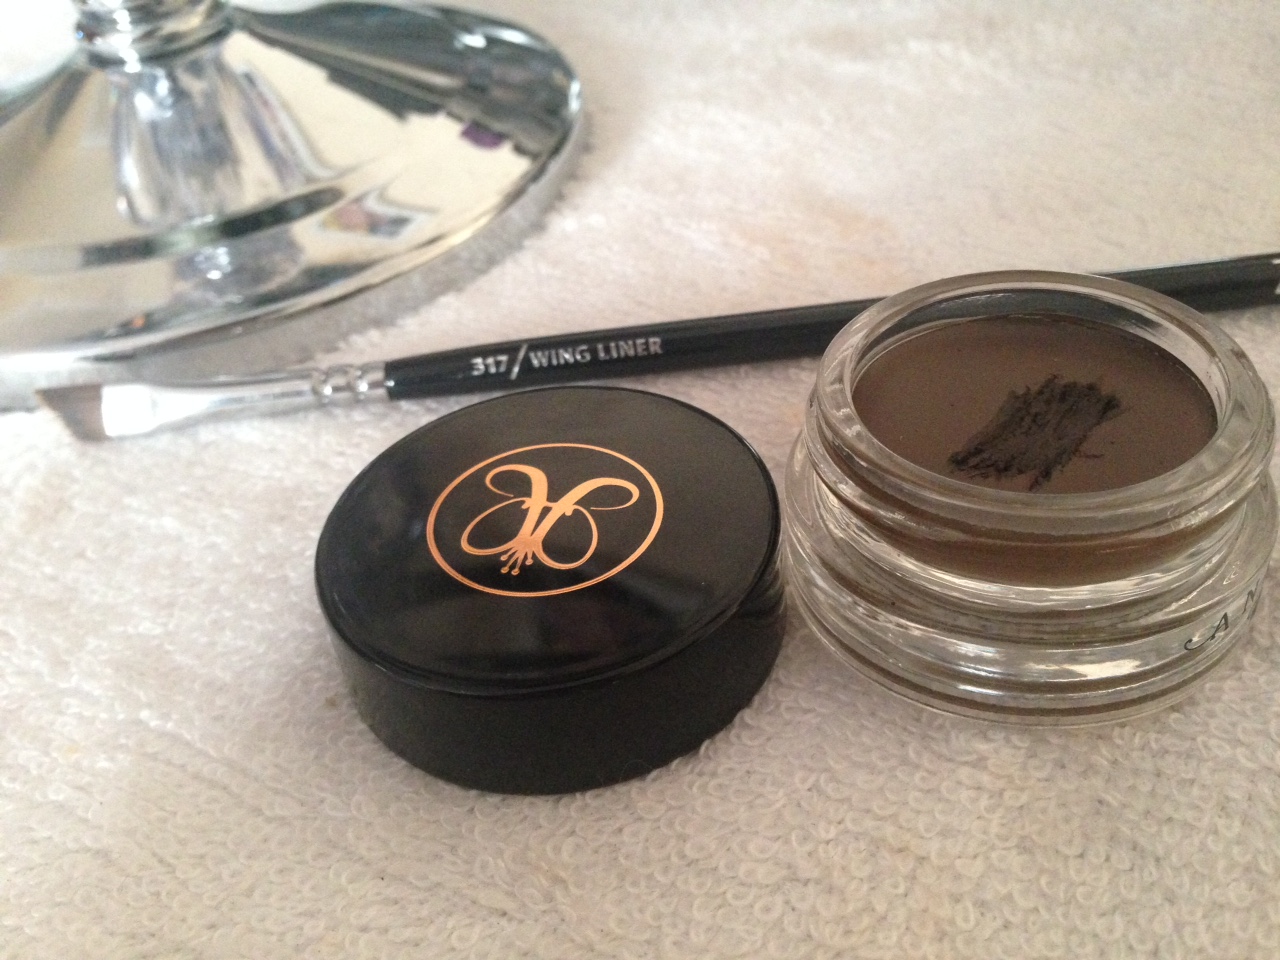
I love using the Dip Brow Pomade by Anastasia Beverly Hills in Dark Brown for an everyday brow. The shade dark brown matches my brow hairs perfectly and the smallest amount on a Zoeva 317 Angle Liner Brush picks up the perfect, tiniest amount to complete my brows with two or three dips.

If i’m in a mad rush (most days), I grab the Brow Wizz also by Anastasia Beverly Hills in Dark Brown. One side has a spoolie and the other side, a retractable pencil. I run this through my brows a few times, filling in the gaps, go over with the spoolie and i’m set!


Step 5 – Eyes – Shadow

IMG_3979 IMG_8091

IMG_5833

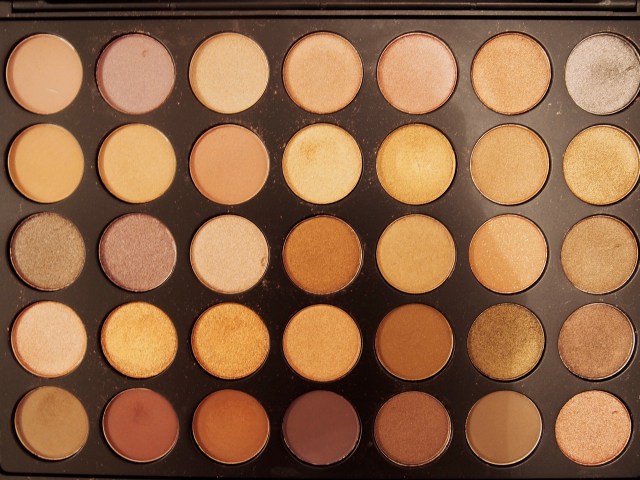
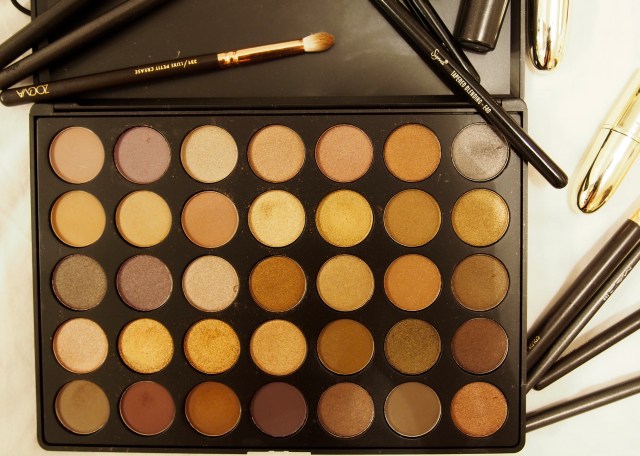
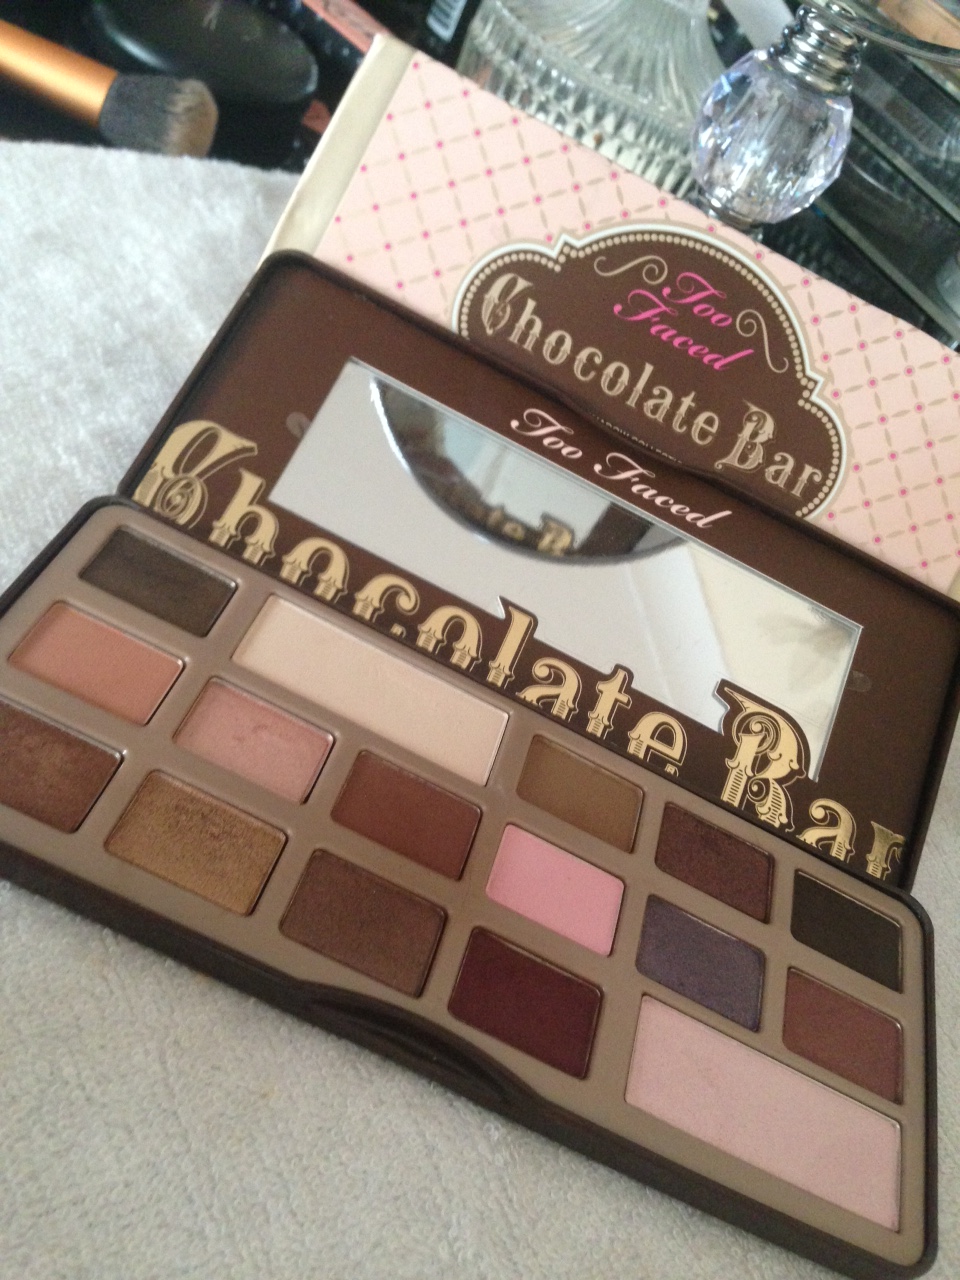
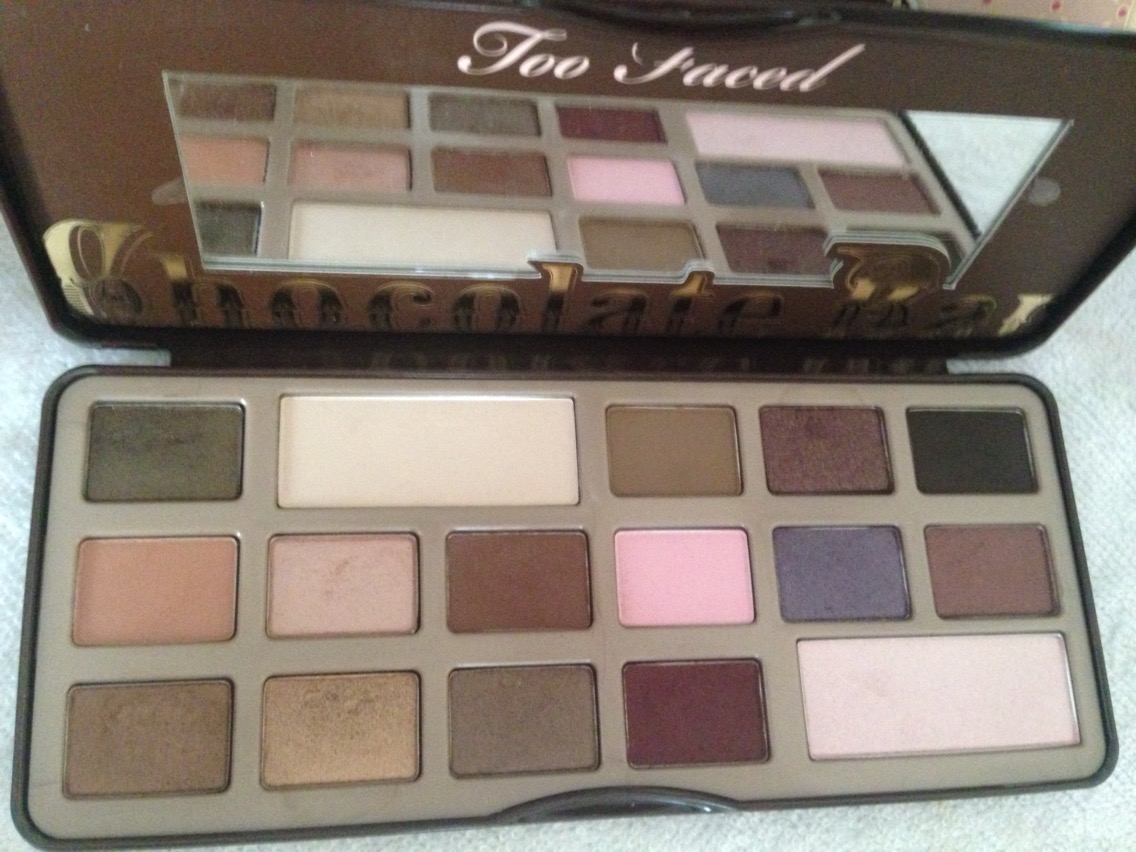
Going for a natural everyday look, I like to take the colour ‘semi-sweet’ from one of my favourite palletes – Too Faced Chocolate Bar. I take this colour (3rd in the 2nd row) into my crease for some definition, using my Zoeva 231 Luxe Petit Crease Brush. I tend to just leave it at that with my shadow for an everyday look.


Step 6 – Eyes – Liner

IMG_1608

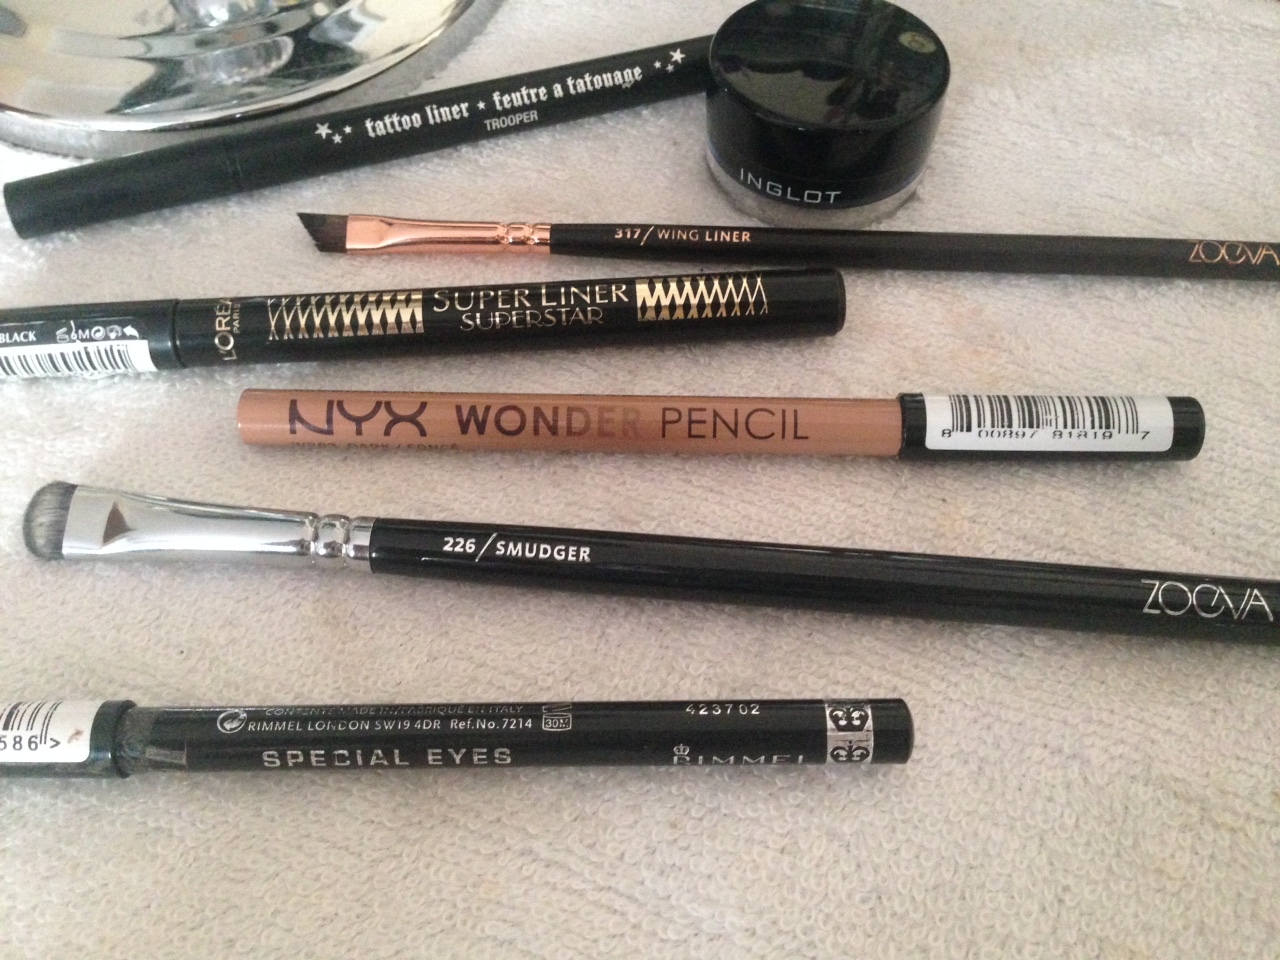
Depending on whether I want a bold or subtle liner look that day, I tend to use different products. I love using the cult  favourite INGLOT Eyeliner Gel #77 to create a bold and sharp wing using the Zoeva 317 Wing Liner Brush. I would set the gel with the L’Oréal Super Star Super Liner – a felt tip black liner with a sharp tip.

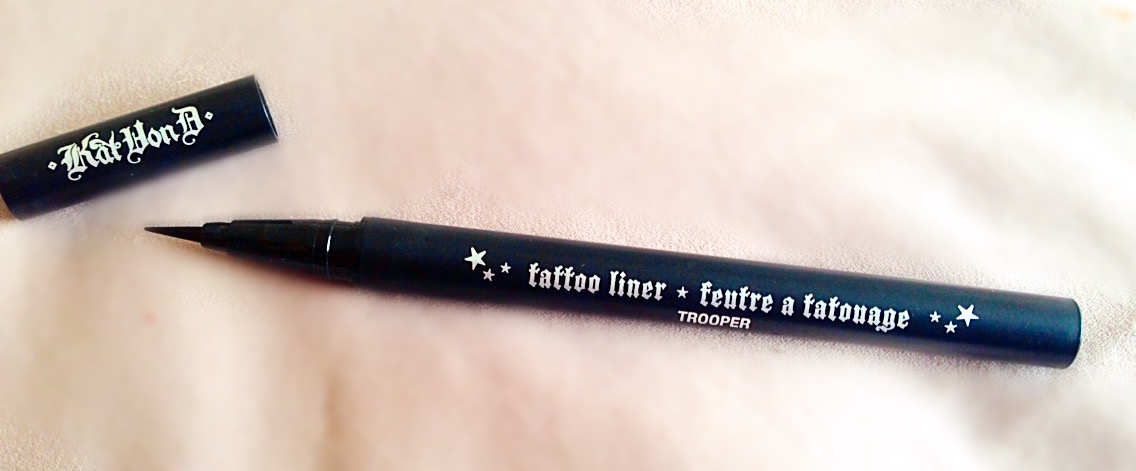
If i’m going for a more subtle look, the Kat Von D Tattoo Liner in Trooper is a great choice! For a full description check out my July Favourites post.

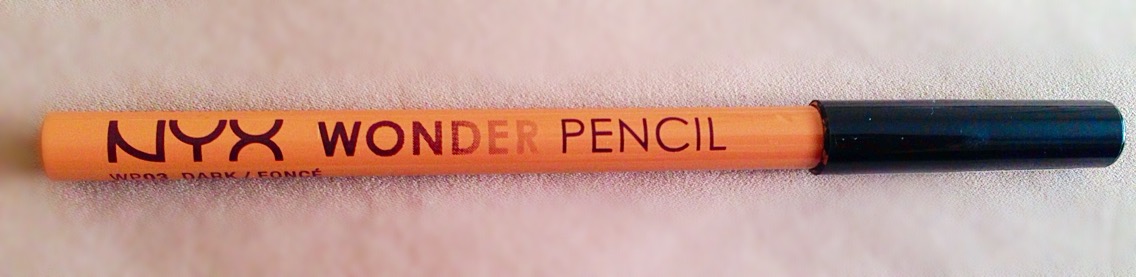
For my lower waterline, I take the NYX Wonder Pencil and run it across to open up my eyes (July Favourites). The Rimmel Special Eyes Pencil Eyeliner Pencil in Black Magic is so great to go along my bottom lash line and I usually smudge this out with the Zoeva 226 Smudger Brush which is great at creating a natural smokey look.


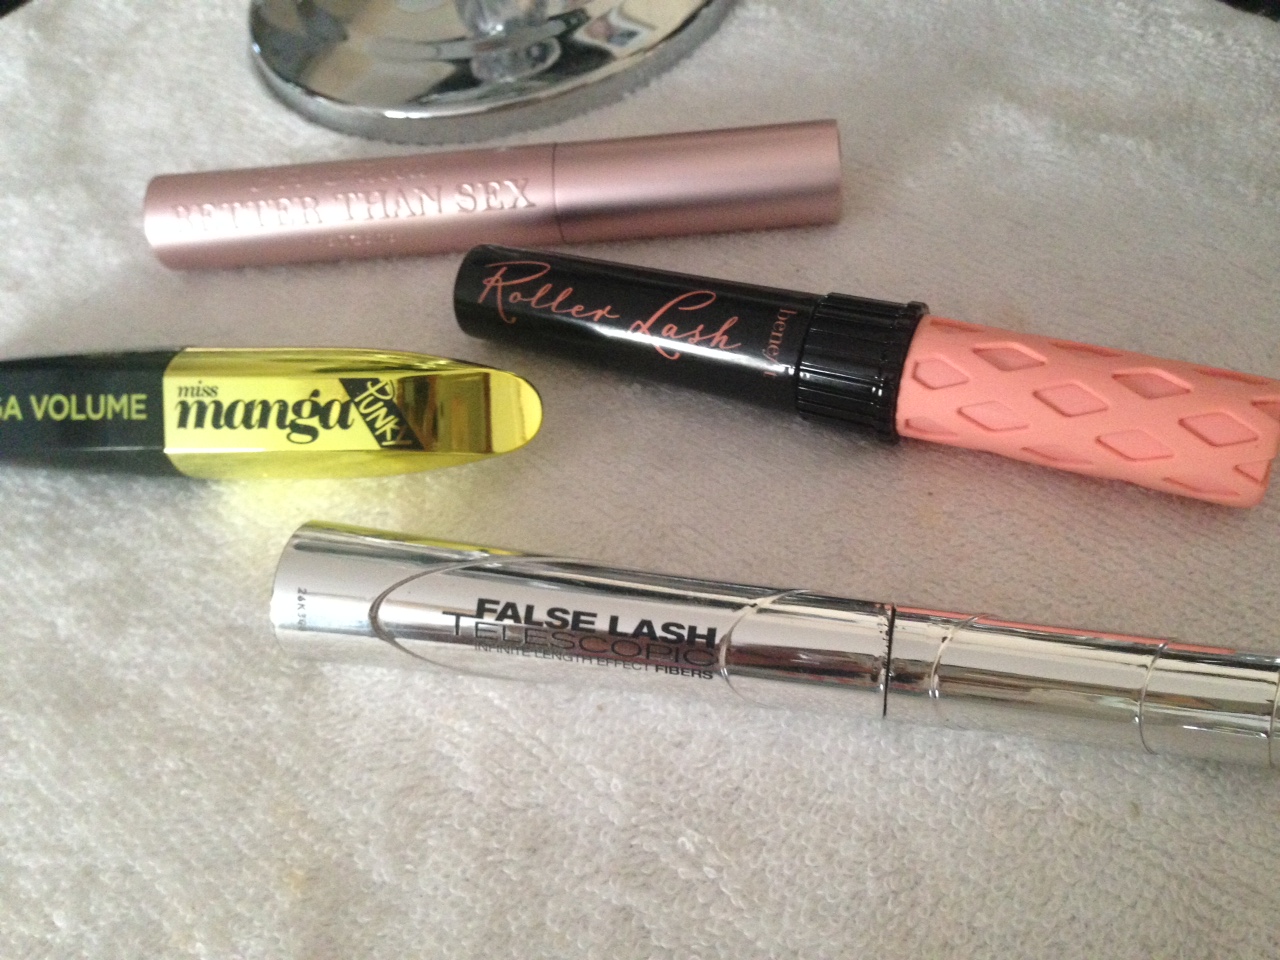
Step 7 – Eyes – Mascara

IMG_4923

Mascara is a must for me and I love to create a “mascara cocktail” to create the perfect lash look! Check out my post, My Fave Mascaras, for a full review on each mascara.


Step 8 – Contour & Highlight

IMG_5394 IMG_1293 IMG_7020 IMG_1275

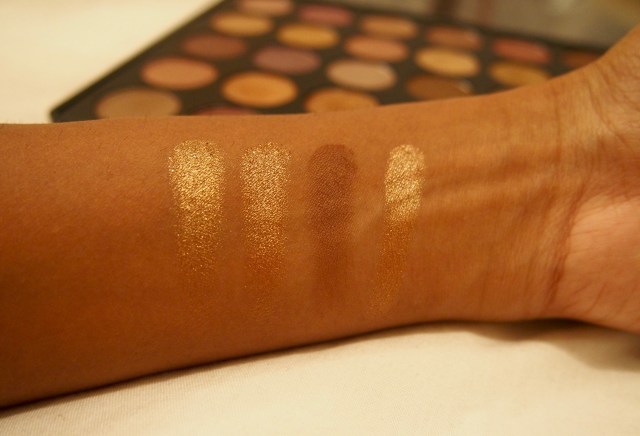
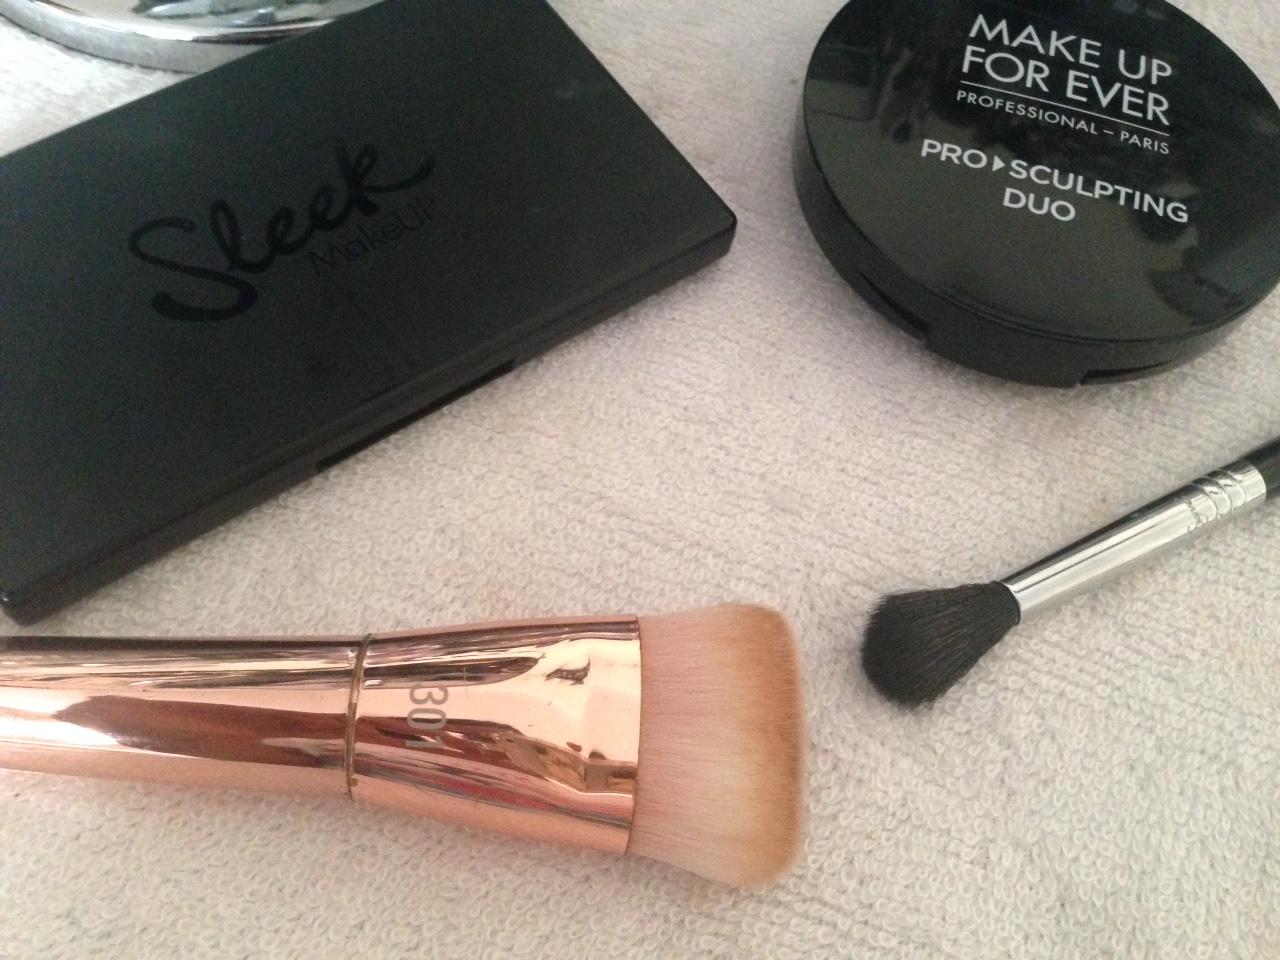
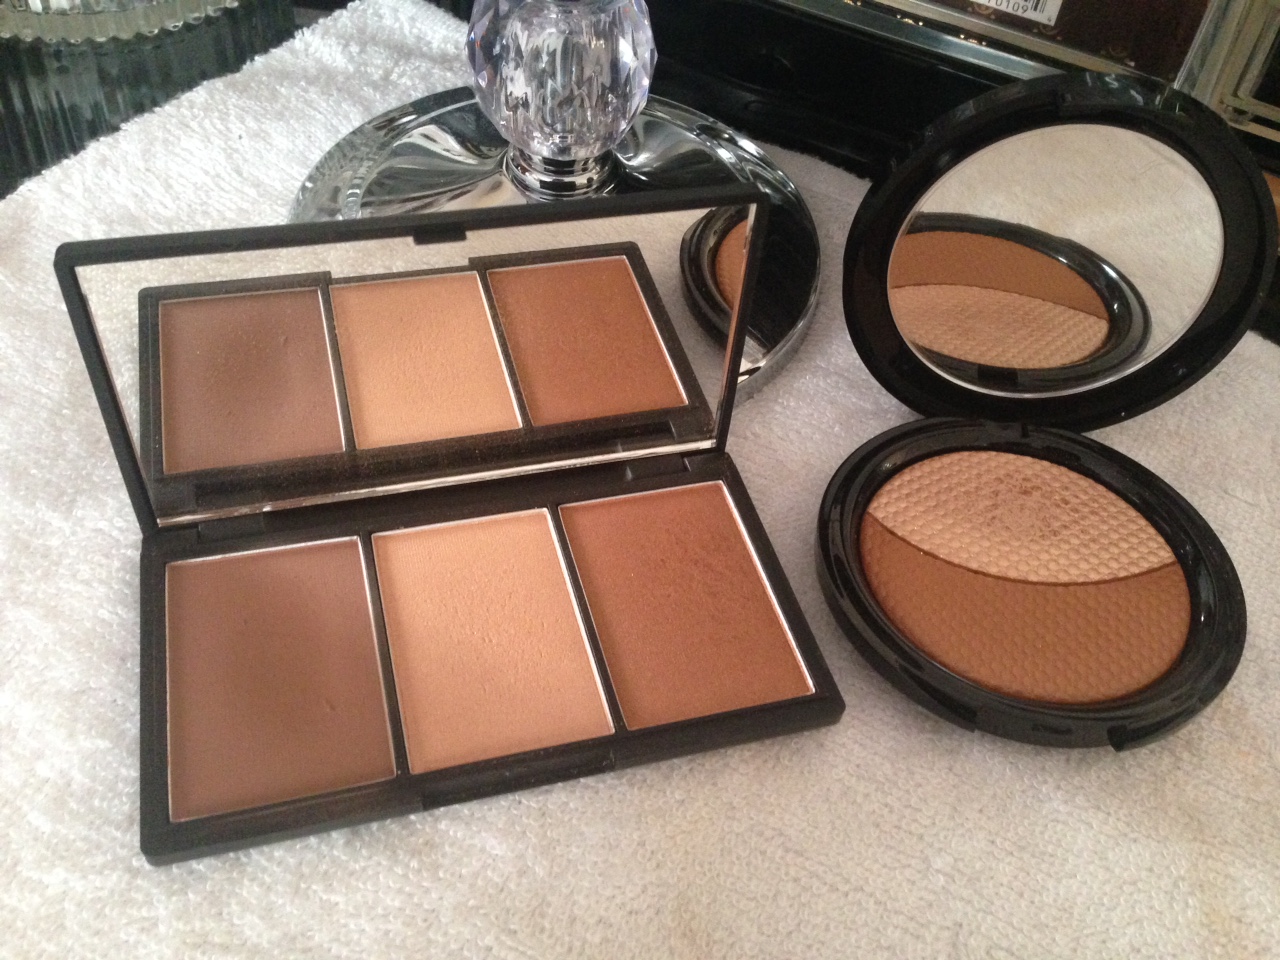
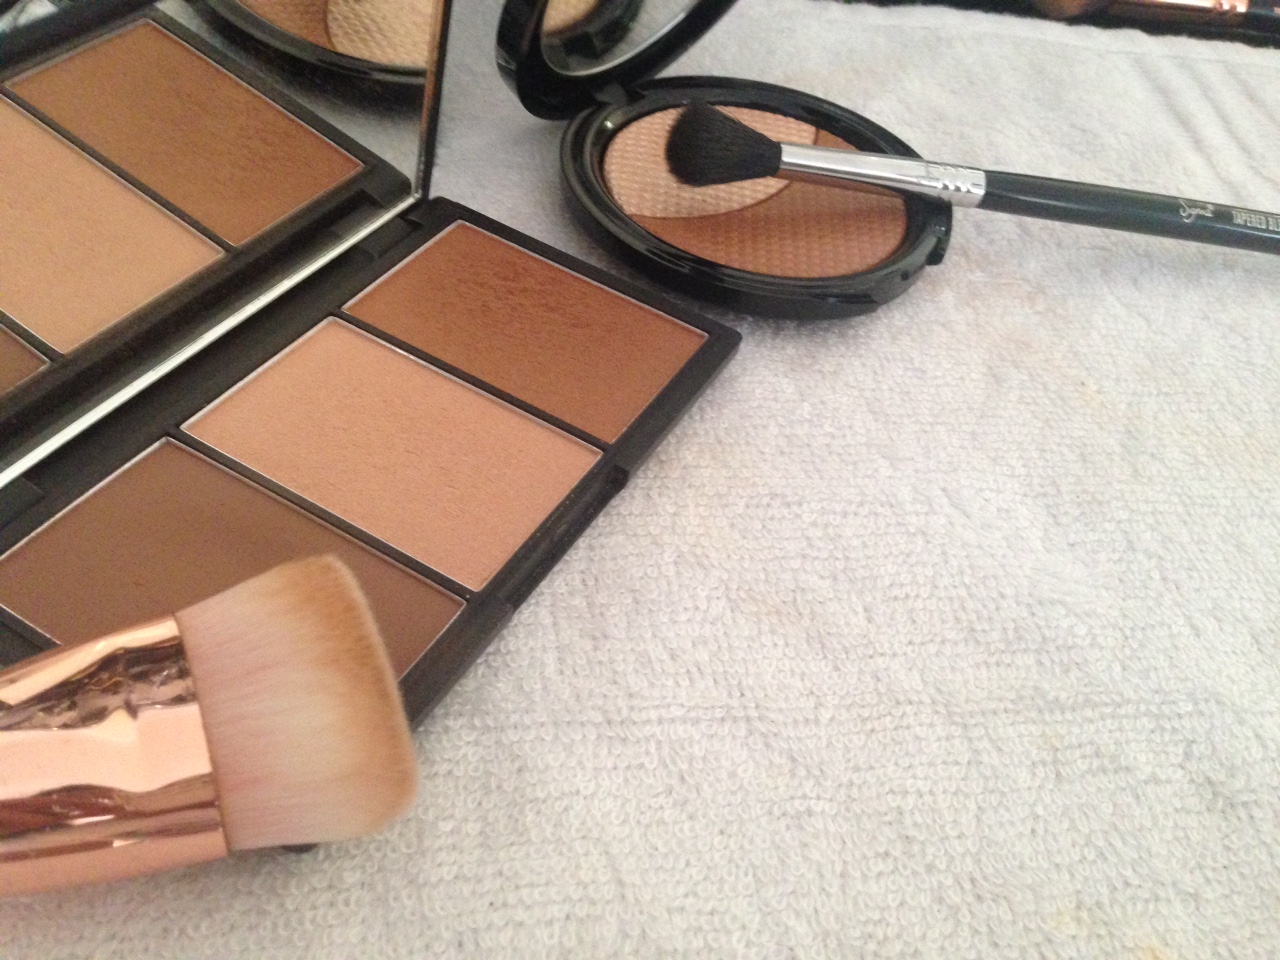
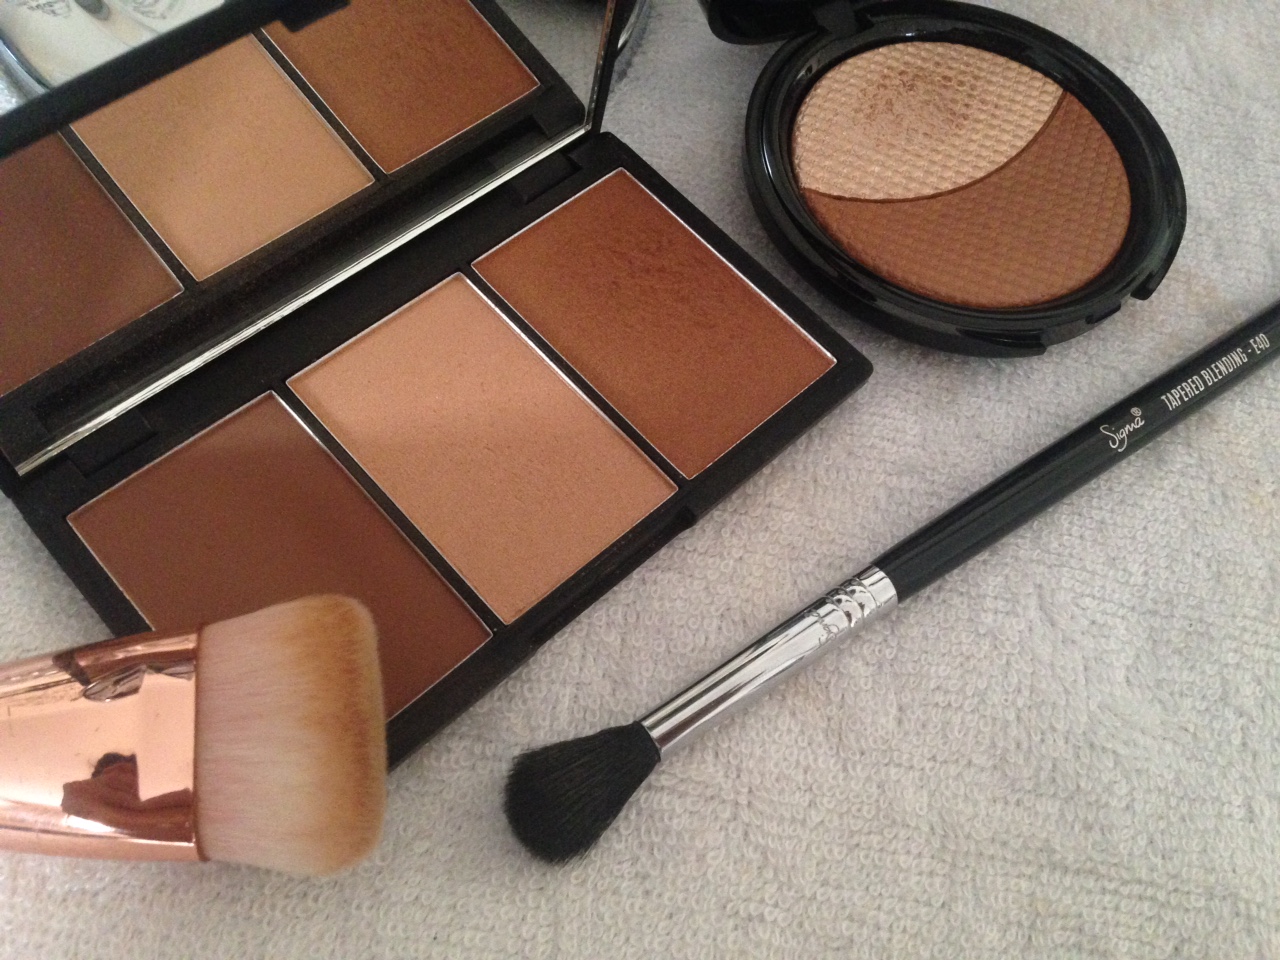
After brushing off the excess Ben Nye Banana Powder from my undereyes, I take the Real Techniques 301 Flat Contour Brush with the Sleek Makeup Face Form in medium and use the darkest shade to contour under my cheekbones. I love this brush as it gives such a precise contour!

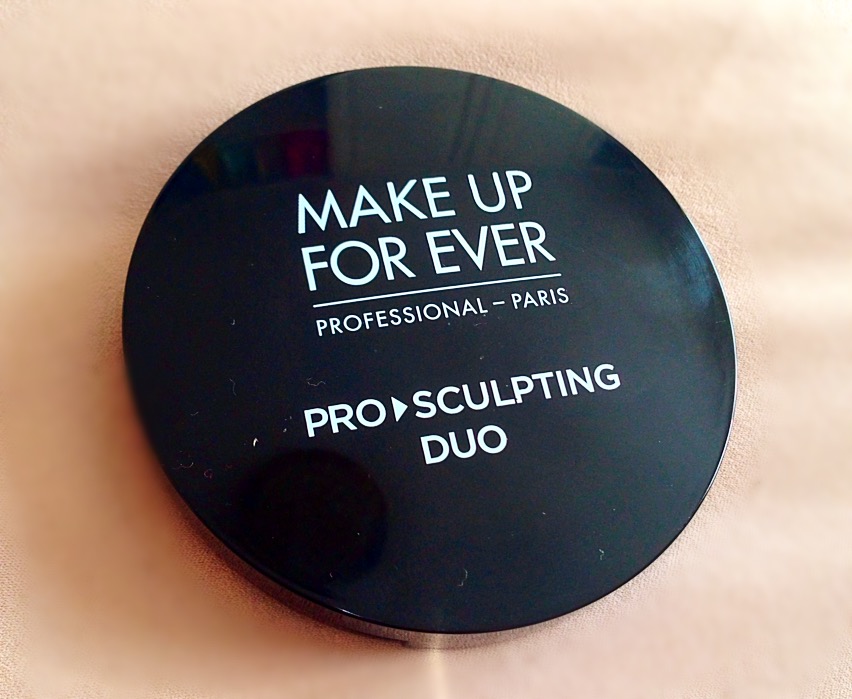
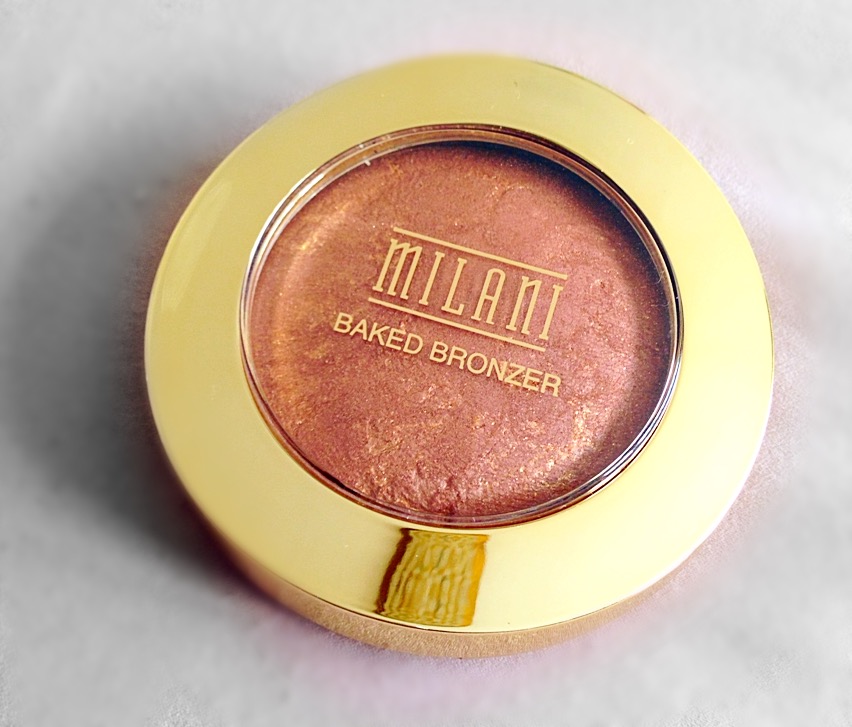
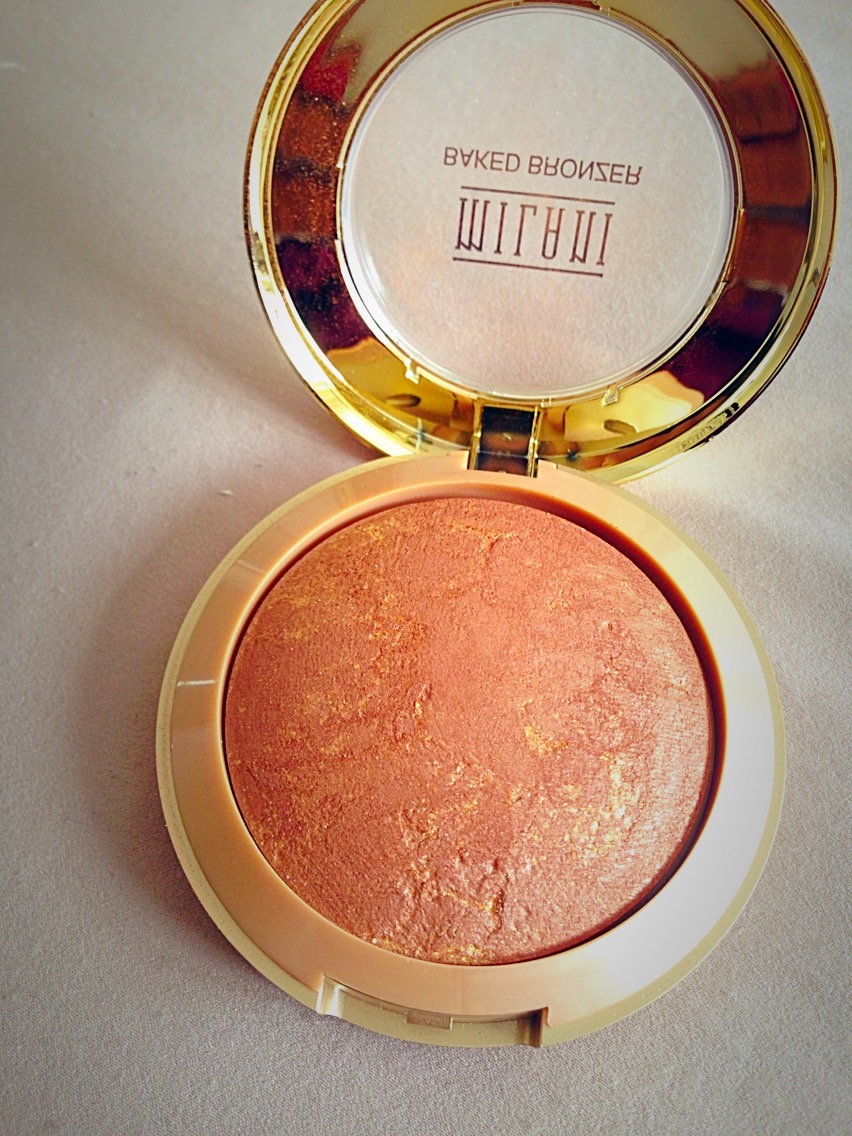
To highlight, I have recently been loving the Make Up Forever Pro Sculpting Duo and the golden highlight is magical! (July Favourites). I feather that onto the highest points of my face using the Sigma E40 Brush; just above my cheekbones, my cupids bow, the brow bones and the tip of my nose.
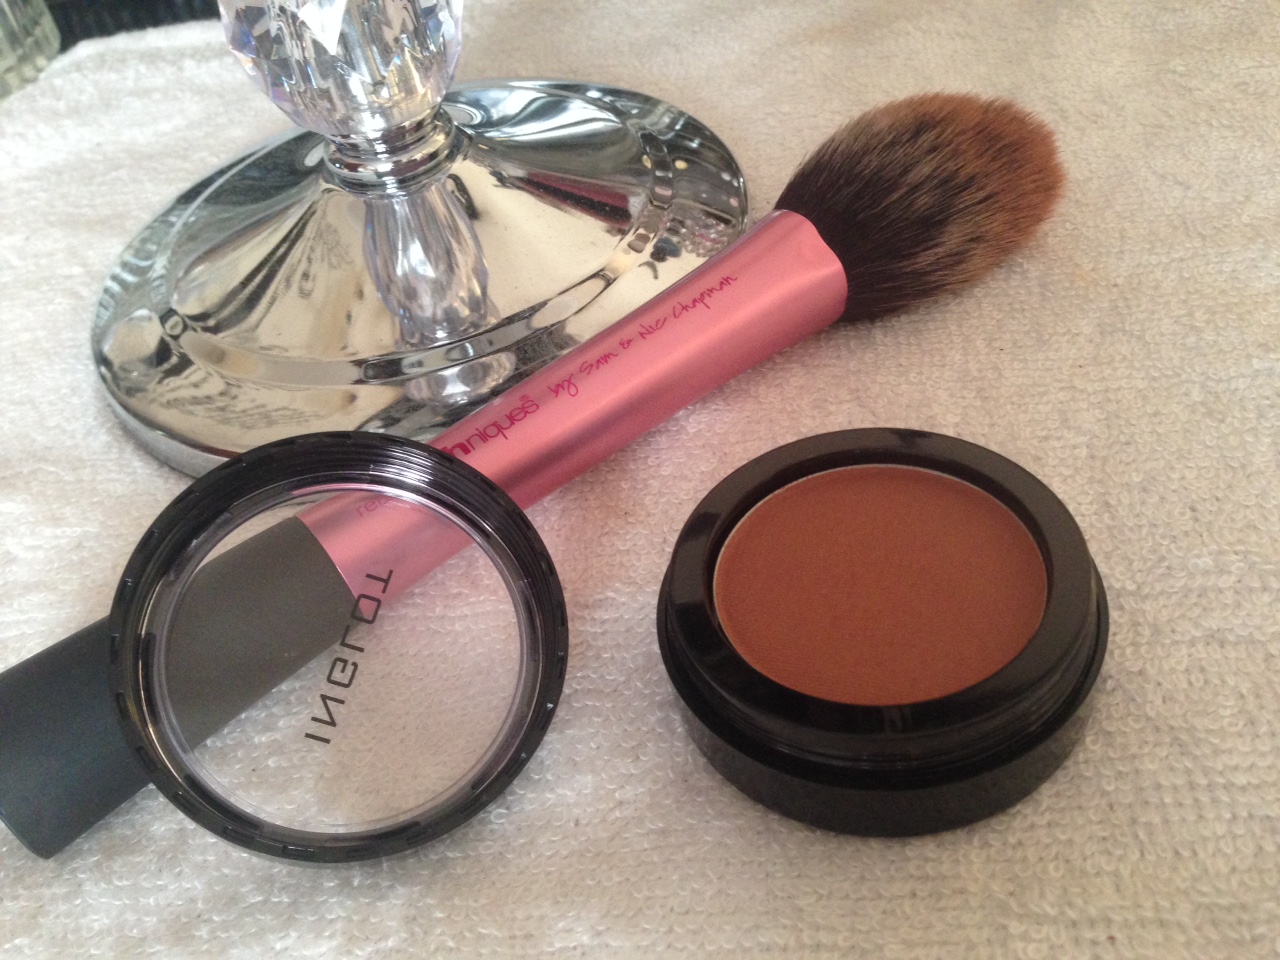

Step 9 – Blush

IMG_3361 IMG_8383

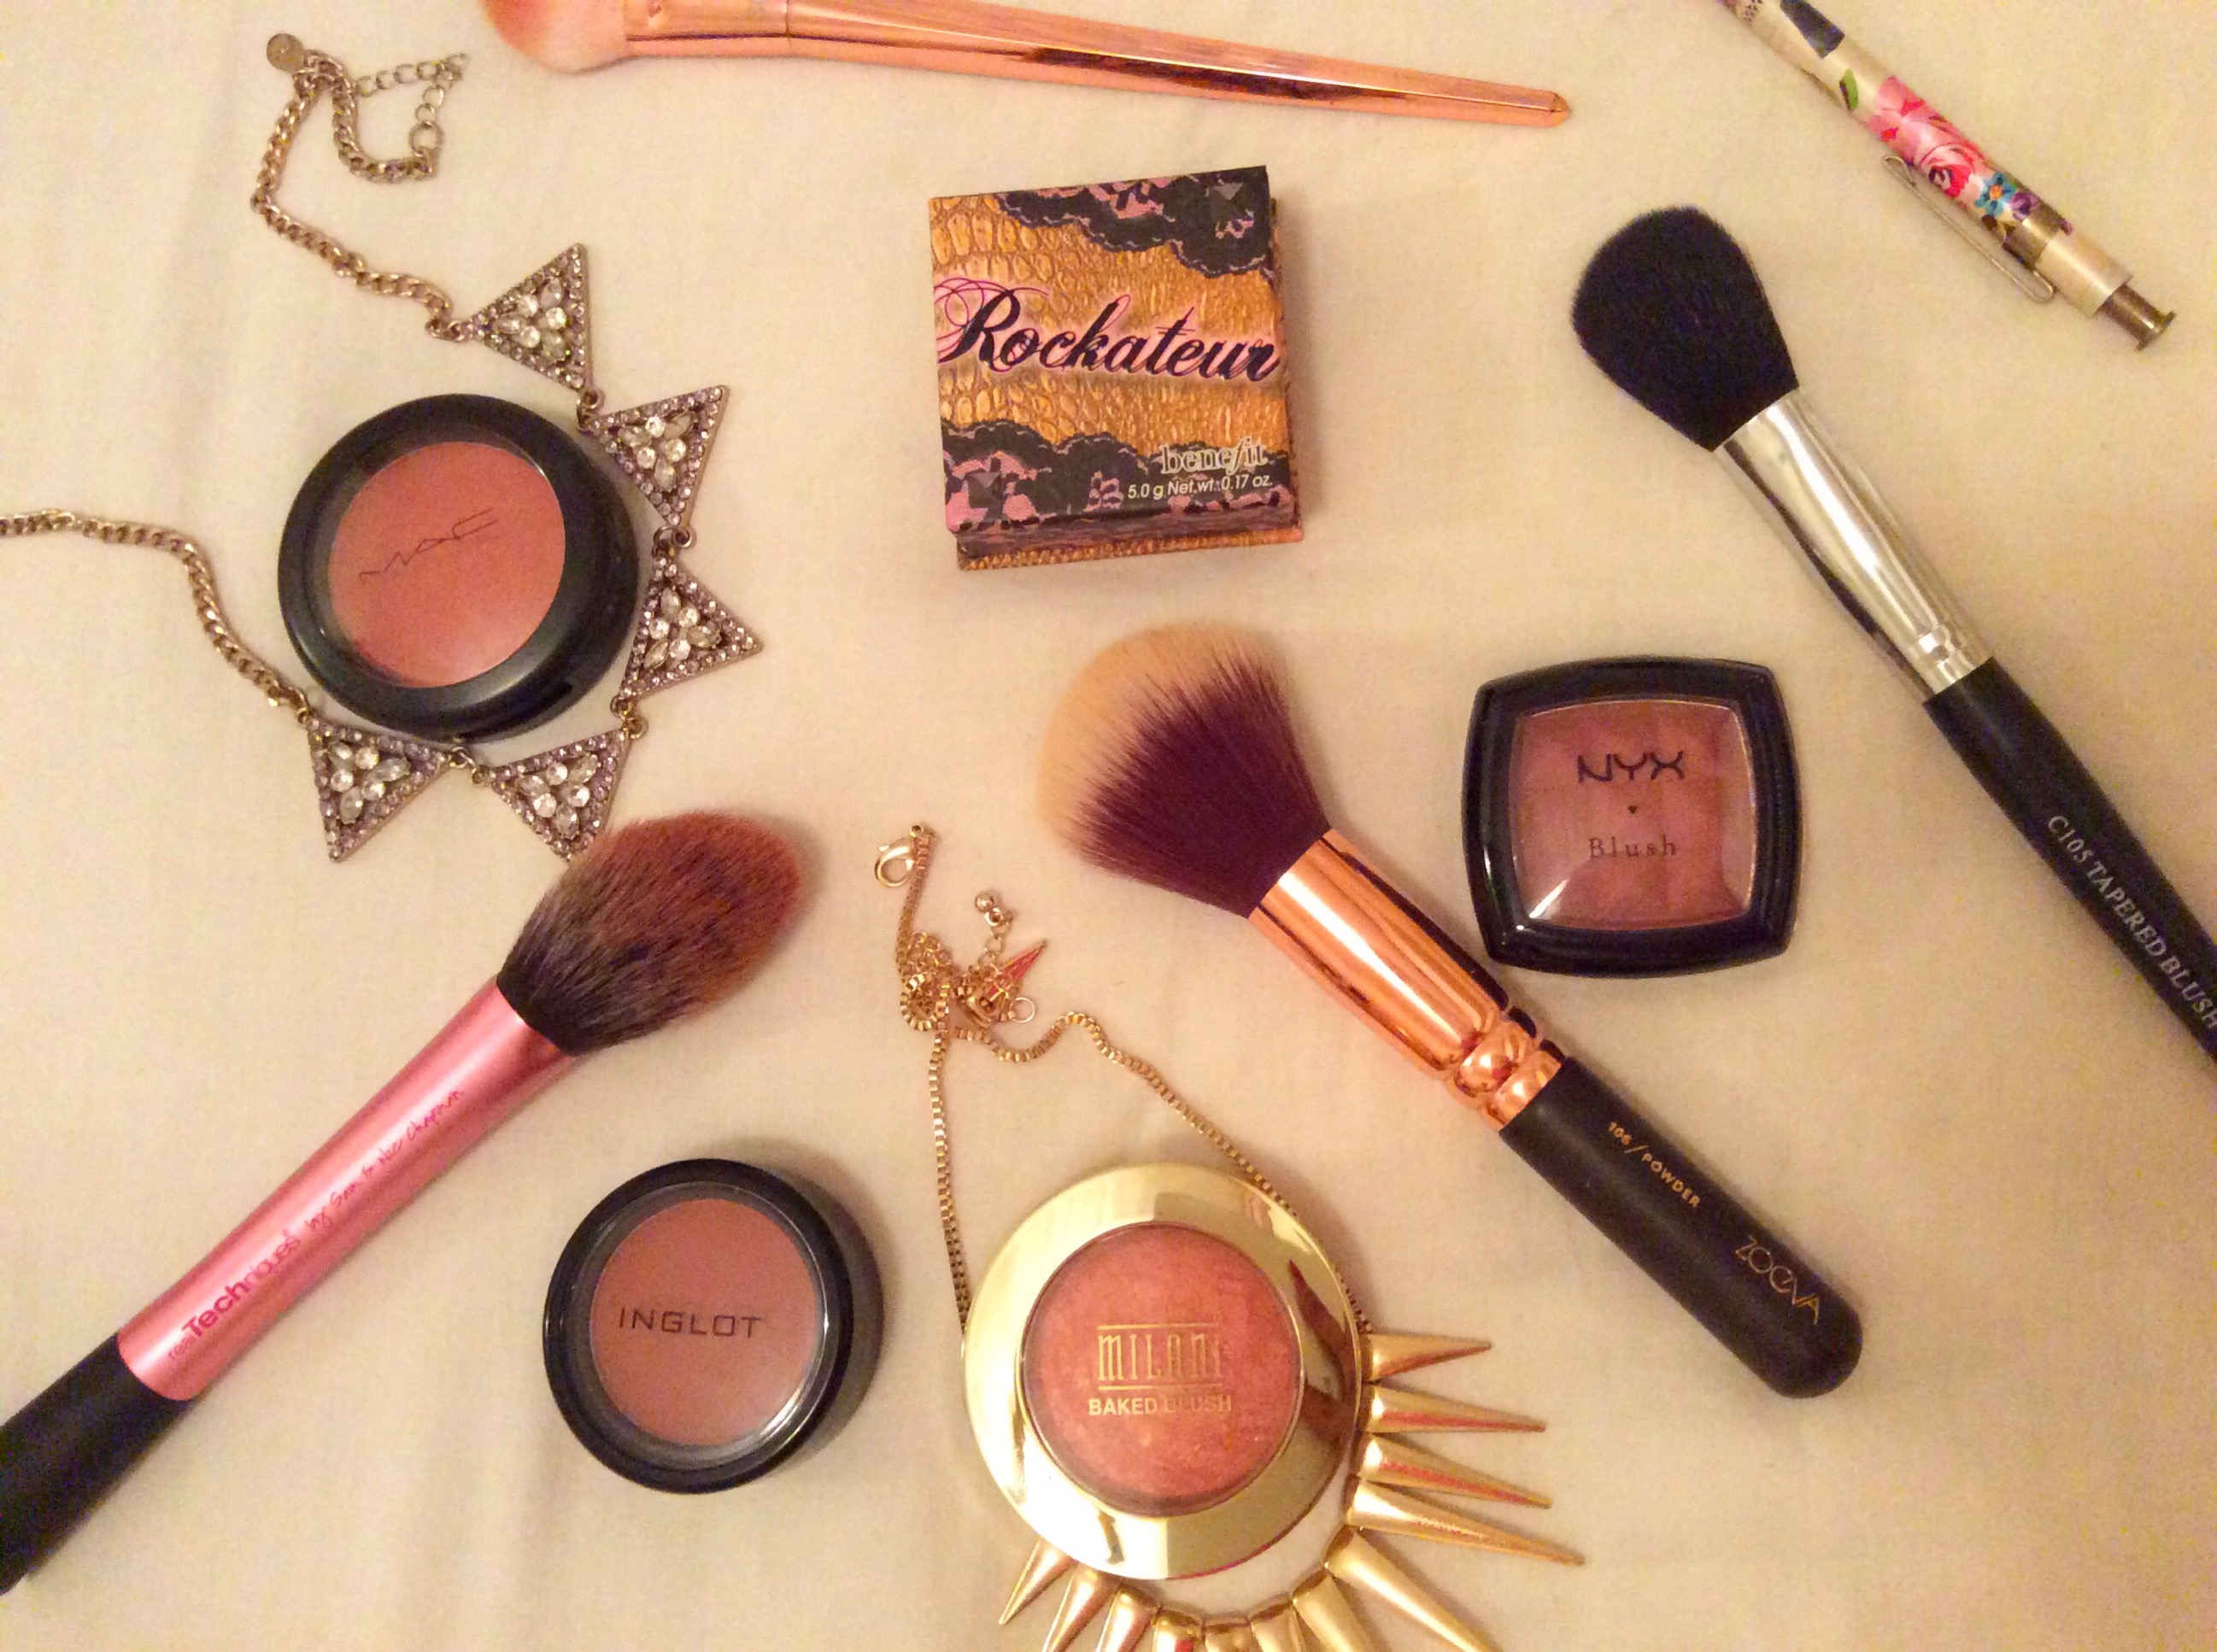
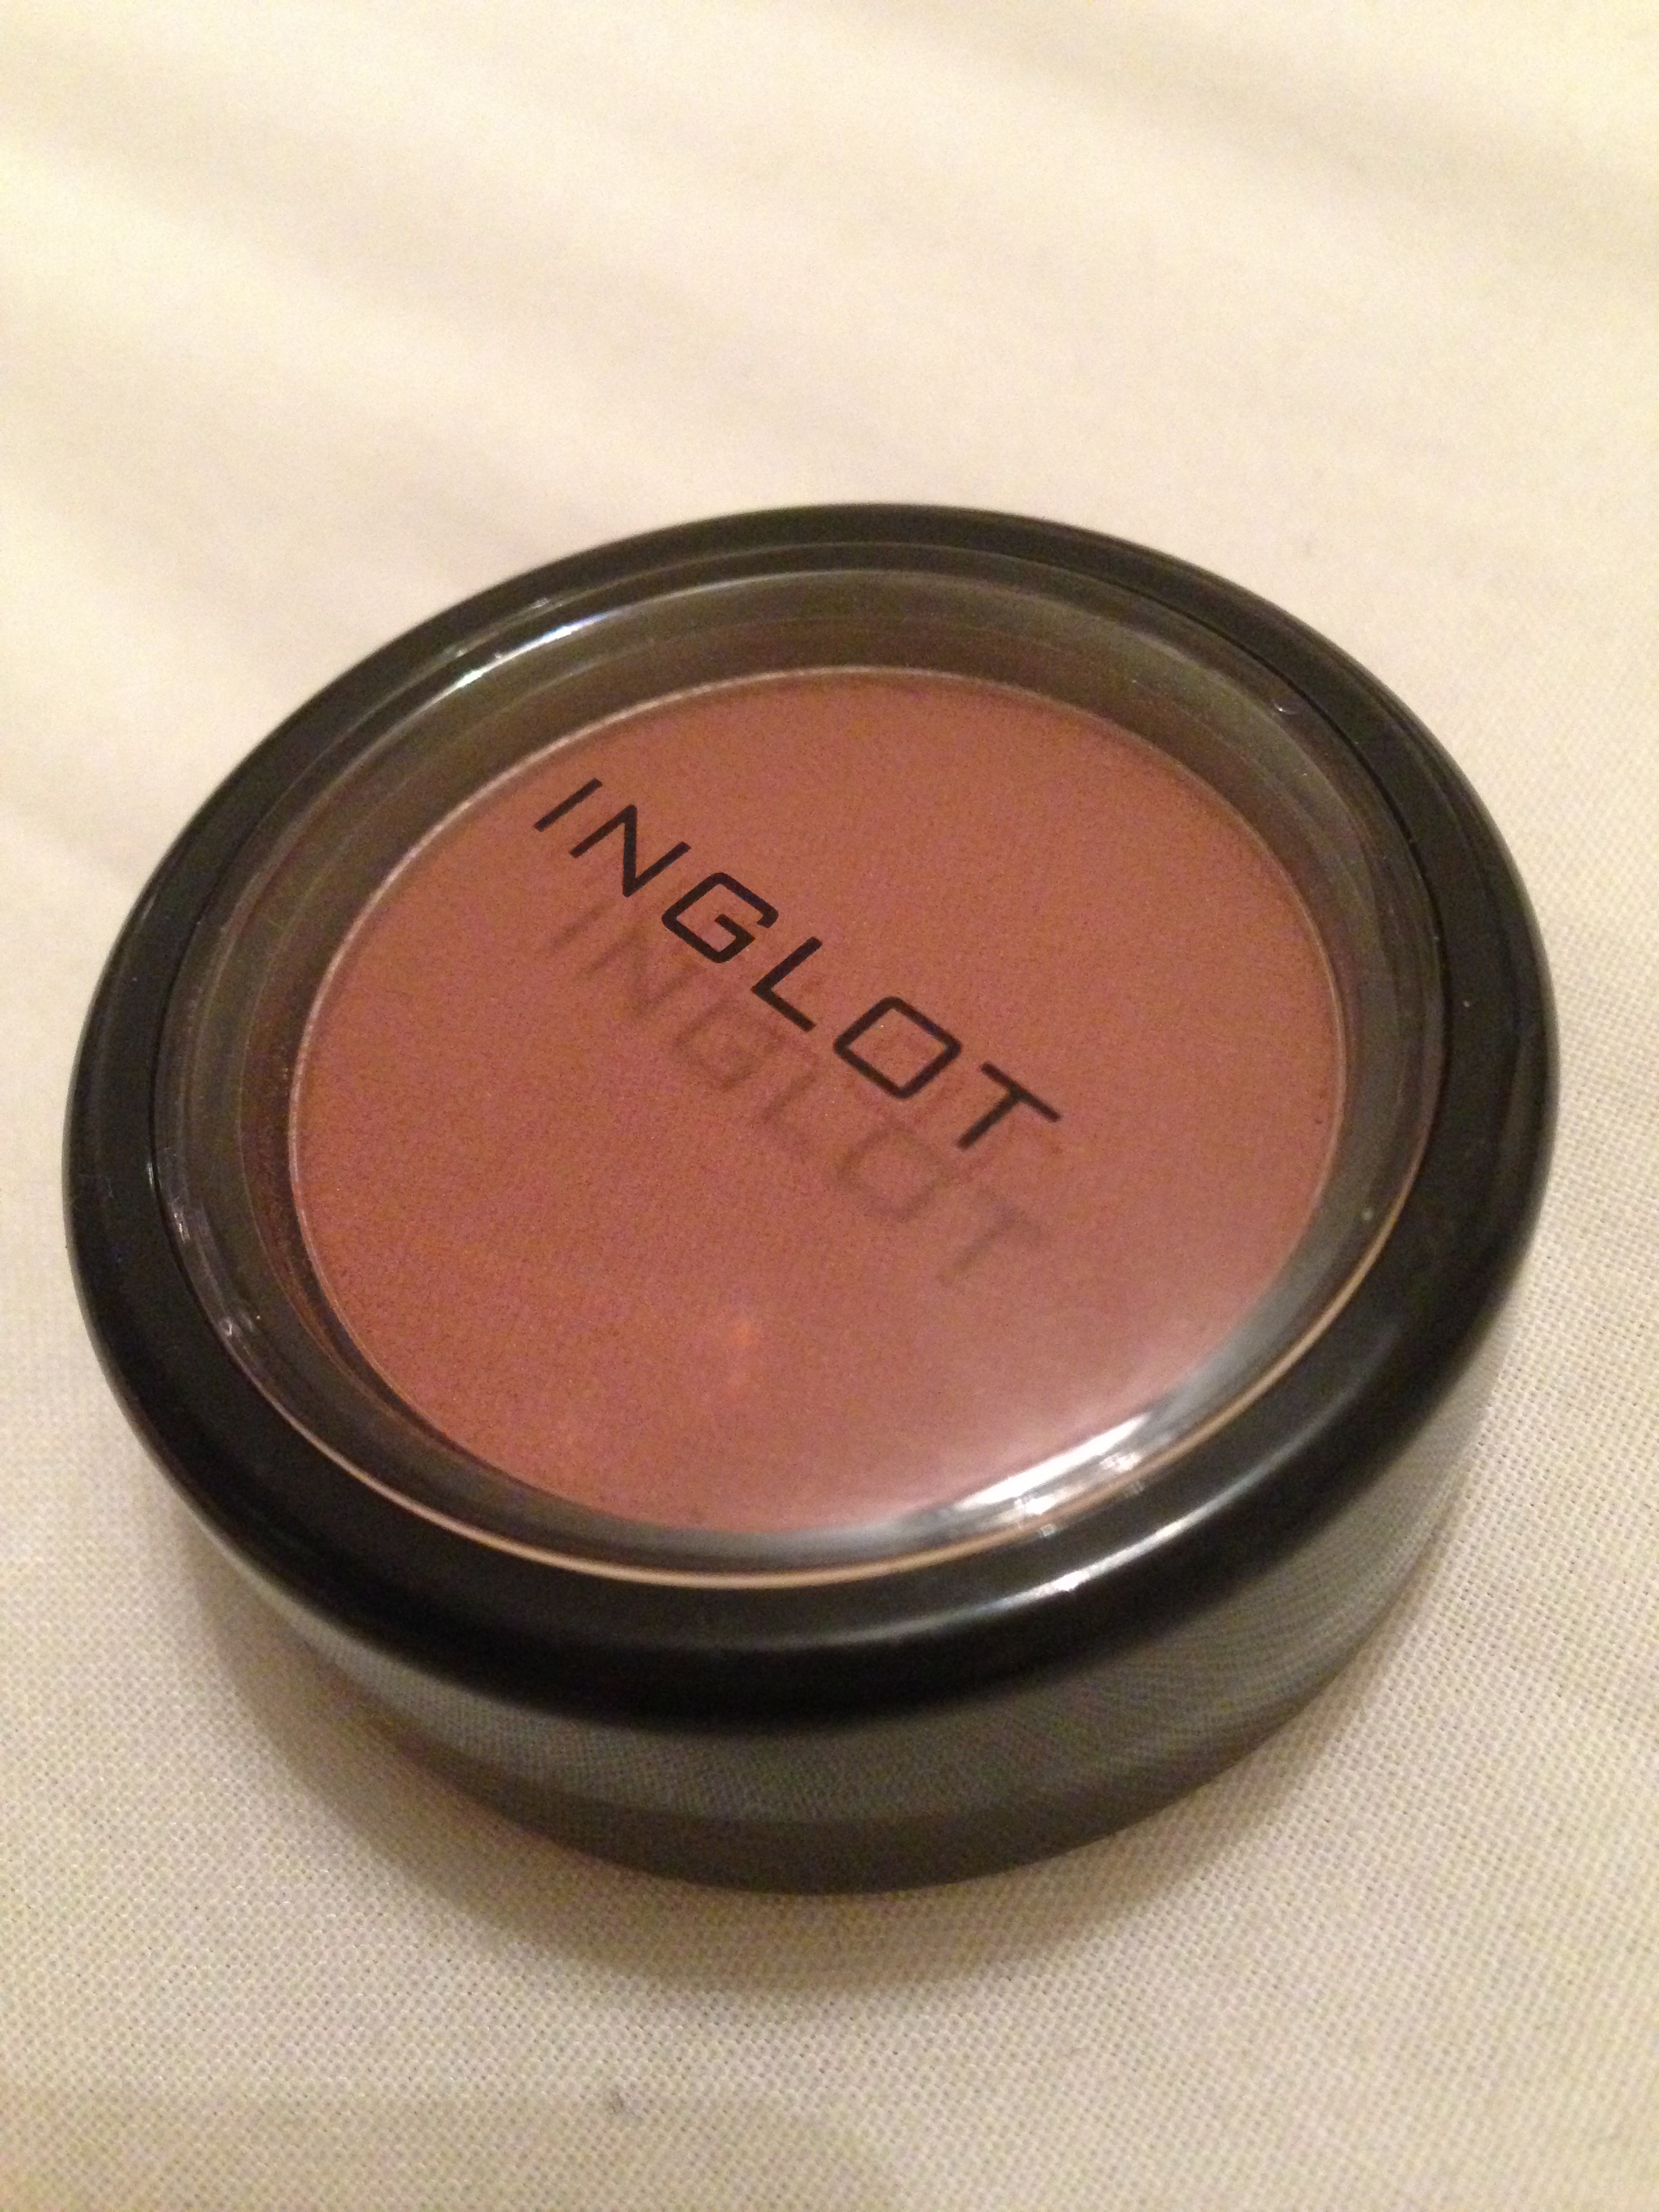
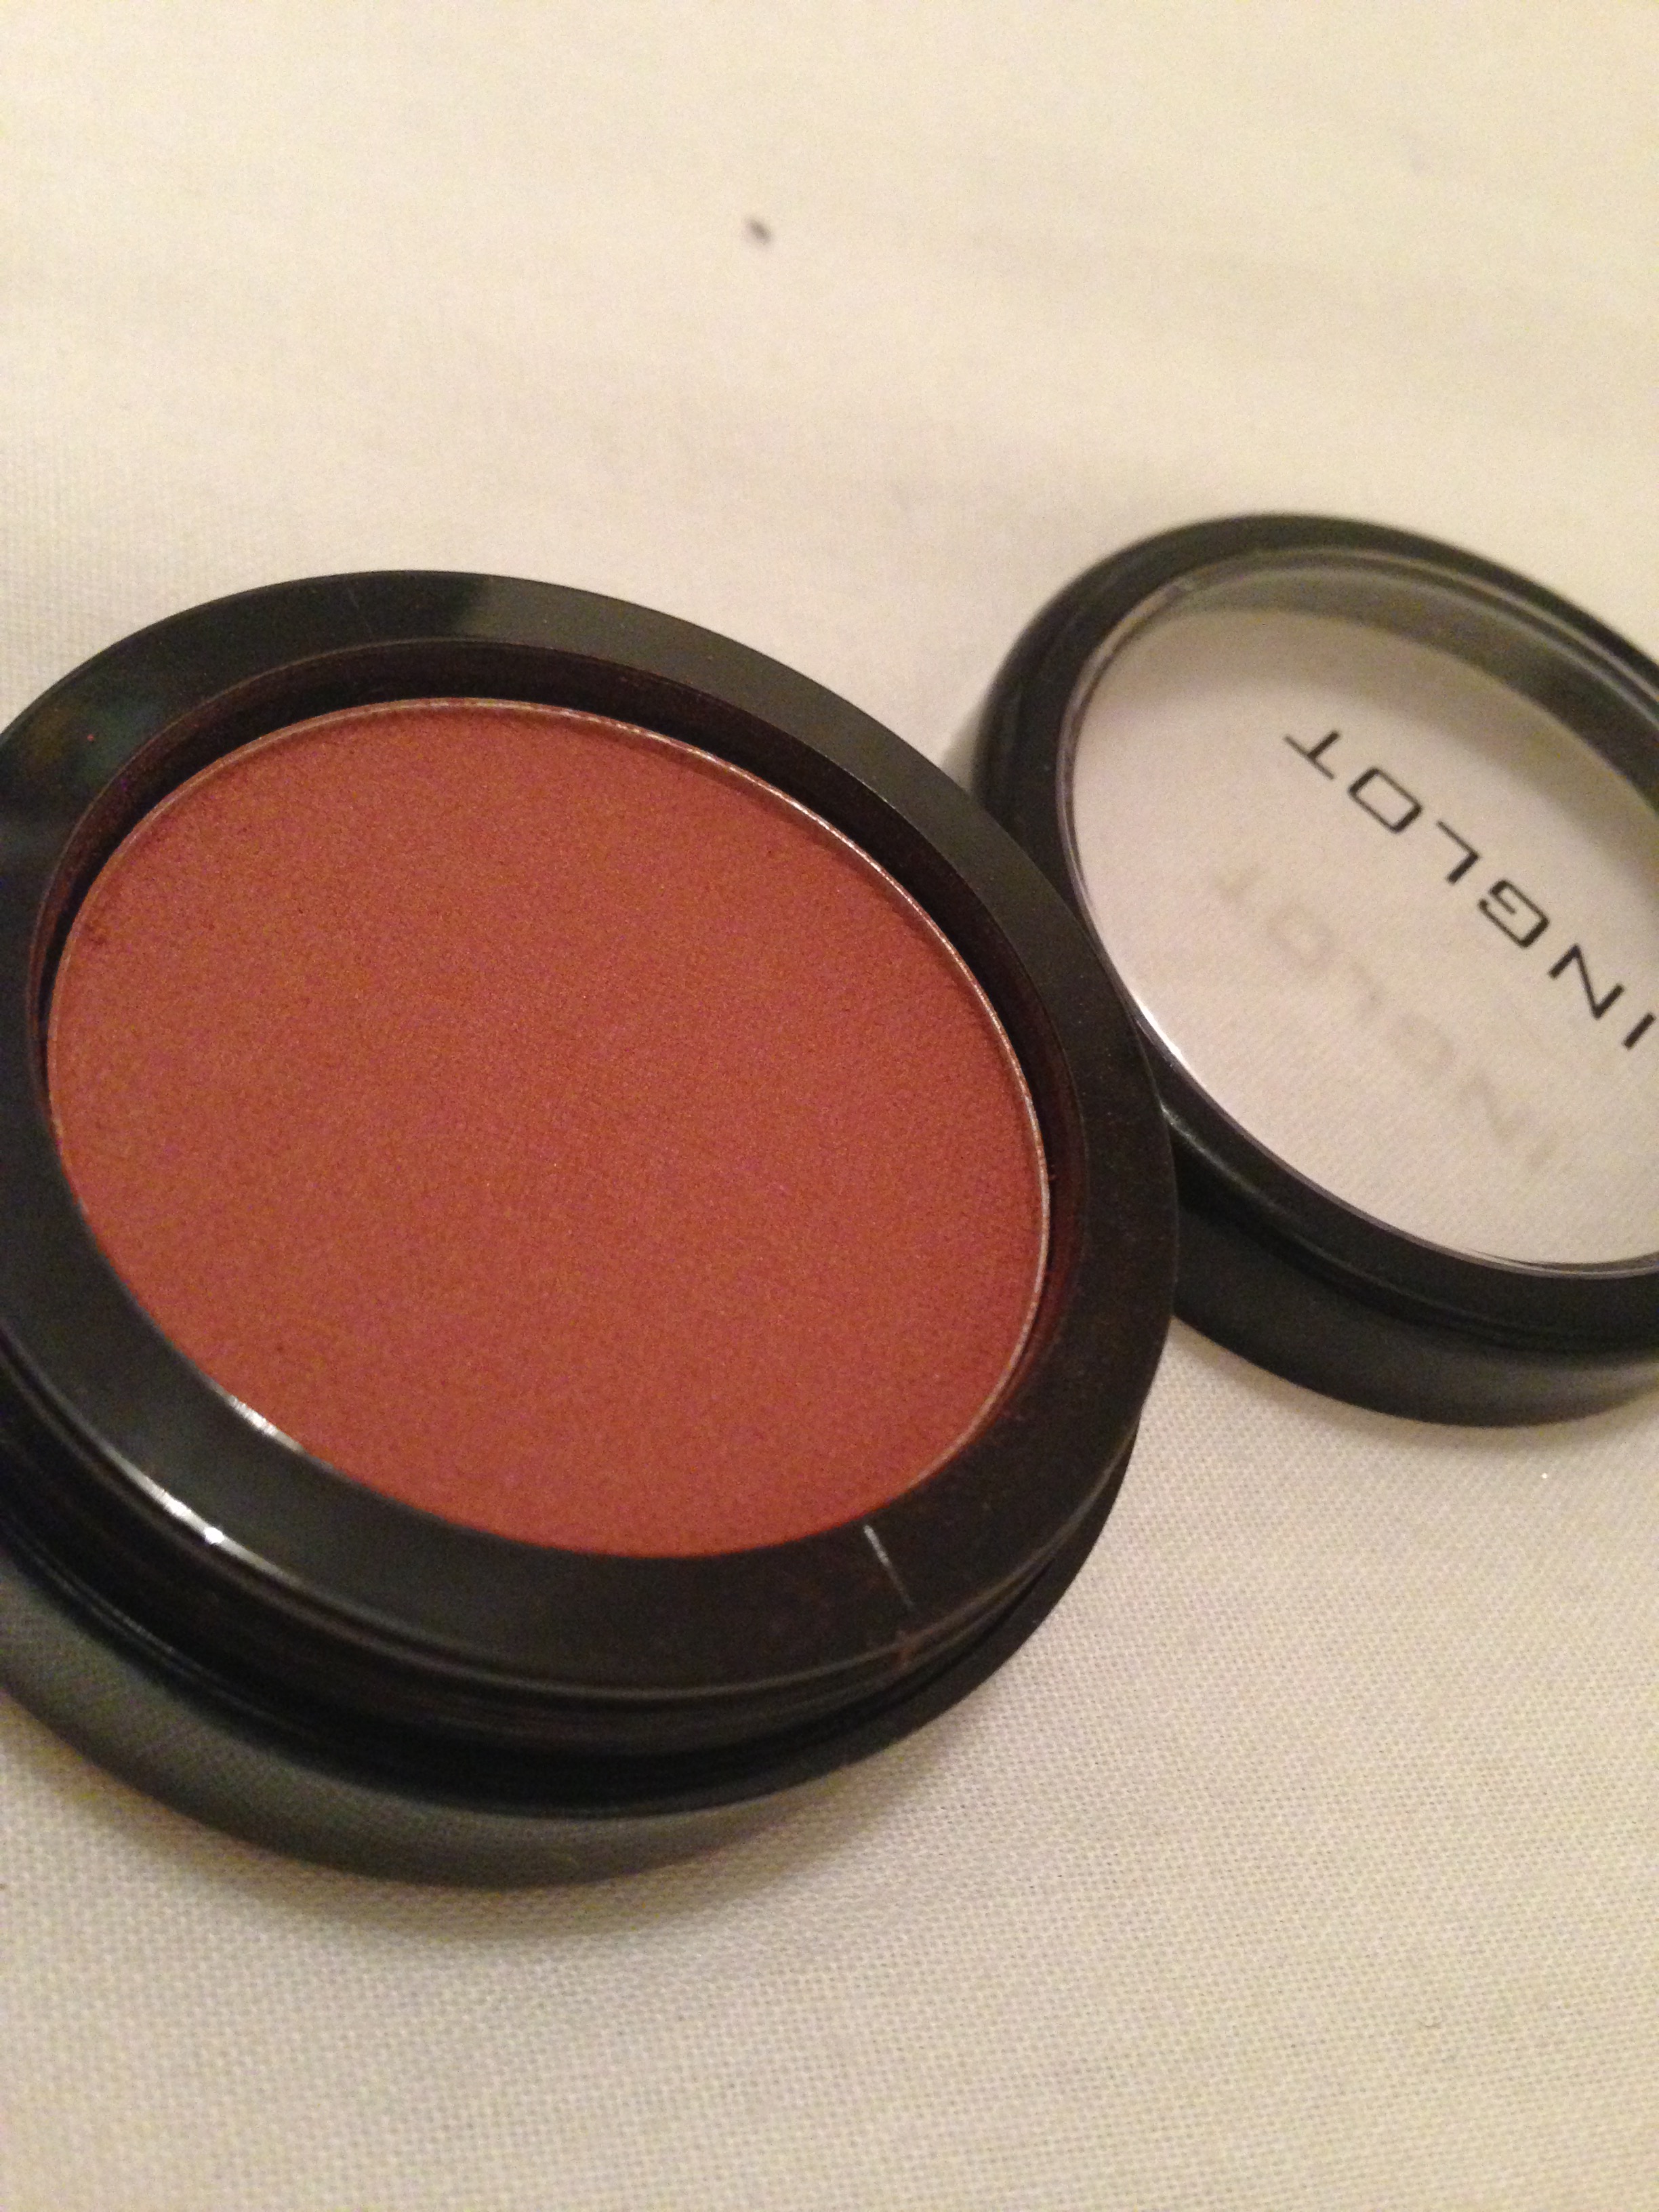
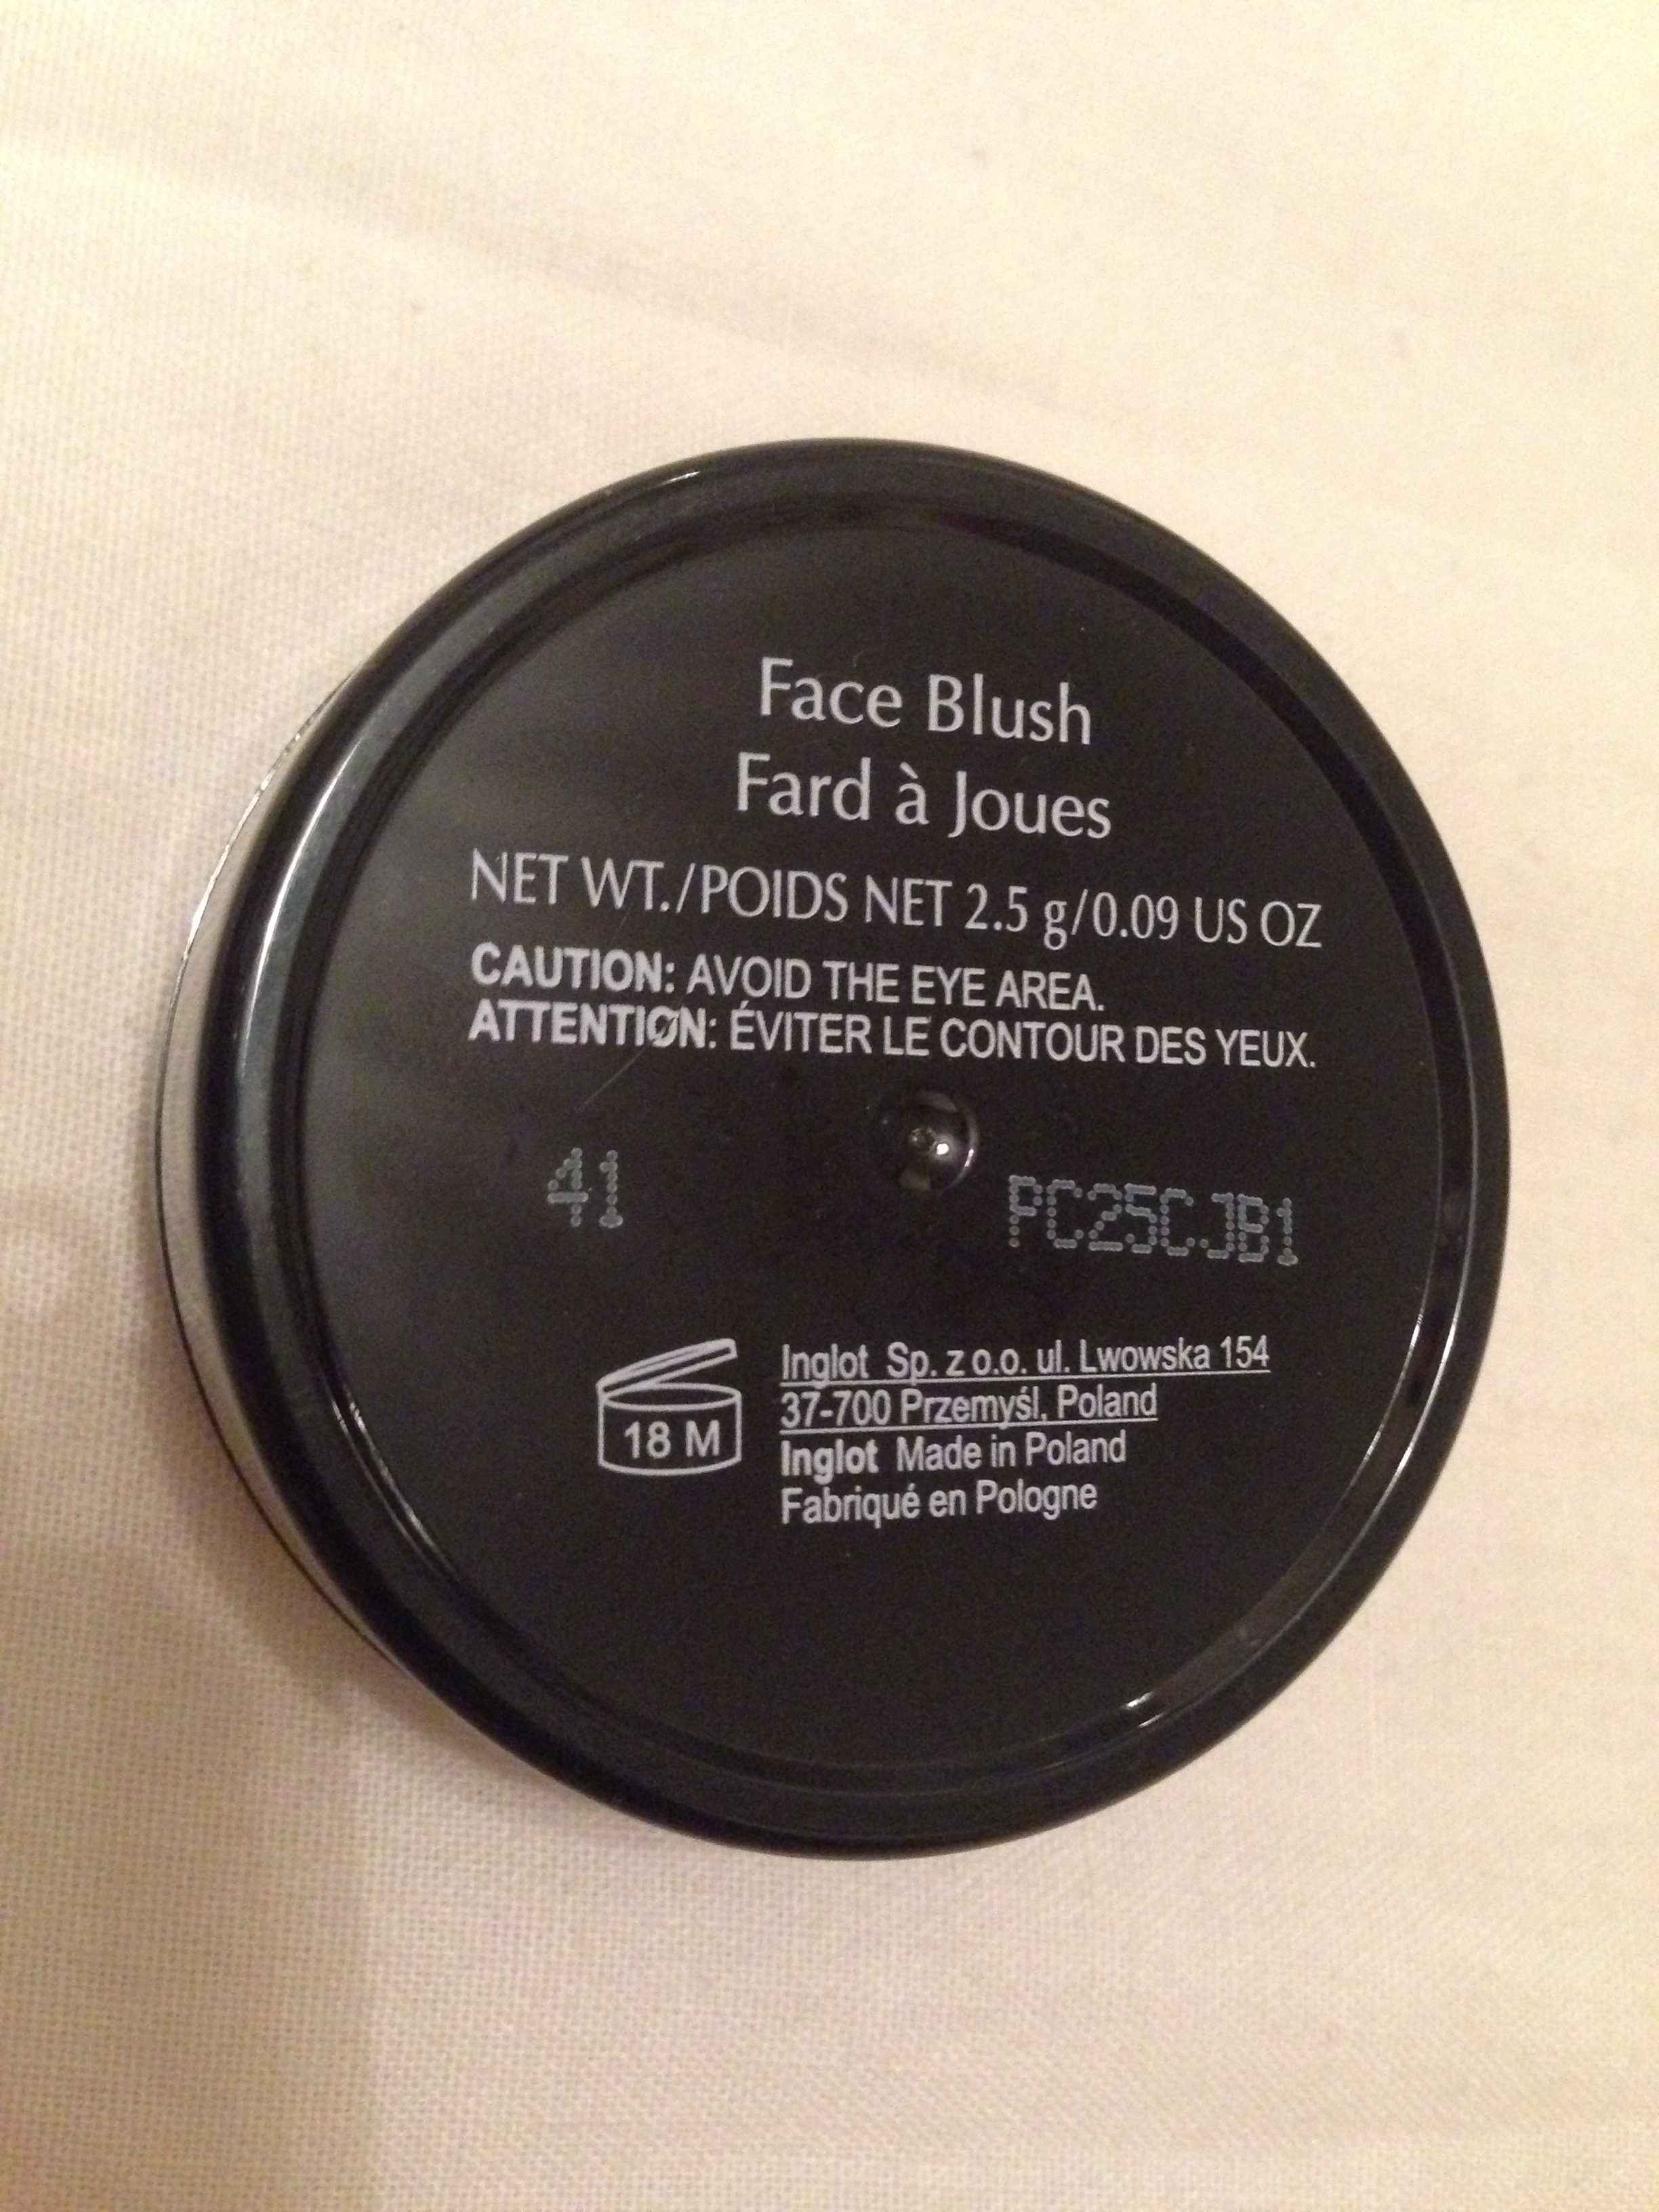
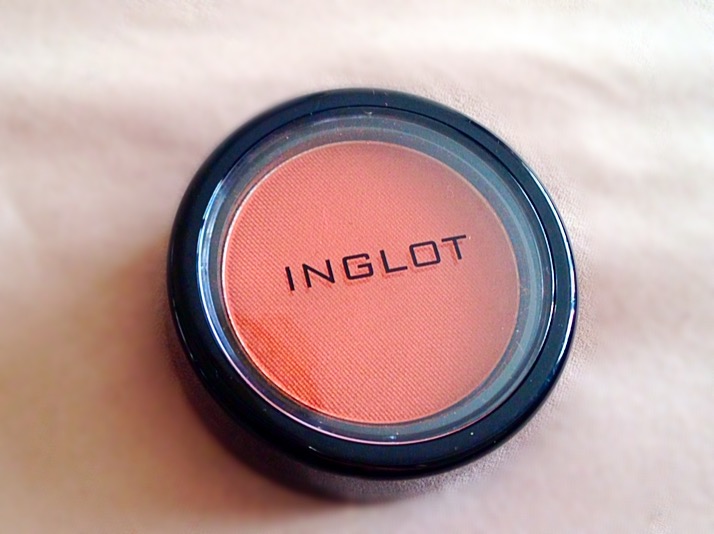
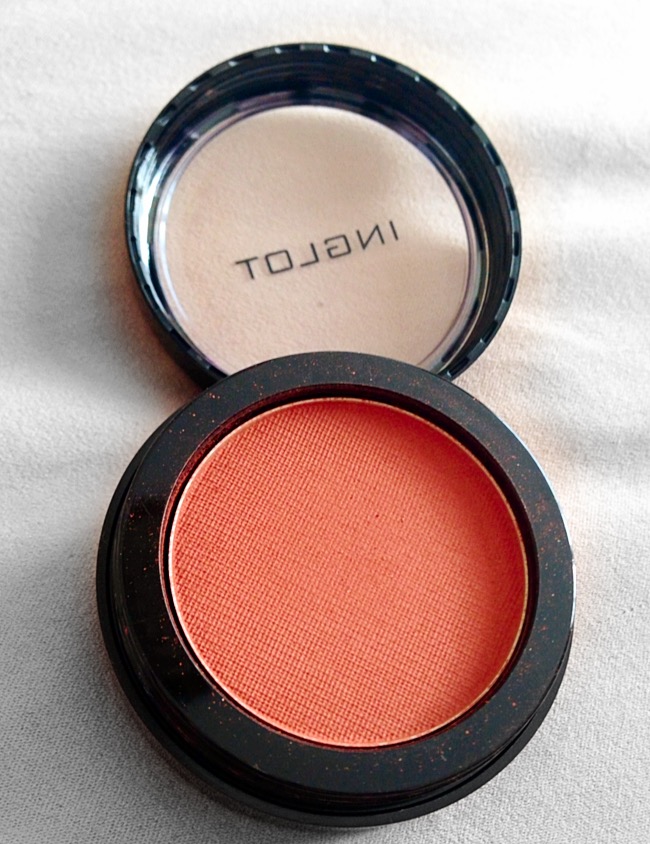
For blush, my go to, everyday shade is the INGLOT Face Blush #41 (July Favourites). It’s a perfect, natural shade and brings a subtle pop of colour to my, usually tired looking, face in the morning haha!
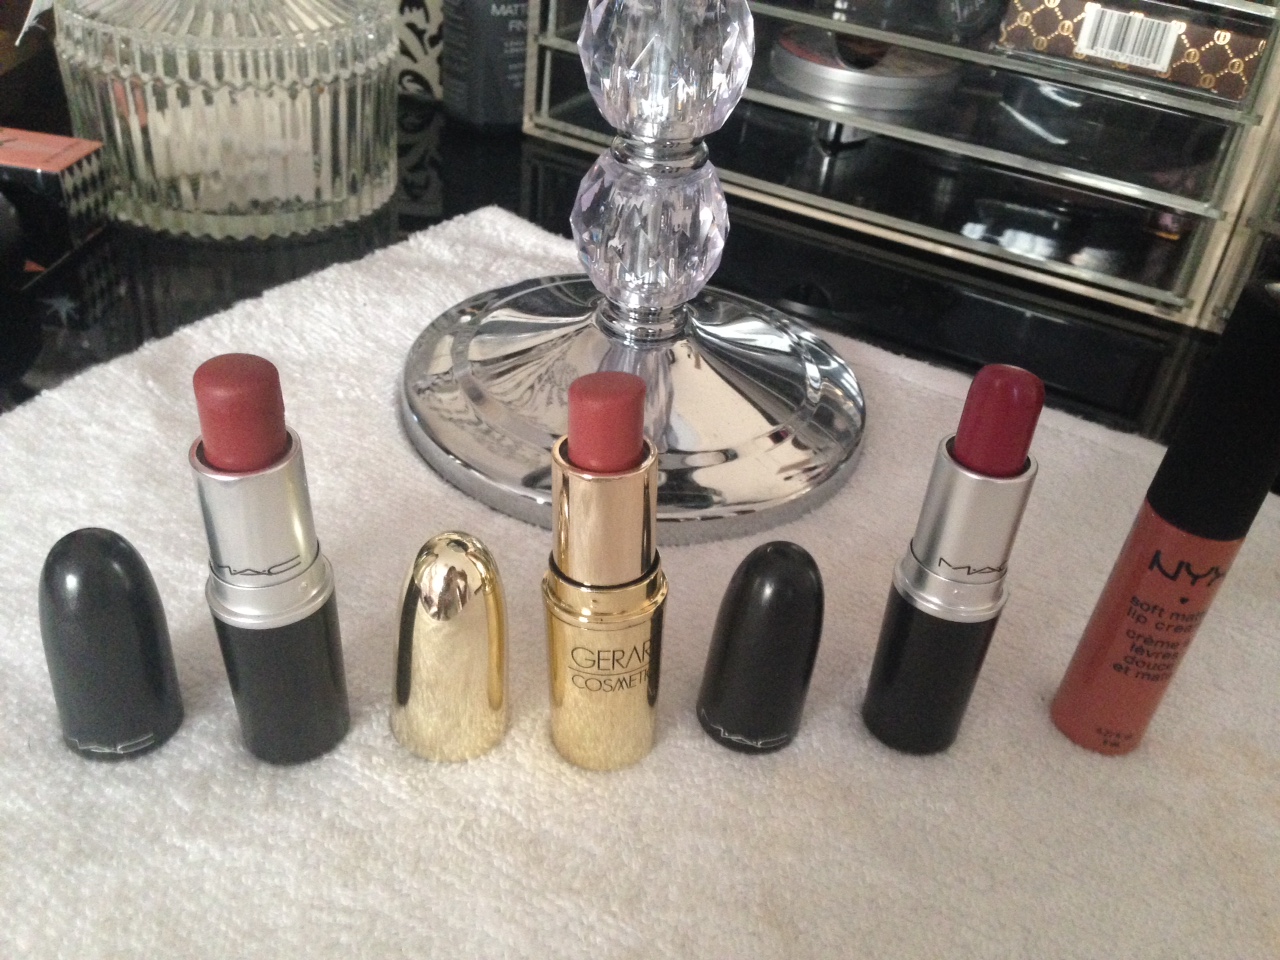
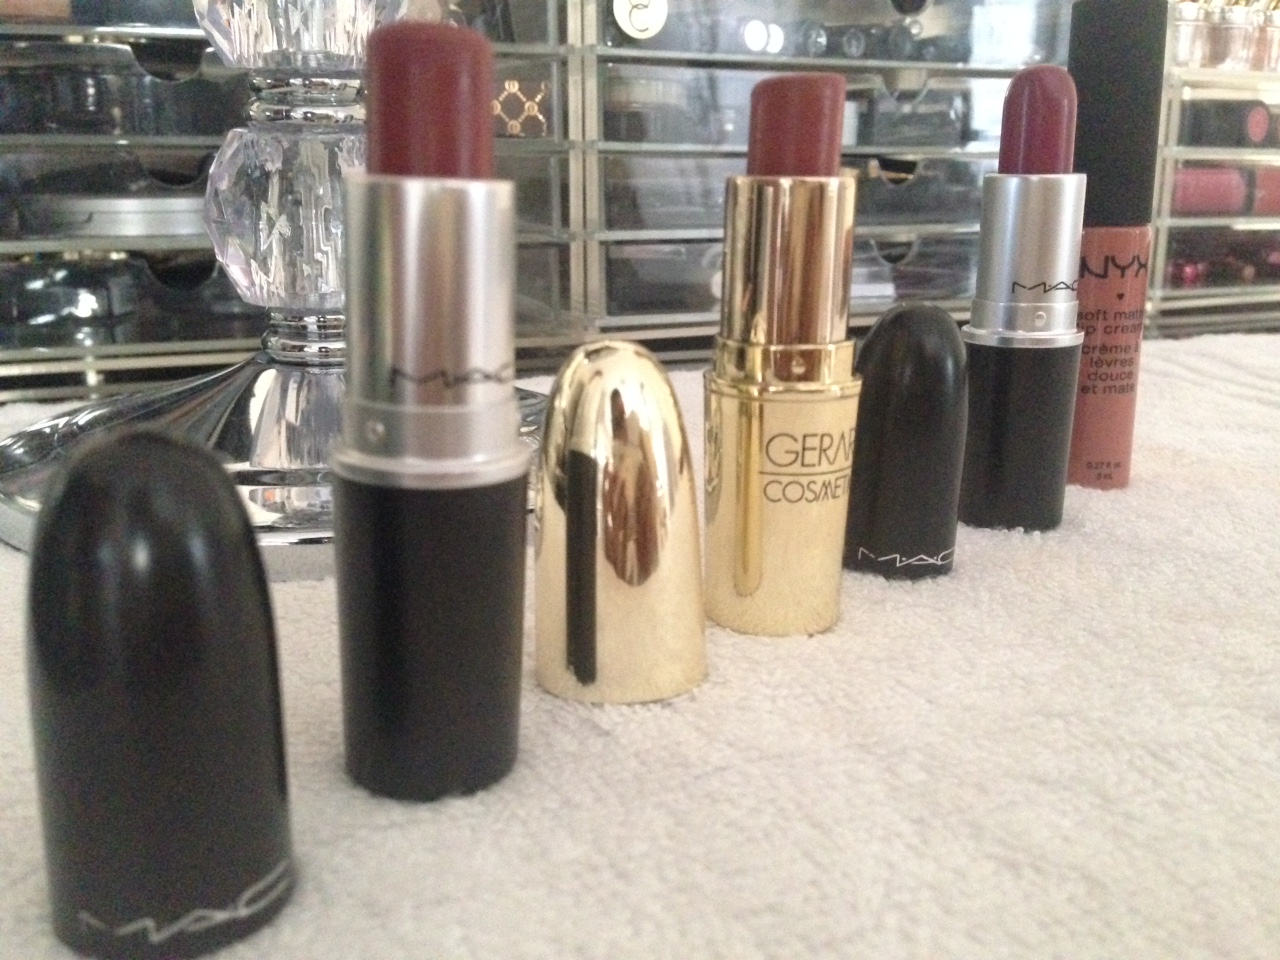
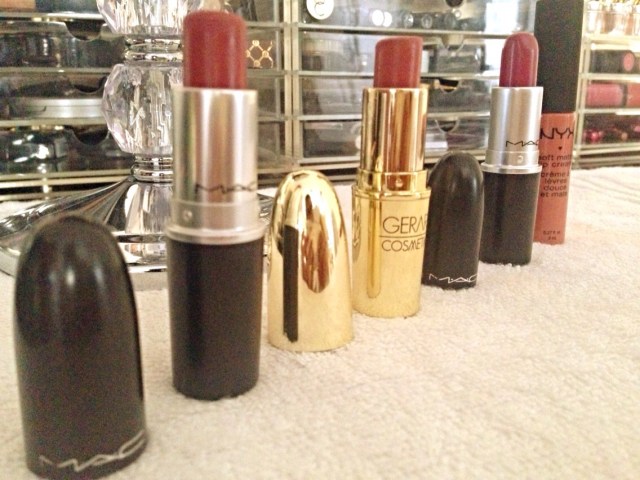

Step 10 – Lips

IMG_4347 IMG_0046

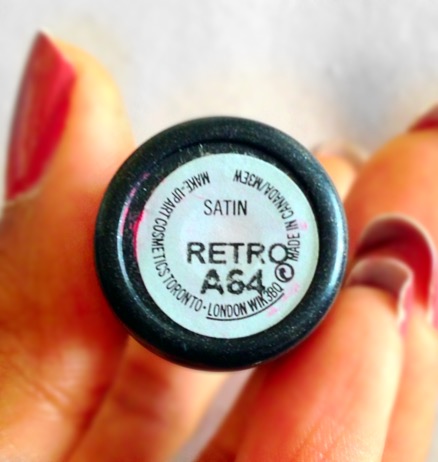
Lipstick finishes off this look with a transformation! The difference my make up looks with a touch of colour on my lips is incredible! I love to go for the nude shades for an everyday look and my favourites are: MAC Retro, MAC Amorous (for a more summery day), Gerard Cosmetics 1995 and NYX Soft Matte Lip Cream in Zurich


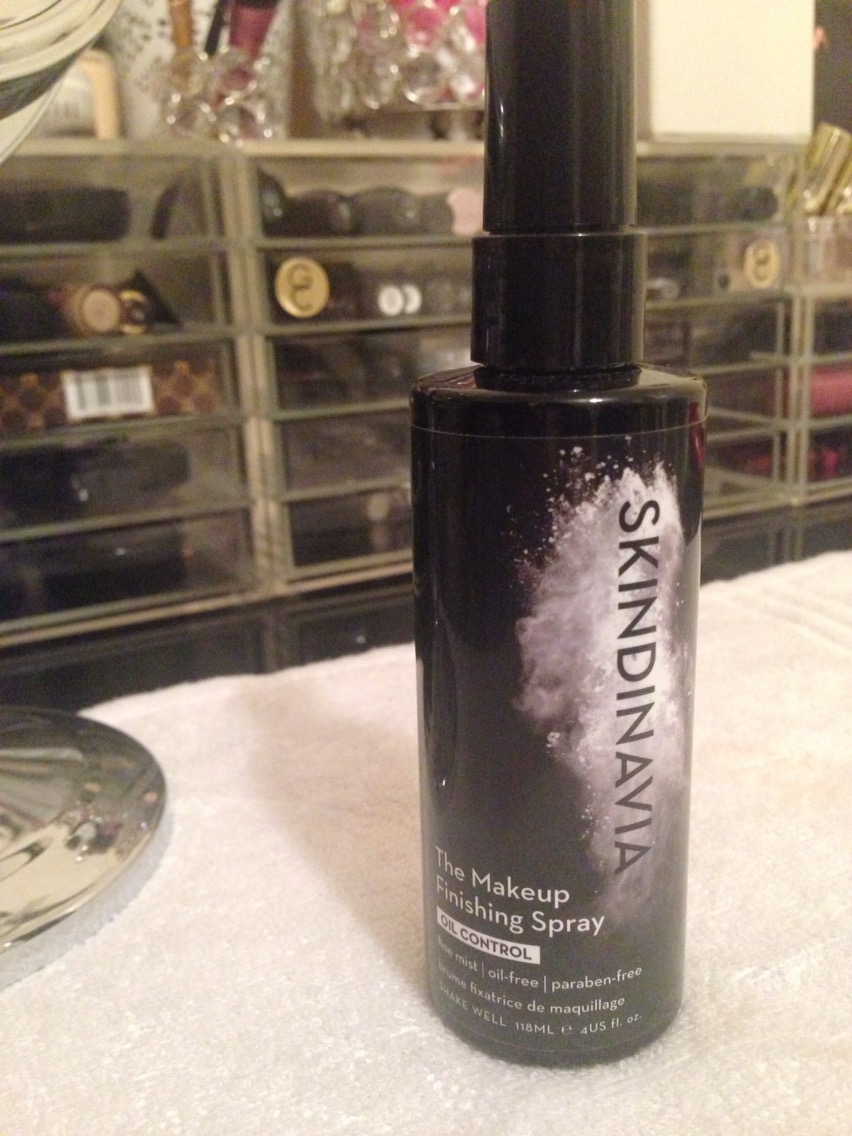
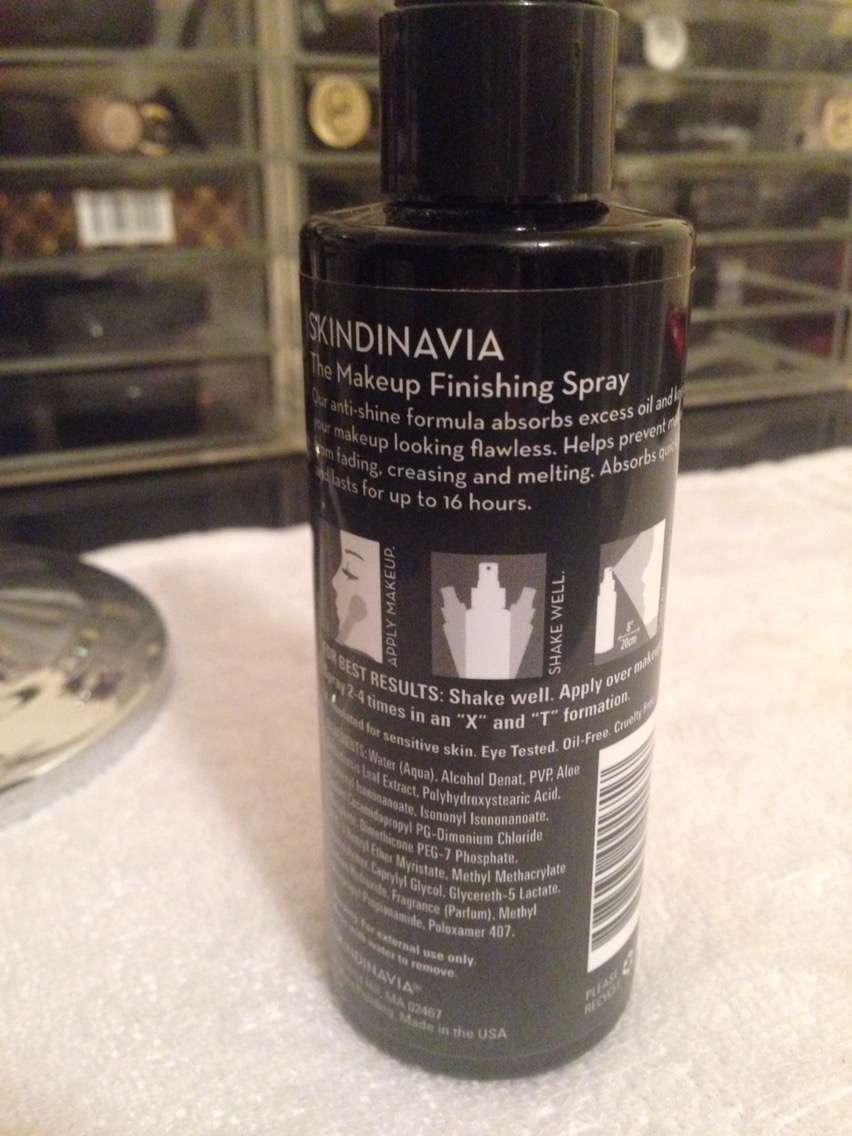
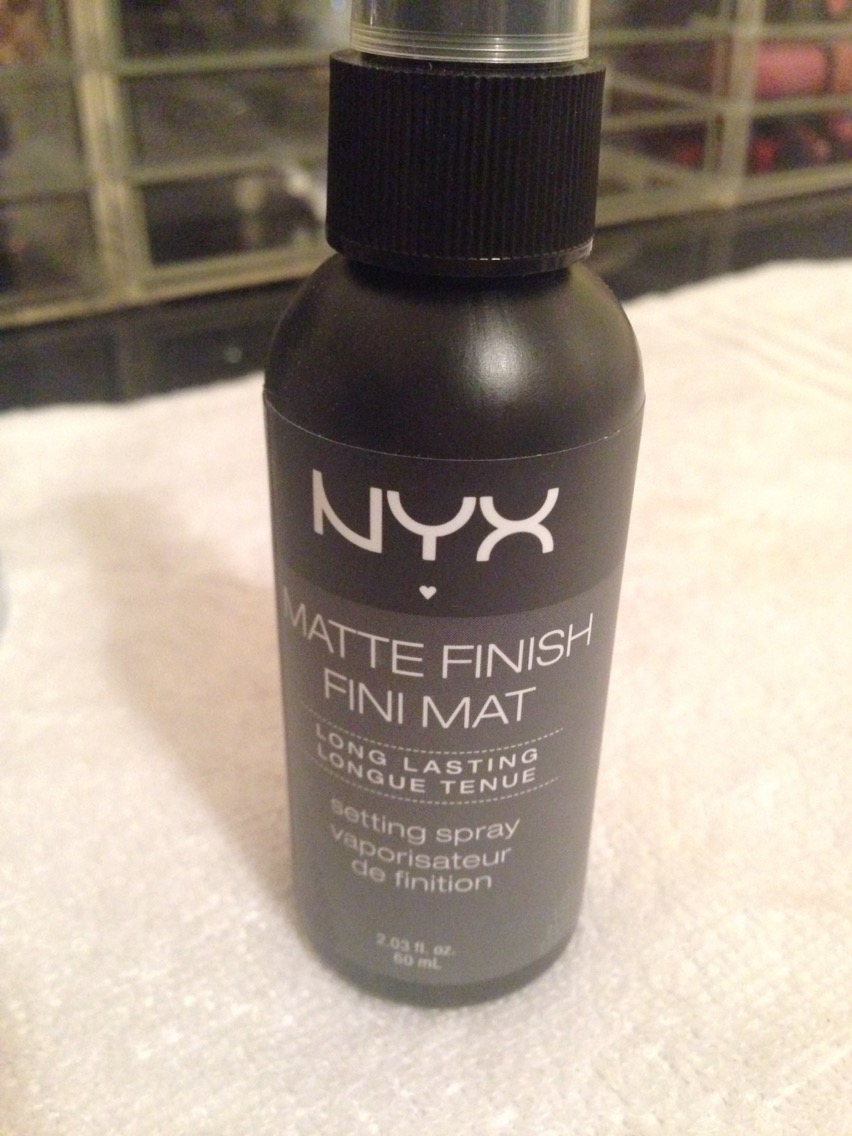
Step 11 – Finishing Spray

IMG_5841 IMG_5842 IMG_5843

Putting the whole look together, my go to Finishing Spray at the moment is the Skindinavia Makeup Finishing Spray but if i’m a bit more on the oily side, I tend to use the NYX Matte Finish Spray. Both are great and leave my make up lasting all day with no movement.


That comes to the end of my Everyday Makeup Routine, hope you guys enjoyed reading! Sorry it was really long, but I didn’t want to miss any steps.

It would be great to know your guys’ everyday makeup routines in the comments or if you like or use any of the products I use, let me know your thoughts 🙂

Sachita x

July Favourites! ❤️

Hey! I would usually do a favourites video but this month I thought I’d mix things up a bit and write a post on what I’ve been loving in the month of July! Most of my faves this month have been make up related with one or two beauty products too! What have you been loving this month? It would be great to know in the comments 🙂

IMG_4462 IMG_4741 IMG_9357

1) So my first favourite has got to be the Make Up Forever HD Foundation, I’m in the shade N173. I know this isn’t a new product in the beauty market but it has only recently come into my possession when I purchased it at IMATS London (now sold in Debenhams, UK) – and I absolutely love it! It’s a medium to full coverage foundation and covers up any scars or blemishes with ease. My go to foundation before this one was the MAC Studio Fix Fluid in NC44.5 which I still love but this MUFE HD is right up there with the MAC SFF! The colour matches my skin tone perfectly and as it’s HD, it photographs beautifully 🙂 I love to apply this foundation with my Sigma 3D HD Kabuki Brush – the ridge is great to apply liquid foundation and allows you to access every crease, curve and angle on your face!

IMG_0210

2) Skindinavia -The Makeup Finishing Spray Oil Control and Skindinavia – The Makeup Primer Spray Oil Control

I’ve had my eye on these forever and when I saw them at IMATS I knew I couldn’t leave without them! I use the primer spray everyday before I start my make up and it sprays on like a light shower of mist over my face (which is great to wake me up for an early start at work, haha!). The finishing spray is slightly more of a spritz when sprayed but after a couple minutes, you can really see the difference before and after. My make up looks a lot more levelled and blended together, the spray is more magical than a buffing brush! I purchased the oil control as i have combination skin and I tend to get quite oily around my T-zone throughout the day. These sprays have been so great at controlling the oil around my T-zone and also for keeping my make up on and in place for the whole day! They’re amazing! Skindinavia produce the Urban Decay Setting Sprays which I also love and are more readily available so don’t worry if you haven’t got your hands on these yet – the UD ones are just as good! 🙂

IMG_2951 IMG_5600

3) Too Faced – Better than Sex Mascara

This has been my go to mascara this month – totally clump free, lengthening, volumising – you name it – it has all the features! It’s really quick and easy to apply, the hourglass shaped wand makes it easier to get right into the root of your eyelashes. One coat and you’re done, leaving my lashes so full and defined! On a night out, I would go for two or even three coats and it literally gives such magical results – I could go on and on…haha It is a bit on the pricey side but it’s totally worth it and one of those must haves in your make up bag!

4) INGLOT Face Blush – Shade 41

IMG_9878 IMG_0448

This blush is so nice for everyday! INGLOT have such a great range of colours and it was so hard to choose just one favourite but this has been the one I have been reaching for most this month! It’s a gorgeous matte orangey/red shade and great for summer – it’s so long wearing and gives a smooth application. I usually use the Real Techniques Blush Brush to apply this. It gives a nice healthy glow to the face and paired with the highlighter below, I absolutely love the dimension it creates on my face.

5) Make up Forever – Pro Sculpting Duo – #2 Golden 

IMG_0787 IMG_1305OMG I die every time I open this! Isn’t it gorgeous?! MUFE recently came out with two of these “contour & highlight” duos. I picked the darker of the two as I was instantly drawn towards the stunning golden highlight shade! It blends on the skin so seamlessly as the powder is super finely milled, it almost feels like a cream. To be honest, I use the golden highlight shade far more than the deeper contour shade, just because I find it doesn’t work too well for me as a contour, but as a bronzer it’s great! However, I would repurchase just for the highlighter! I wish MUFE would make a new compact just of the highlighter shade – it would be killer!

6) NYX Wonder Pencil – Medium

IMG_7921 IMG_3737

I’ve been longing for the right nude pencil to brighten my waterline for ages now and haven’t been able to find the perfect one in the drugstore – until this one! The NYX Wonder Pencil comes in three shades and the medium is so perfect for me! Claiming to brighten, line and conceal, I mainly use it to brighten and it really brings out my eyes with a pop! I tend to use this for more of an everyday look, paired with some smudged-out bottom liner and of course, Better than Sex mascara by Too Faced.

7) Kat Von D – Tattoo Liner – Trooper

IMG_8136This liner is so faultless! It’s super smudge proof and long-lasting, with that tiny bristled tip – so precise for that perfect winged liner! It stays on the whole day through rain and wind and even if you rub it with your finger, once dry, it won’t smudge! Amazing right?! If you guys haven’t got your hands on this yet, it’s such a must and one of those make up bag essentials!

8) Milani Baked Bronzer – #06 Golden

IMG_8377 IMG_8334 IMG_1626 IMG_3724

I’ve previously used the Milani Baked Blushes and they’re so pretty on the skin, so I had to give the Baked Bronzers a go too! Mine is in the shade 06 Golden and it also comes with a brush and a mirror under the compact which is super travel friendly! I am so obsessed with this bronzer! It’s more of an evening wear for me – for nights out or dinners, and I have received so many compliments for that sun kissed, glowy look it brings to my face. It can even be used as an eyeshadow and I would sometimes dust it over my lids for that extra glowy pop! So silky and streakfree when applied! Like the Baked Blushes, the packaging on these are to die for!

9) MAC Lipstick – Retro

IMG_6104 IMG_6596 IMG_0799

As you can see, I’ve used this so much! Retro by MAC is probably one of my favourite MAC lipsticks – it’s so so perfect for everyday and it compliments my skin tone so well, without looking to bold! I’m not really one for bold and daring lip colours (only on occasion) and Retro has a satin finish with a browny undertone with a nice hint of berry red – perfect for a dressed up or a dressed down look. I would say it comes into the same category as MAC’s; Brick o La, Spice it Up! and Twig.

10) Elizabeth and James White – Nirvana – Peony for her IMG_5413 IMG_1690

My final favourite for July is a perfume – Elizabeth and James Nirvana White, produced by Mary Kate and Ashley Olsen. I discovered this perfume around a year ago as my friend Ashni (check out Ashni’s blog) had it, and we were talking about a similar perfume which I love – Stella by Stella McCartney. I was telling Ashni that I found Stella didn’t last very long and I was going through bottles like water (anyone else experienced this?)! She introduced me to Nirvana and I instantly fell in love! It’s a gorgeous musky, sweet smell and lasts ages! Unfortunately this particular perfume isn’t sold in the UK so I asked my cousin Aarti (check out Aarti’s YouTube channel) to purchase it for me when she went to New York and i’ve finally got my hands on it!

Thanks so much for reading guys! Let me know your thoughts and favourites in the comments!

Ashni’s coming over for a sleepover now – gotta go prepare the popcorn haha 😛

Sachita x

IMATS LONDON 2015 HAUL

Hey!

imats thumbnail

This was my first IMATS and as usual, I went CRA-ZAYY! My cousin Sapna also came along and we ended up picking up a lot! IMATS is the International Make up Artist Trade Show so every make-up lover’s dream! It comes to London every year and they also exhibit around USA. Have a look at my haul below to see what I picked up from IMATS this year 🙂


Did you go to IMATS this year? What did you pick up while you were there?


Sachita x