Charlotte Tilbury Magic Foundation | First Impressions

Hey!

I know it’s been a while since my last post on my holiday to The Canaries, but I’m back in the game after much relaxation and ready to share my first impressions of one of the most talked about, iconic, luminous and weightless foundations out there – Charlotte Tilbury’s Magic Foundation. After walking into Selfridges and collecting a few samples to play around with myself at home, I felt that shade 9 was the perfect match for my skin tone and decided to buy it on my next visit which was yesterday! When I was matched at the Charlotte Tilbury counter, I felt at first that it was slightly more on the warm side, but after wearing it throughout the day, the colour grew on me more and more, and the luminosity that was brought out by the foundation, totally overpowered that slight mismatch in colour – so for me, this is the perfect shade!

Magic foundation is heralded as miracle in a tube with it’s flawless, powerless and long-lasting coverage, I can definitely say, it lives up to it’s promises! As a full coverage girl, who has some scarring – I’m always looking for that extra bit of coverage and after a first buff of this foundation into my skin, I can instantly see my skintone looking more even and with it, a subtle glow, blurring out my pores and covering my scars.

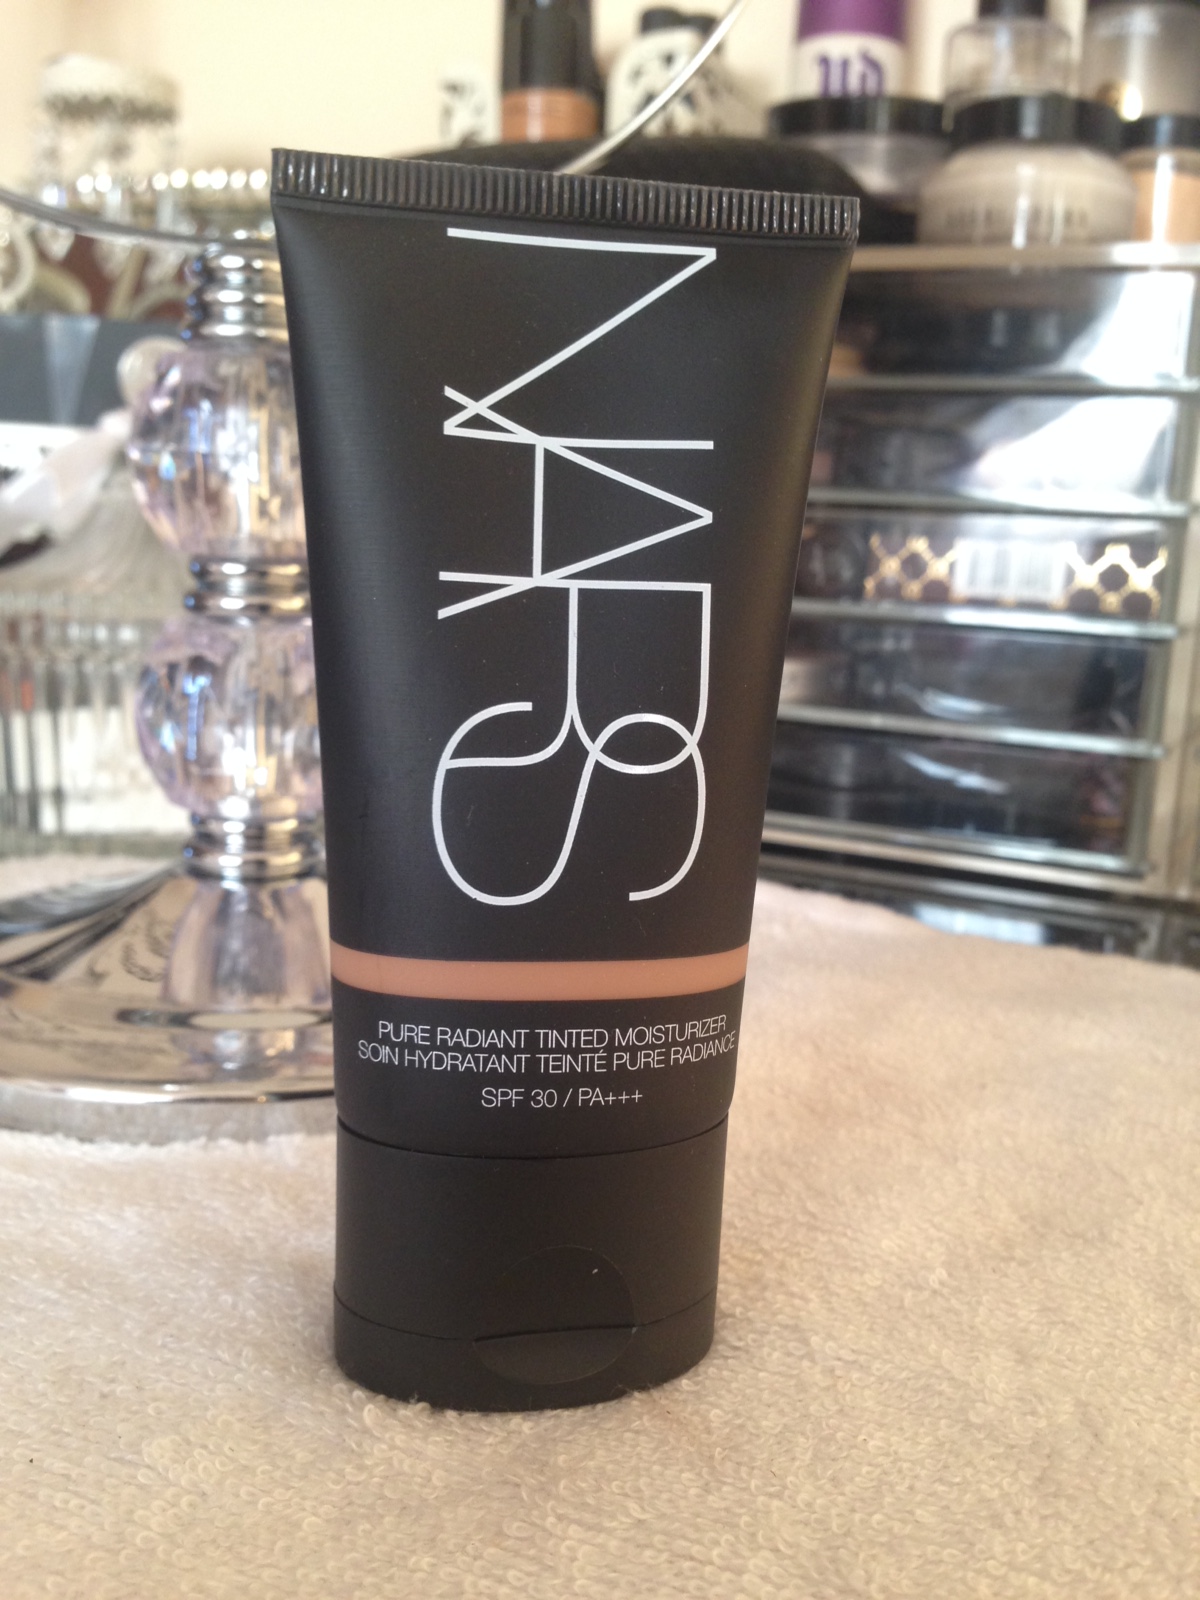
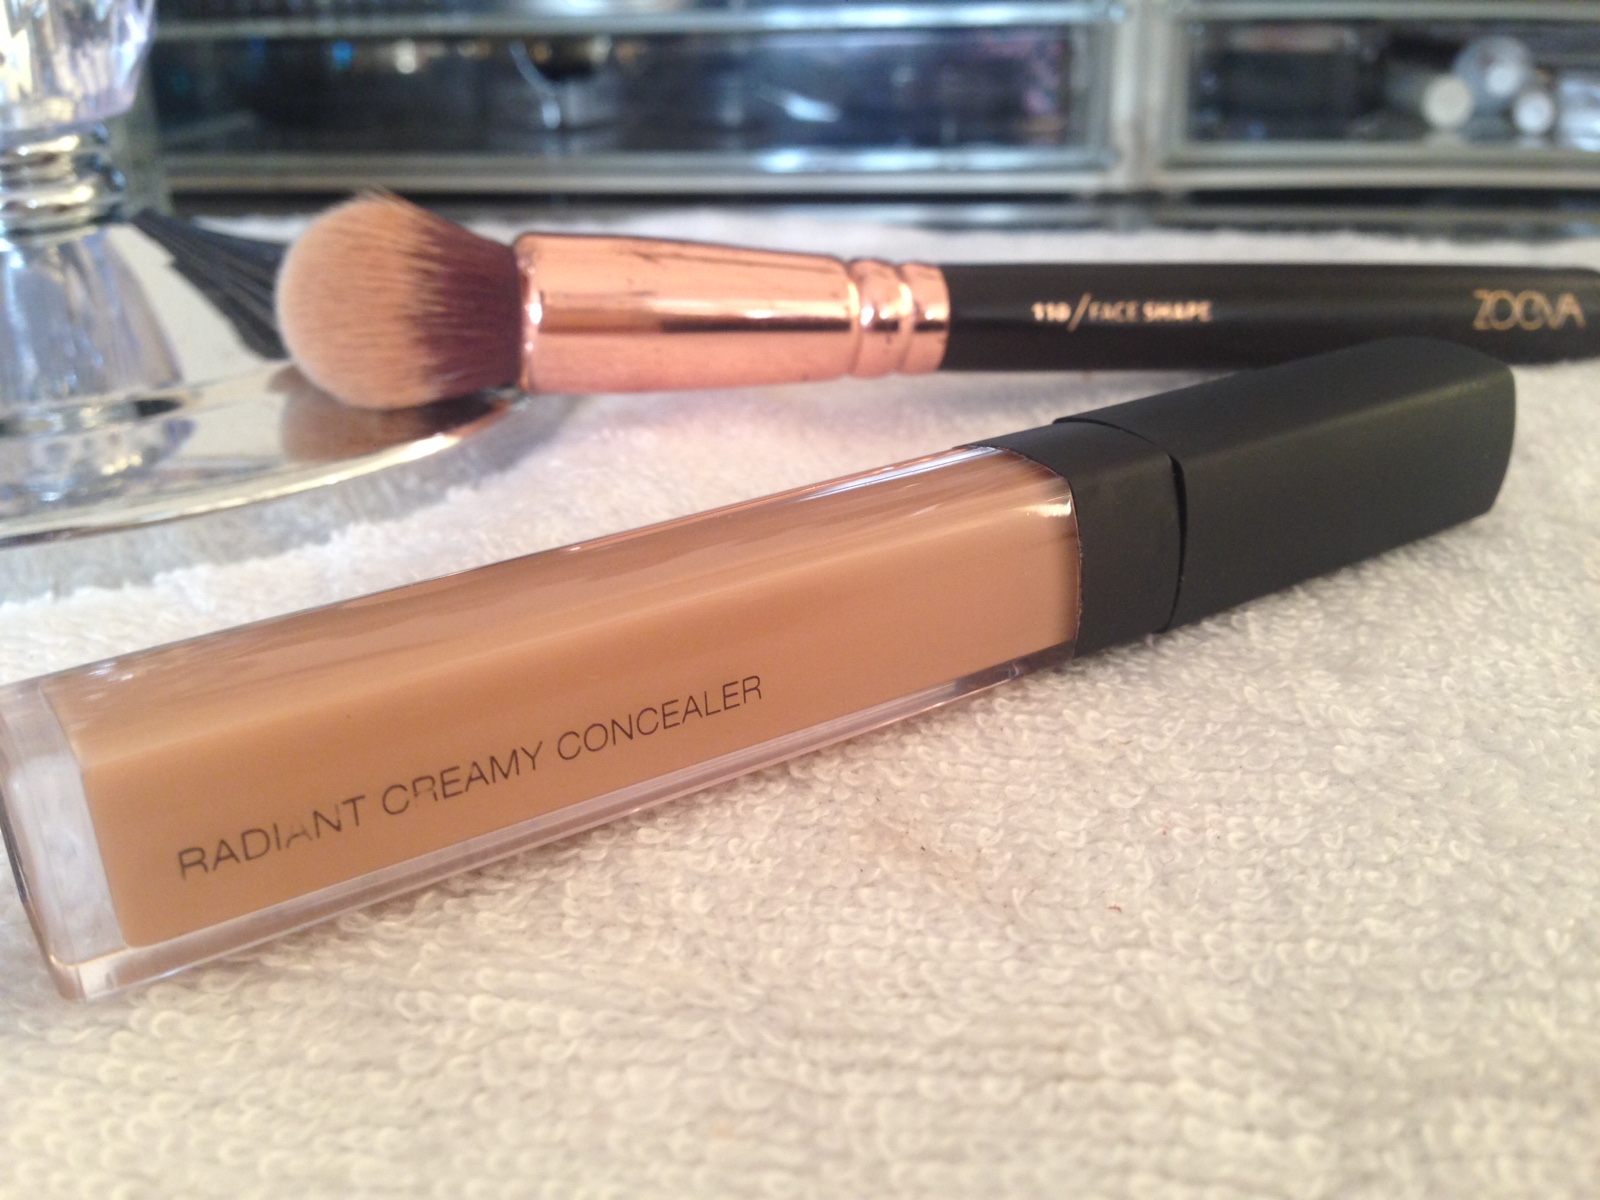
The finish of this foundation is demi-matte on me and I have a combination skin type. I feel like I don’t need to wear any concealer on top of the Magic Foundation to cover up any blemishes or scars, I would just add a touch of my NARS Radiant Creamy Concealer in the shade Caramel to brighten up my undereyes for that highlighted effect. It feels comfortable on the skin and stays on for a long time without transferring. Although the end result is a radiant, luminous finish, it sets into a gorgeous, velvety texture.

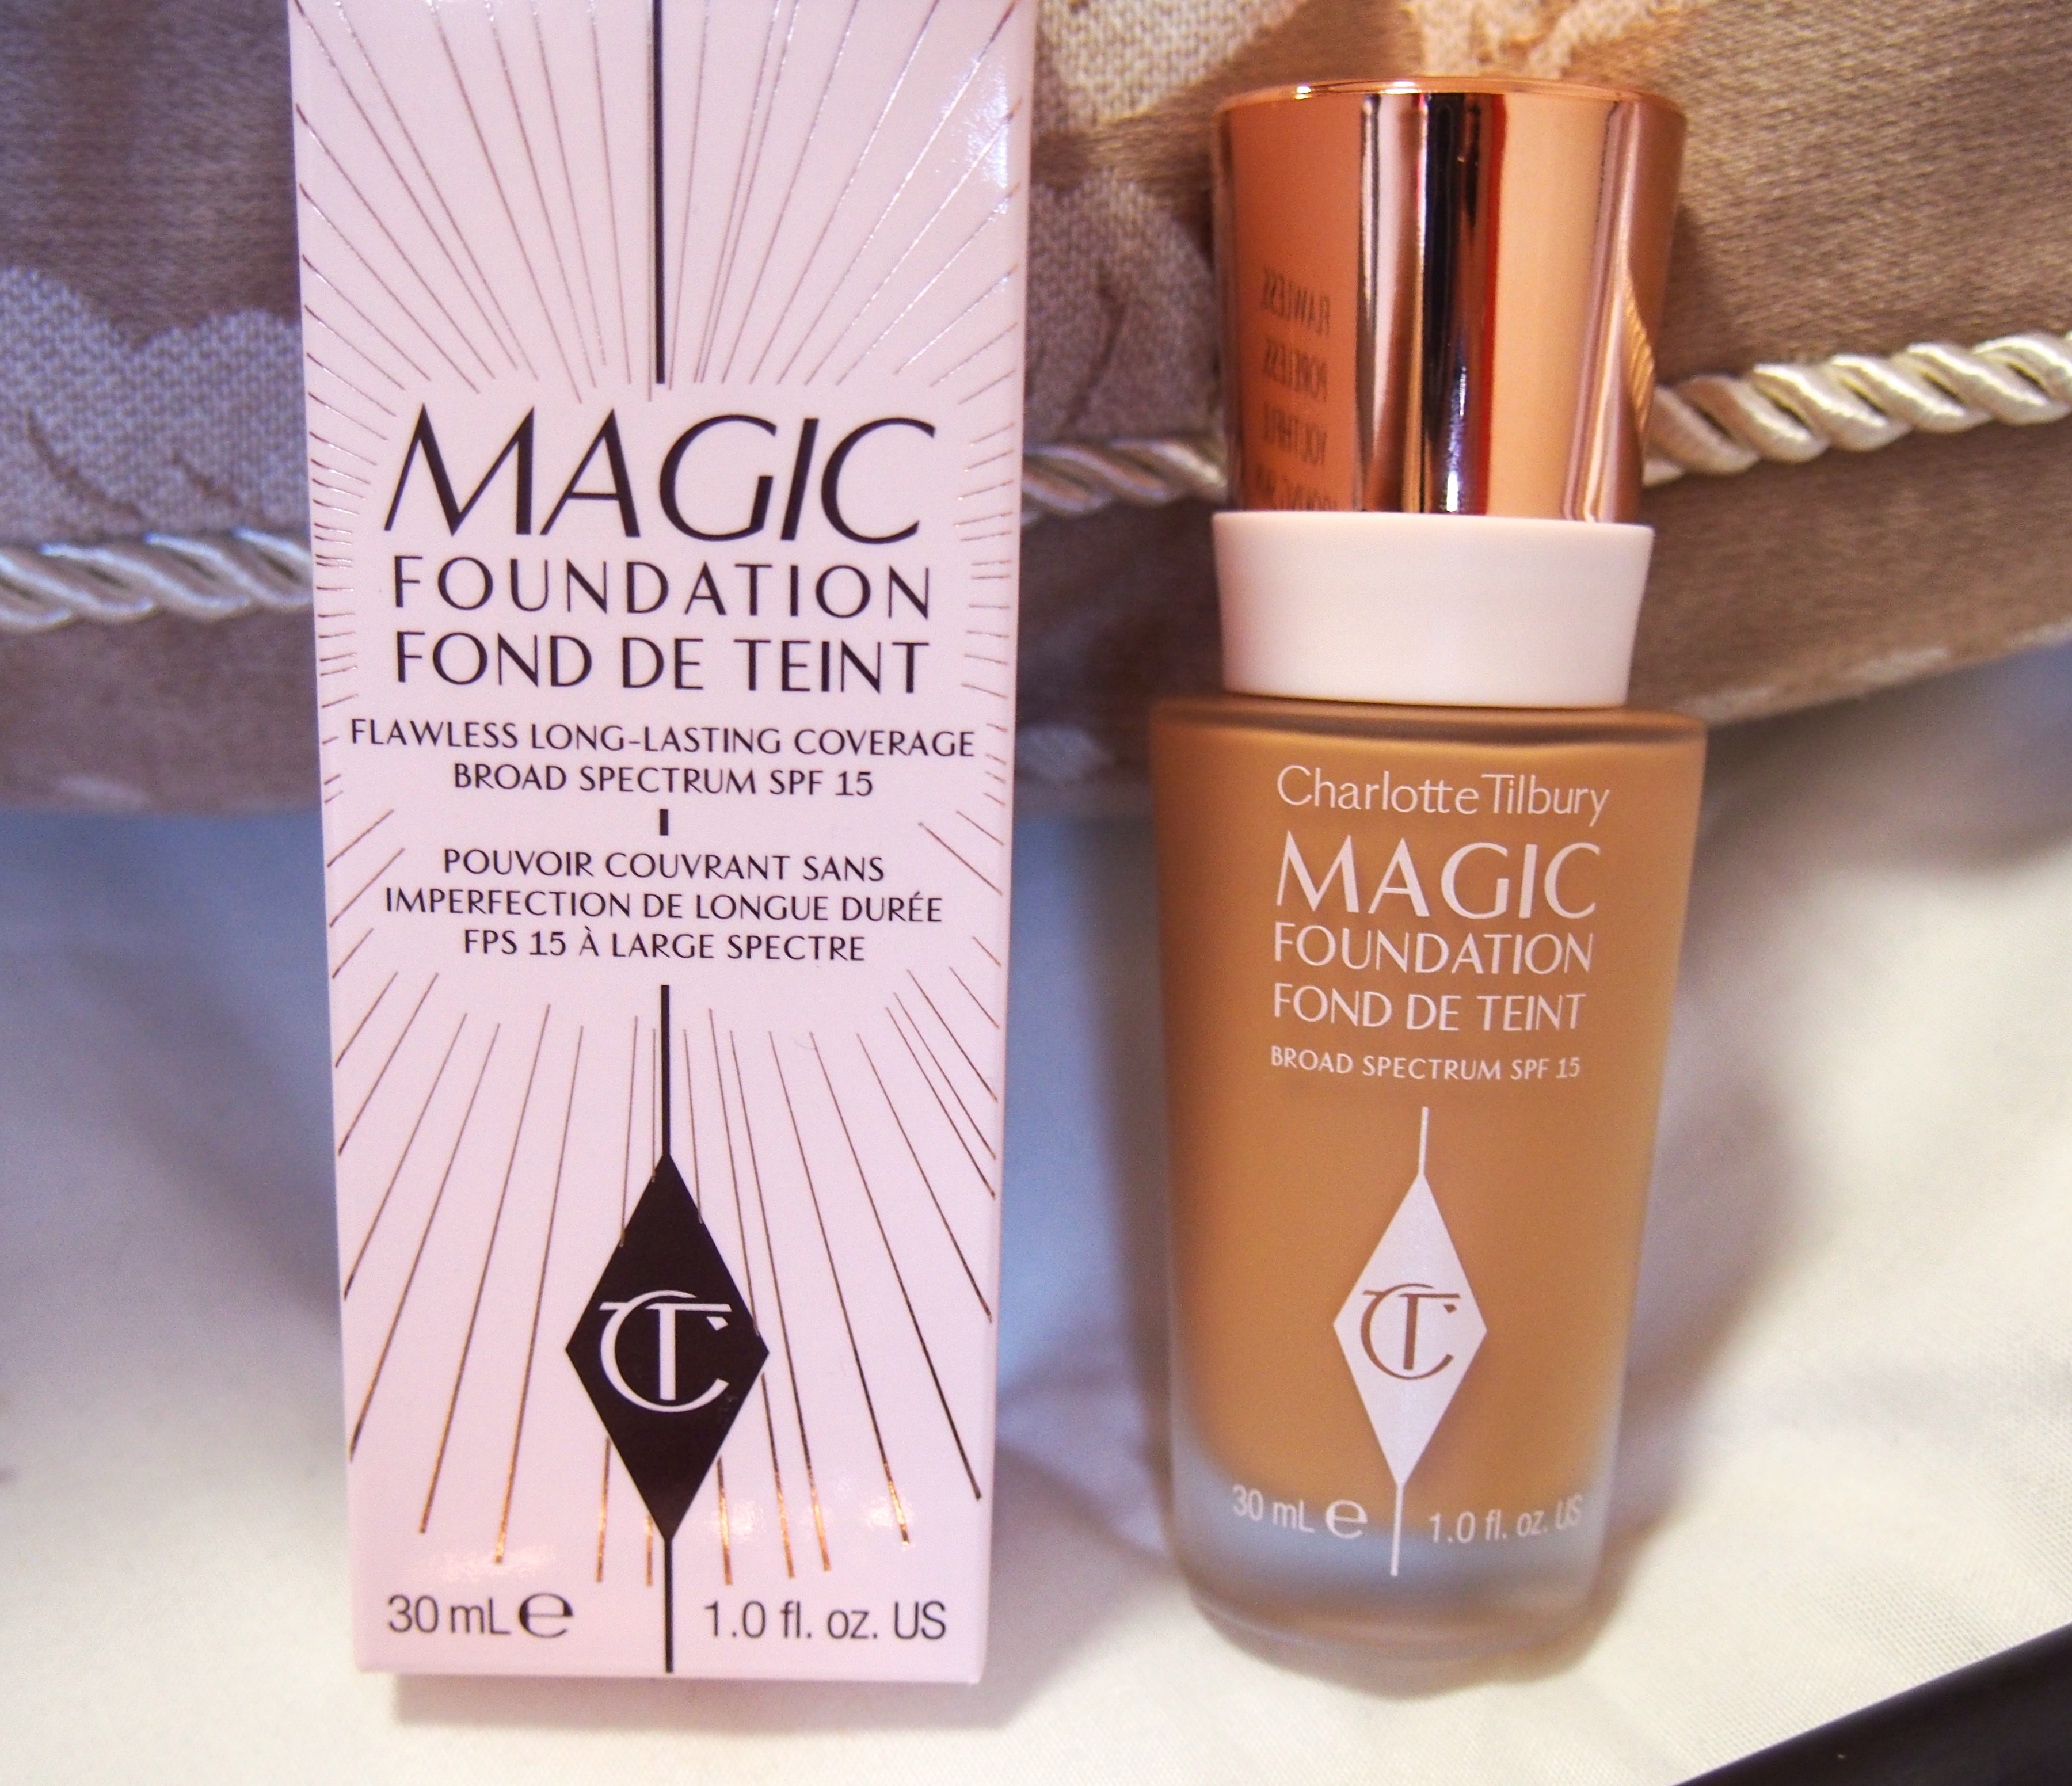
One of the reasons, I was so drawn to this foundation was because of one of the main ingredients in the formula – Hyaluronic Filling Spheres – For a long time now, I have been researching a solution for minimising acne scarring and the pitting caused by this, and although hyaluronic acid acts as an anti-aging property, it’s a great product for plumping the skin by increasing the collagen production around problematic areas on the face. This is something that immediately drew me in and I was also very intrigued by Charlotte Tilbury Magic Cream also containing hyaluronic acid as well a number of natural magical ingredients. Retailing at £70, I thought i’d try out the foundation before I made the splurge, but I may be enticed to make the purchase very soon.

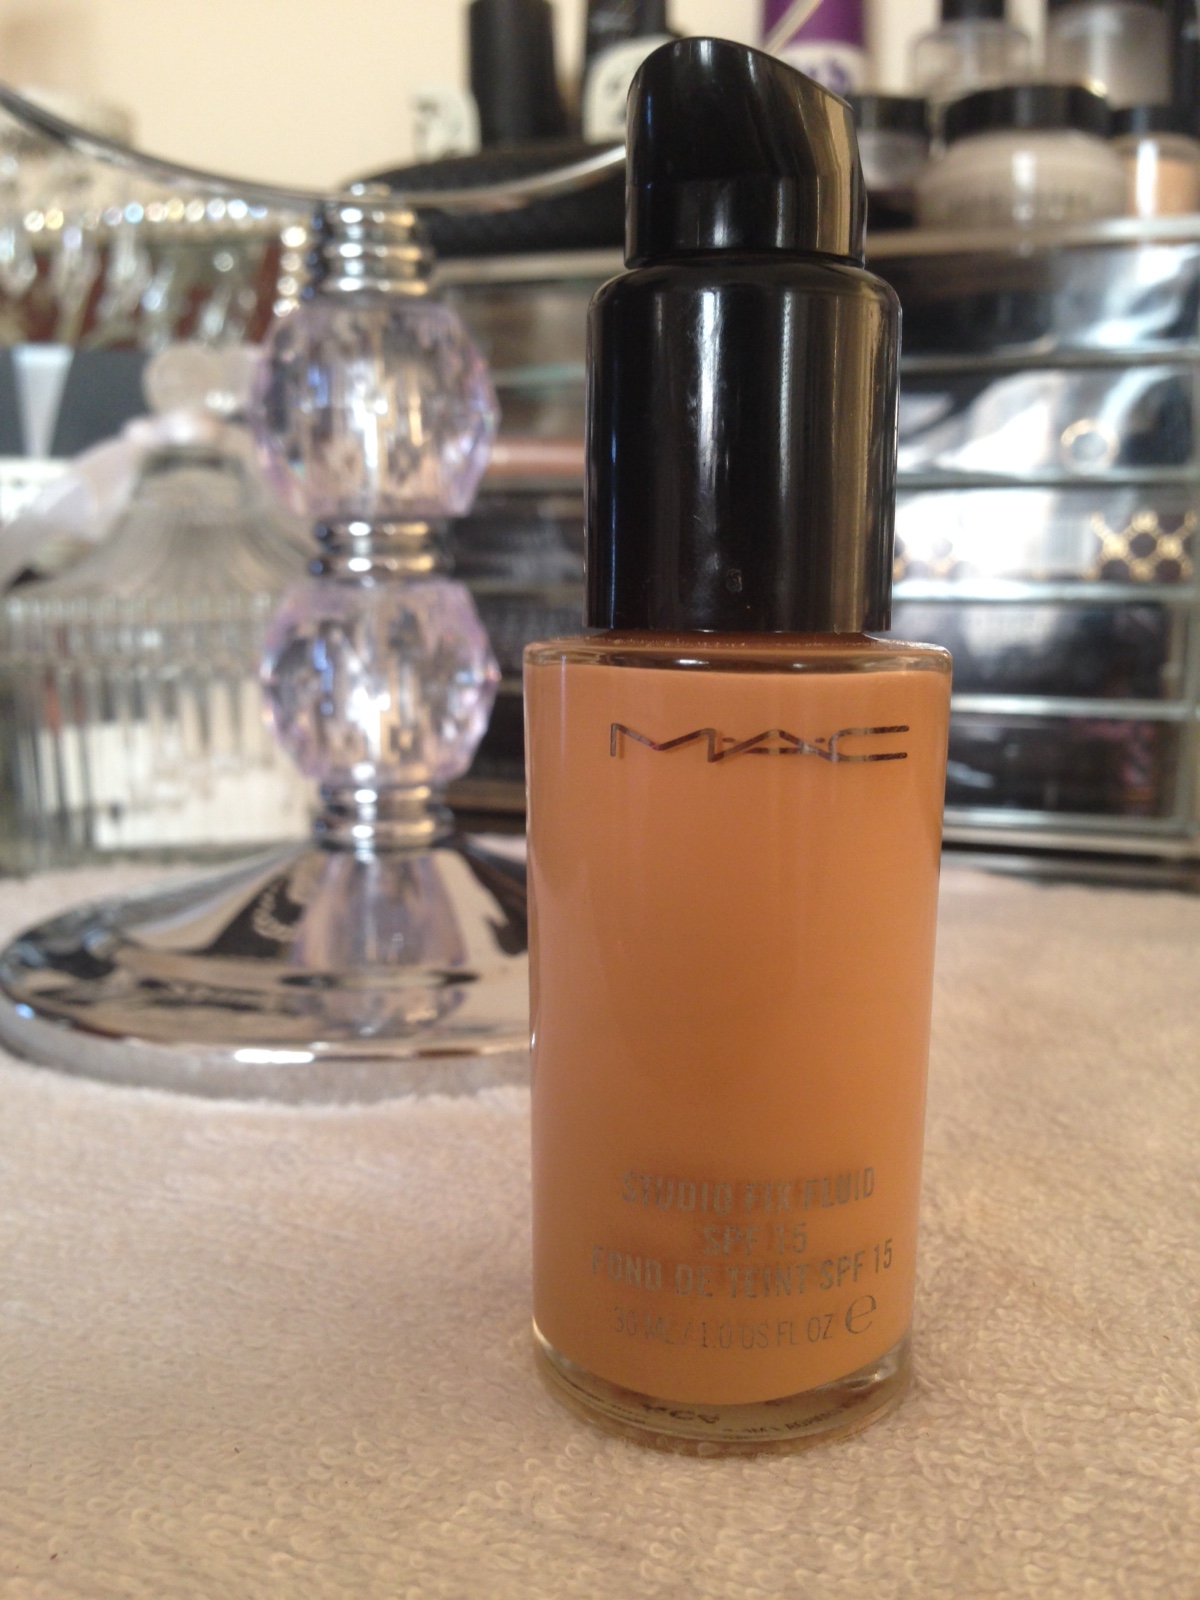
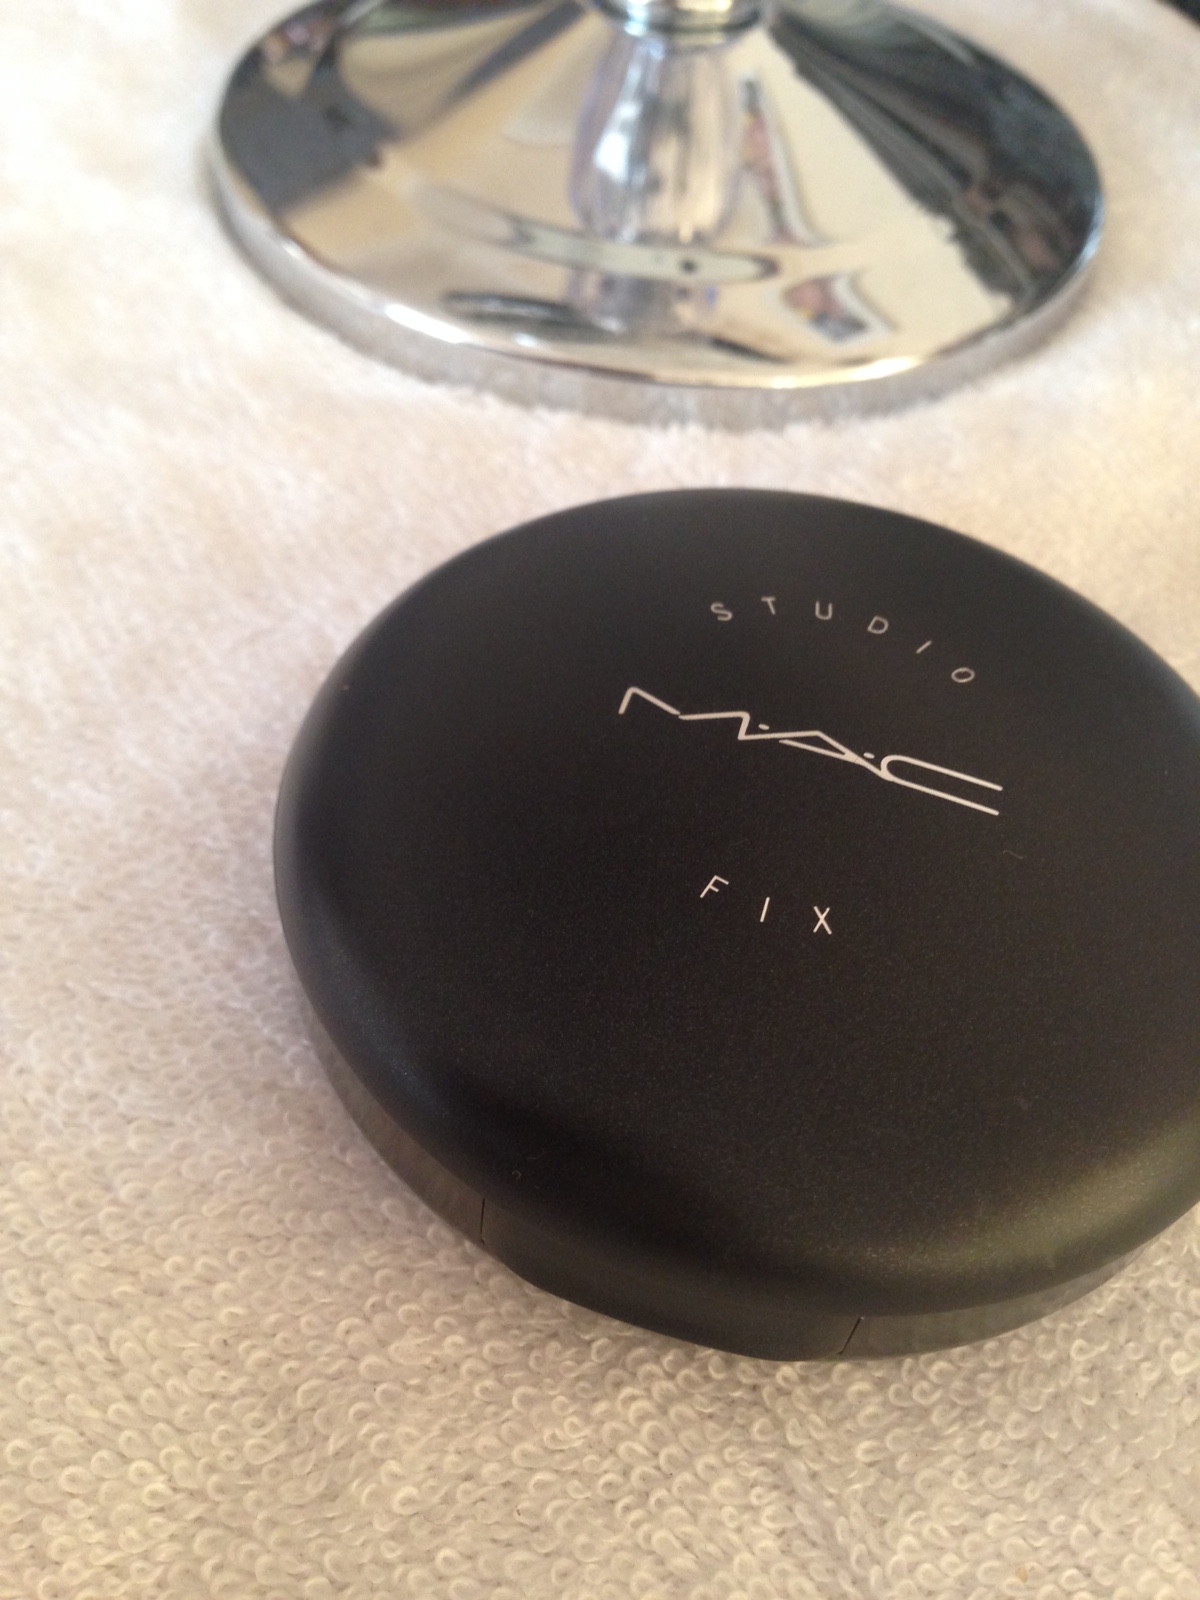
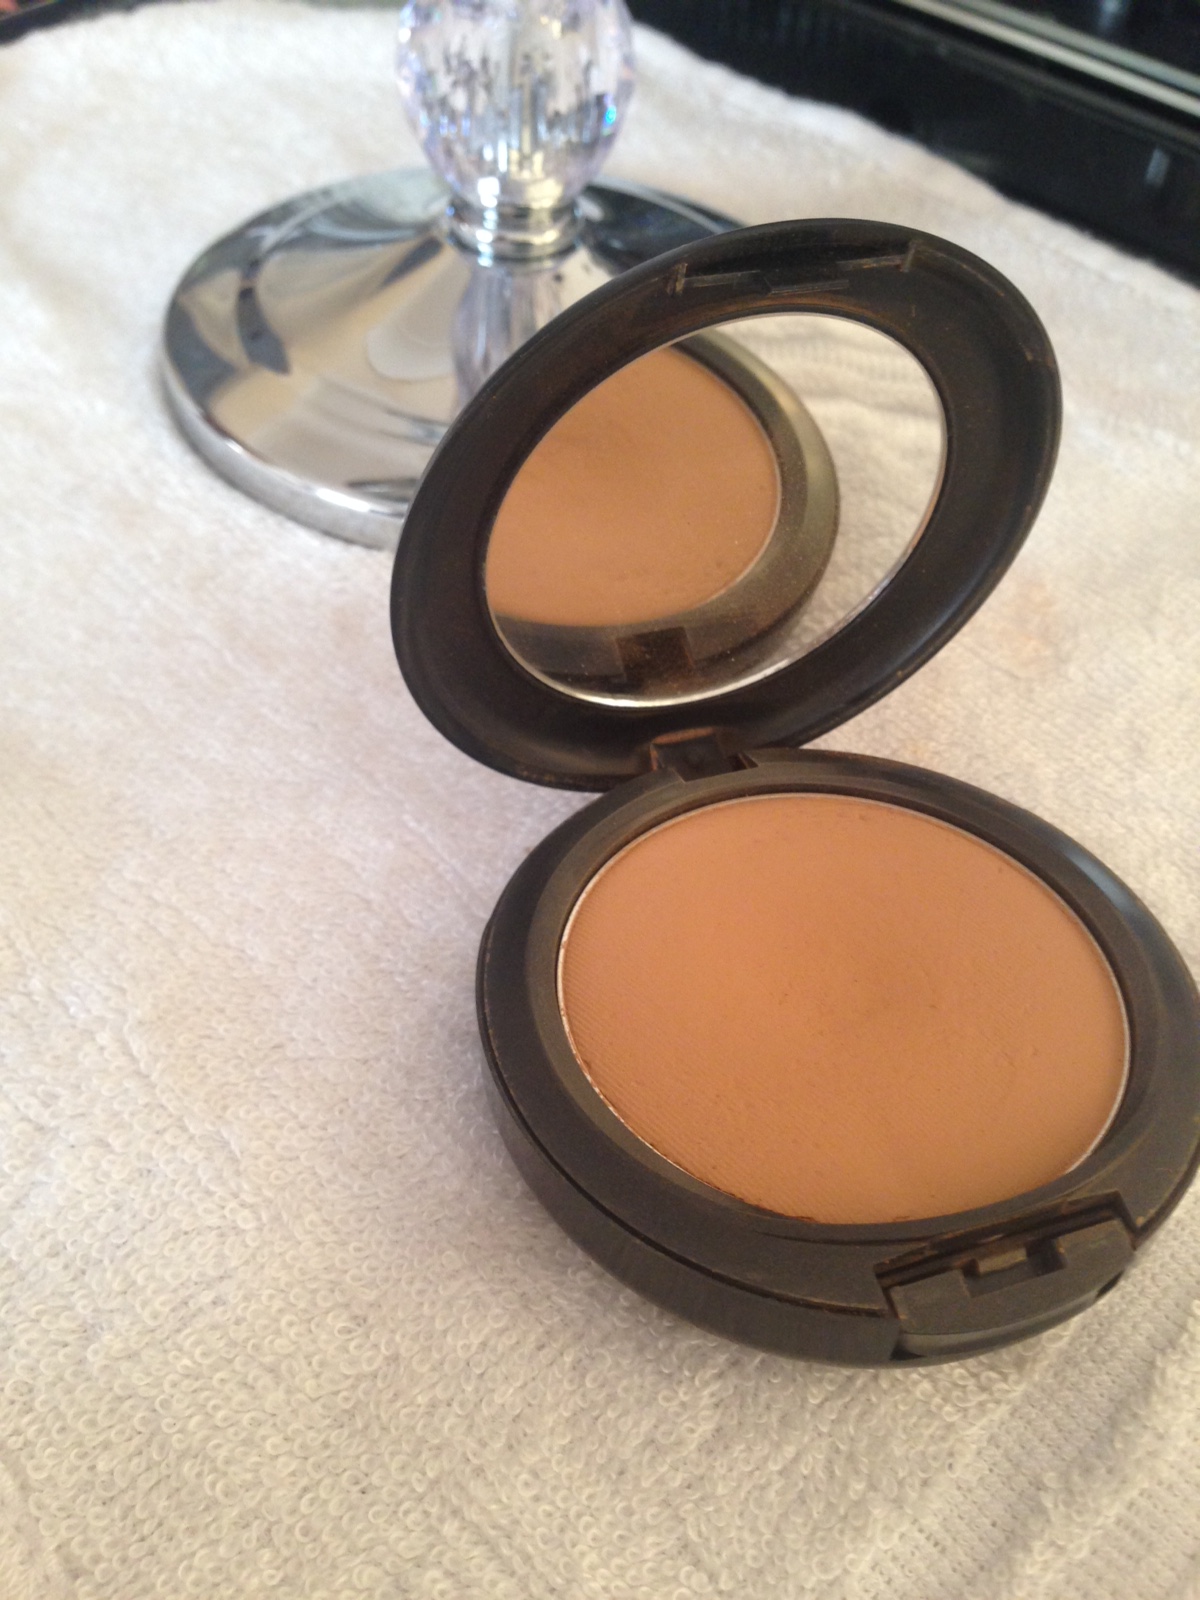
Previously, I would wear MAC Studio Fix Fluid (SFF) in NC44.5 and this has been my holy grail foundation for so many years now! In comparison to the SFF, Magic Foundation definitely has a deeper and fuller coverage, and minimises the look of pores really well. I feel like SFF can have a slightly drying effect on the face as the finish is matte rather than demi-matte like the Magic Foundation, which can sometimes result in flakey-ness around blemishes. The Magic Foundation is great at preventing a dry look and leaves the skin feeling hydrated and luminous all day!

The swatch above shows the Magic Foundation in shade 9 with no blending and the swatch underneath shows how it looks when blended. As you can see, I’m still rather tanned on my arms from my holiday so the colour of the foundation doesn’t match too well on my arms, however i can assure you it looks like a perfect match on the face haha.


Have any of you tried the Magic Foundation or any other products by Charlotte Tilbury? I can’t wait to get my hands on the Magic Cream!


Sachita x

Advertisement

Brush Cleaning Day!

Hey!

It’s the end of the week and of course, this calls for a deep brush cleaning day! I’m super lazy when it comes to cleaning my makeup brushes but I hadn’t done so in a while and they really needed a good clean so I thought I’d share with you guys, my brush cleaning routine, it’s super simple!

I have gone through a variety of brush cleaning products like shampoos and soaps as well as soap bars but I haven’t found any to do as great a job as the BlenderCleanser. Primarily used for cleaning the makeup off your Beauty Blender but I’ve found it works just as well for make up brushes too!

This blender cleanser perfectly cleans the Beauty Blender, leaving it as good as new -with a lovely, light, lavender scent.

With a pump dispenser, it squirts the perfect amount of product to clean your brushes and blender – I tend to use one pump for each brush and two for the more dense brushes. It lasts ages! I’ve used less than half and I’ve probably had the cleanser for nearly a year now.

When I went to IMATS (see my IMATS haul here), I bought another Beauty Blender (for those lazy days) and with it, I received a mini version of the blendercleanser and solid for free! The solid is basically like a bar of soap, I haven’t tried this out yet so can’t compare the liquid to the solid just yet, but will do in a future post 🙂


Brush Cleaning 

So all I do is run the tap of warm water, take a pump of the blendercleanser, dip the brush into the cleanser and swirl the brush into my palm with the water running through the the hairs until all the product is out, and the brush looks as good as new! It’s that easy 🙂


Beauty Blender Cleaning

This one’s a little tricker as you have to be careful not to puncture a hole in your beauty blender (Confession: I have a hole in mine 😦 ) I apply some cleanser onto the blender and gently slide my thumb along the blender, pushing the product away under warm water. And thats it!


How do you guys clean your brushes? I’ve read in some reviews that this cleanser actually removes some of the pink dye on the blender, but it has worked really well for me and I haven’t experienced that, have any of you? I also really want to try a soap bar from Lush to clean my brushes, what do you think?

I’d love to hear your thoughts 🙂

P.S. I used my new camera for the photos in this post! 😀 Check out my post here if you haven’t already! What do you think of the photos?


Sachita x

My Fave Blushes ❤️

Hey!

IMG_2612

Following on from my post on ‘My Favourite Mascaras‘, I thought I’d continue this short series and write the second post on my favourite blushes, as requested 🙂 My current MAC foundation shade is NC44.5 so I would say I have a medium-tan skin-tone shade, just so that you have an idea of the shades of the blushes.

IMG_3692

Ingot Face Blush #41

IMG_4167 IMG_5198 IMG_2145

As mentioned in my July Favourites post, one of my all time favourite everyday blushes is the  INGLOT Face Blush #41

INGLOT have such a great range of colours and with their unique Freedom System, it allows you to mix and match colours and products to custom design your own palette. This way you can experience their massive range of colours and pick and choose your favourites! They also come as individual face blushes like you can see in the photos above.

It’s a gorgeous matte brown-red shade and great for summer – it’s so long wearing and gives a smooth application. I usually use the Real Techniques Blush Brush to apply this. It gives a nice healthy glow to the face and paired with a gorgeous highlighter, it creates great dimension on the face. I love it!

MAC Sheertone Shimmer Blush – Peachtwist

IMG_6678 IMG_0214

Although a shimmery blush, MAC’s Peachtwist gives the perfect amount of pigmentation for a natural look. It actually creates more of a light sheen rather than a shimmer to your cheeks which can be blended for a sheer look or built up for a more shimmery look. I usually pair this with the INGLOT #41 above, or the NYX Bordeaux below, applying this underneath for a slightly more matte look as I typically go for matte blushes during the day.

As I have more of a medium-tan skin tone, I would think that this blush, being a rosy, peach colour with a subtle gold sparkle, may be slightly too strong for those who have a fairer skin-tone, in which case this blush can be blended out to create more of a rosy glow on the cheeks.


Milani Baked Powder Blush – Rose D’Oro #02

IMG_3581 IMG_0834

I love the Milani Baked range, as I mentioned in my July Favourites post, the baked blushes were the first Milani products I tried. With them being super inexpensive I found myself in possession of three of the Baked Blushes; Milani Rose D’Oro, Milani Berry Amore and Milani Red Vino. I am obsessed with all three of these, but the one I tend to reach for most is the Milani Rose D’Oro, just because it’s great for a more natural look and the others can sometimes be a tad intense so I tend to save those for nights out 🙂

They have such a beautiful, silky texture and easy application. Rose D’Oro is very shimmery with an immediate swatch, but once blended it can also create a lovely sheen just like the Peachtwist above. It can be built up to look vibrant as well, and can be used for a beautiful highlight on the hight points of the face. With its golden shimmer, it looks great on more of a tanned skintone and can be paired with a matte blush for a more subtle, everyday look.


NYX Powder Blush – Bordeaux

IMG_6023 IMG_6024 IMG_6025

NYX Powder Blush in Bordeaux is a deep red-brown with a slight shimmer in the pan but actually goes on the cheeks matte! This blush paired with MAC Retro Lipstick is such a nice combo! Although a slightly darker shade, once blended the colour looks stunning on! I love the NYX formula and the fact that their products are very affordable.

I purchased this blush at IMATS (see my haul video here) and as there were no testers at the NYX stand, I was unable to go in for a quick swatch, but thank god I picked it up! It’s another of my go to blushes and again, like the INGLOT #41, perfect for everyday. I find that I would wear this on less of an oily-skin day or if I don’t have any blemishes on my face, as the slight shimmer in the pan can tend to come through after a few hours of wear.


Benefit Rockateur

IMG_6021 IMG_6020 IMG_3262

As you may have already noticed, I love anything Rose Gold! The Benefit Rockateur is one their many Box O’ Powders and of course is rose gold in colour. I just find that rose gold compliments my skin tone really well and am always drawn to it, whether it be in make up or jewellery.

The Rockateur generates a healthy flush that brightens up the complexion without being overly shimmery and this one is actually great for all skin-tones! As the colour is build-able, just like most of the other blushes I have mentioned, it can be taken from day to evening really easily. It goes on like a light cream product but is actually a finely-milled powder, creating a lightweight feel to the face. It also comes with a small brush inside making it very travel-friendly. This blush with a gorgeous natural, but lengthened lash using the Roller Lash is perfect!

Another thing I love about this blush is the packaging! I mean look at the packaging! Isn’t it gorgeous?! I’m such a sucker for beautiful packaging haha.


Please let me know your thoughts if you’ve used any of the blushes I have mentioned, and I’d love to know your favourite blushes in the comments 🙂


Sachita x

My Everyday Makeup Routine

Hey!


This blog post has been highly requested and I have finally come around to writing it. My daily make up routine changes quite regularly and sometimes I tend to use different products depending on my mood and quite importantly, the changes in weather – the weather in the UK is totally unpredictable! I tend to have the same staple items in my make up bag like my primers and setting bases but I love to play around with mascaras, blushes and lipsticks – still gravitating towards the nude shades for everyday.


Step 1 – Prime

IMG_5829 IMG_5830 IMG_5832

I first spray a light mist of the Skindinavia Makeup Primer Spray – For more info on this check out my July Favourites post. Followed by the amazing Smashbox Photo Finish Blemish Control Primer. I take a pea sized amount on my hands and rub it into my face like a moisturiser. My skin type tends to be quite prone to blemishes and honestly this primer is great to minimise and control the oil on my face when I have blemishes. It’s super lightweight and really helps your make up to stay in place all day, paired with the Skindinavia!


Step 2 – Base

IMG_3099 IMG_7471

IMG_2900 IMG_8913

IMG_4687 IMG_7040

Starting with my holy grail of foundations – MAC Studio Fix Fluid – NC44.5I apply this all over my face with my Real Techniques Buffing Brush from the Core Set. This is a medium to full coverage foundation and it’s very build able so depending on how much coverage I need, I apply accordingly. On a good skin day, I apply my favourite tinted moisturiser – NARS Pure Radiant Tinted Moisturiser – SeychellesThis tinted moisturiser is really great! It gives a lightweight, “barely there” feeling and great for everyday. It doesn’t transfer, and has a radiant, slightly dewy finish which is perfect for a natural look.

Dusted over with the Mac Studio Fix Powder Plus Foundation – NC45, it sets a great base with a bit of extra coverage for the redness that may not be perfectly covered up.


Step 3 – Conceal

IMG_8446 IMG_3631

IMG_8899 IMG_8205

My absolute favourite concealer – NARS Radiant Creamy Concealer – CaramelI apply this in a triangle shape under my eyes and take it along the centre of my nose, the centre of my forehead and a touch on my cupid’s bow. I love the Zoeva 110 Face Shape Brush to blend this in and sometimes use a damp Beauty Blender when I want a lighter coverage.

Setting my concealer with the famous Ben Nye Banana Powder, I tend to apply this with my beauty blender and leave it to ‘bake’ until I have finished my eye makeup. By baking, I receive a longer lasting coverage and a more matte finish with prevented creasing.


Step 4 – Brows

IMG_6855 IMG_2087

I love using the Dip Brow Pomade by Anastasia Beverly Hills in Dark Brown for an everyday brow. The shade dark brown matches my brow hairs perfectly and the smallest amount on a Zoeva 317 Angle Liner Brush picks up the perfect, tiniest amount to complete my brows with two or three dips.

If i’m in a mad rush (most days), I grab the Brow Wizz also by Anastasia Beverly Hills in Dark Brown. One side has a spoolie and the other side, a retractable pencil. I run this through my brows a few times, filling in the gaps, go over with the spoolie and i’m set!


Step 5 – Eyes – Shadow

IMG_3979 IMG_8091

IMG_5833

Going for a natural everyday look, I like to take the colour ‘semi-sweet’ from one of my favourite palletes – Too Faced Chocolate Bar. I take this colour (3rd in the 2nd row) into my crease for some definition, using my Zoeva 231 Luxe Petit Crease Brush. I tend to just leave it at that with my shadow for an everyday look.


Step 6 – Eyes – Liner

IMG_1608

Depending on whether I want a bold or subtle liner look that day, I tend to use different products. I love using the cult  favourite INGLOT Eyeliner Gel #77 to create a bold and sharp wing using the Zoeva 317 Wing Liner Brush. I would set the gel with the L’Oréal Super Star Super Liner – a felt tip black liner with a sharp tip.

If i’m going for a more subtle look, the Kat Von D Tattoo Liner in Trooper is a great choice! For a full description check out my July Favourites post.

For my lower waterline, I take the NYX Wonder Pencil and run it across to open up my eyes (July Favourites). The Rimmel Special Eyes Pencil Eyeliner Pencil in Black Magic is so great to go along my bottom lash line and I usually smudge this out with the Zoeva 226 Smudger Brush which is great at creating a natural smokey look.


Step 7 – Eyes – Mascara

IMG_4923

Mascara is a must for me and I love to create a “mascara cocktail” to create the perfect lash look! Check out my post, My Fave Mascaras, for a full review on each mascara.


Step 8 – Contour & Highlight

IMG_5394 IMG_1293 IMG_7020 IMG_1275

After brushing off the excess Ben Nye Banana Powder from my undereyes, I take the Real Techniques 301 Flat Contour Brush with the Sleek Makeup Face Form in medium and use the darkest shade to contour under my cheekbones. I love this brush as it gives such a precise contour!

To highlight, I have recently been loving the Make Up Forever Pro Sculpting Duo and the golden highlight is magical! (July Favourites). I feather that onto the highest points of my face using the Sigma E40 Brush; just above my cheekbones, my cupids bow, the brow bones and the tip of my nose.


Step 9 – Blush

IMG_3361 IMG_8383

For blush, my go to, everyday shade is the INGLOT Face Blush #41 (July Favourites). It’s a perfect, natural shade and brings a subtle pop of colour to my, usually tired looking, face in the morning haha!


Step 10 – Lips

IMG_4347 IMG_0046

Lipstick finishes off this look with a transformation! The difference my make up looks with a touch of colour on my lips is incredible! I love to go for the nude shades for an everyday look and my favourites are: MAC Retro, MAC Amorous (for a more summery day), Gerard Cosmetics 1995 and NYX Soft Matte Lip Cream in Zurich


Step 11 – Finishing Spray

IMG_5841 IMG_5842 IMG_5843

Putting the whole look together, my go to Finishing Spray at the moment is the Skindinavia Makeup Finishing Spray but if i’m a bit more on the oily side, I tend to use the NYX Matte Finish Spray. Both are great and leave my make up lasting all day with no movement.


That comes to the end of my Everyday Makeup Routine, hope you guys enjoyed reading! Sorry it was really long, but I didn’t want to miss any steps.

It would be great to know your guys’ everyday makeup routines in the comments or if you like or use any of the products I use, let me know your thoughts 🙂

Sachita x