BOBBI BROWN Shimmer Brick

Hey!

LOVE at first swipe! I received my BOBBI BROWN Shimmer Brick in Bronze about a week ago as a ‘back to uni’ gift from my cousin Sapna and honestly, I have been using it every night out since!


Uses

A combo of both a highlighter, with the slightly more sheer, lighter shades towards the top of the compact and a bronzer, when fanning your brusk through the bottom few shades. I love how it gives me an elegant glow and elevates my cheek bones.

As an eyeshadow, I spray MAC’s Fix + on my brush and sweep it across the last three shades for a beautiful lid colour. MAC’s Fix + generates vivid colour on the eyes by magnifying the pigmentation. The lighter shades are great for the inner corners and brow bone highlight.Screen Shot 2015-09-24 at 18.14.54


Formula

The formula is very soft, buttery and the sheen is very subtle leaving a gorgeous glow and build-able for a more intense look.


Packaging

The packaging for me is slightly bulky and I would have preferred a thinner packaging style. Having said that, the mirror is very ideal for popping in your handbag for a night out, on the lid of the generally exclusive feeling, white on black BOBBI BROWN packaging.


My thoughts

This shimmer brick looks amazing on my cheeks and creates a healthy shine, making my skin look and feel hydrated. I’m not usually one for bronzers but I feel that taking my Crown fan brush through this compact a couple of times, is enough for imparting a natural looking bronze colour. The colour is perfect because it is not at all orange or a dark or flat brown. Other brown-based bronzers can make my skin look dirty but this one doesn’t!

You can blend all the shades together for a warm golden glow or what I like to do is first apply the darker shades on my cheeks and then concentrate with the light highlighting shade on the tops of my cheekbones. It photographs beautifully and adds such a great dimension to the skin.


Have you guys tried the BOBBI BROWN Shimmer Brick? What are your thoughts? Check out all the different colours here.


Sachita x

Advertisement

Moving in day – Back to uni!

Hey!

Sorry I haven’t posted in a while! I have actually been away on work for the past week and was totally knackered to post during the time I was there. Now it’s the weekend, I have finished my summer job and back to uni for me!

This summer for me has probably been the most intense so far, with our Kilimanjaro Trek (check out the video here) at the beginning of summer and starting my job a week after we returned! It has definitely been a super intense but fantastic experience and I have learnt a heck of a lot this summer, not just about the working life, but also about me as a person. Tbh I never thought in a million years that I would be working a summer job during summers between uni until my year in Industrial training as part of my course, and for me to actually get through it and stick it out till the end has made me realise that I can really complete anything I set my mind to. It leaves a great feeling of fulfilment and accomplishment 🙂

An inspirational summer to say the least, and now it’s back to uni and a much needed holiday to the Canaries in two weeks!

Here’s a few snaps of my time at work, being given the amazing opportunity to work on the World’s Leading Defence and Security Event #DSEI

IMG_6440

Royal Air Force Helicopter

United States Army Helicopter

United States Army Helicopter

IMG_8221

Eurofighter Typhoon

Royal Navy Helicopter

Royal Navy Helicopter

IMG_7091

View from the Sunborn Yacht

View from the Sunborn Yacht


Hope you guys enjoyed reading this post! How have you’re summers all been?


Sachita x

Died and gone to highlighter heaven!

Hey!

My feelunique.com order came today and I had to write another post out of excitement, even though I posted my ‘Brush Cleaning Day‘ post yesterday!


Primarily I made my order for the gorgeous Urban Decay NAKED Illuminated in Aura but but also added a couple of sneaky nail polishes into my shopping bag too – OPI Nail Lacquer!


Urban Decay NAKED Illuminated – Aura

At first glance I am speechless! This highlighter is gorgeous! To add to my obsessive highlighter collection, this is just a must have. Whilst not for everyone as it is super shimmery and striking, I always love a bit of sparkle and this would look gorgeous on the high points of your face for a night time glam look leaving a gorgeous iridescent shimmer.


The Colour

Aura is described as a “soft pink shimmer with a golden iridescent sparkle” – the perfect rose gold for medium to dark skin tones but can also be blended into the skin for a more sheer glow for paler skin tones. I haven’t used used this on my face just yet but I’m going out tonight so will try it out and definitely report back!


The Packaging 

A thick cardboard box with two compartments; the top compartment has a mirror and the highlighter and the bottom compartment contains a brush.


The Texture

The texture of Aura is slightly chalky straight from the pan, but incredibly smooth and finely milled when swatched. Leaves a sparkly, almost metallic finish on the skin when applied. I feel that it may not have great adhesive qualities when applied to the skin as the product did not seem to stay in the same place, when swatched and seemed to move around quite a lot.

I feel like this would also look beautiful as a light mist over the centre of your eyelids to create a soft sparkle to your eyeshadow and give it that extra pop!


The Price

I bought this at £20.25 as it was on sale at feelunique.com!


Have you guys tried this highlighter out yet? What did you think of it? 🙂


Sachita x

Brush Cleaning Day!

Hey!

It’s the end of the week and of course, this calls for a deep brush cleaning day! I’m super lazy when it comes to cleaning my makeup brushes but I hadn’t done so in a while and they really needed a good clean so I thought I’d share with you guys, my brush cleaning routine, it’s super simple!

I have gone through a variety of brush cleaning products like shampoos and soaps as well as soap bars but I haven’t found any to do as great a job as the BlenderCleanser. Primarily used for cleaning the makeup off your Beauty Blender but I’ve found it works just as well for make up brushes too!

This blender cleanser perfectly cleans the Beauty Blender, leaving it as good as new -with a lovely, light, lavender scent.

With a pump dispenser, it squirts the perfect amount of product to clean your brushes and blender – I tend to use one pump for each brush and two for the more dense brushes. It lasts ages! I’ve used less than half and I’ve probably had the cleanser for nearly a year now.

When I went to IMATS (see my IMATS haul here), I bought another Beauty Blender (for those lazy days) and with it, I received a mini version of the blendercleanser and solid for free! The solid is basically like a bar of soap, I haven’t tried this out yet so can’t compare the liquid to the solid just yet, but will do in a future post 🙂


Brush Cleaning 

So all I do is run the tap of warm water, take a pump of the blendercleanser, dip the brush into the cleanser and swirl the brush into my palm with the water running through the the hairs until all the product is out, and the brush looks as good as new! It’s that easy 🙂


Beauty Blender Cleaning

This one’s a little tricker as you have to be careful not to puncture a hole in your beauty blender (Confession: I have a hole in mine 😦 ) I apply some cleanser onto the blender and gently slide my thumb along the blender, pushing the product away under warm water. And thats it!


How do you guys clean your brushes? I’ve read in some reviews that this cleanser actually removes some of the pink dye on the blender, but it has worked really well for me and I haven’t experienced that, have any of you? I also really want to try a soap bar from Lush to clean my brushes, what do you think?

I’d love to hear your thoughts 🙂

P.S. I used my new camera for the photos in this post! 😀 Check out my post here if you haven’t already! What do you think of the photos?


Sachita x

My First Blogger Milestone – DSLR!

Hey!

After months and months of research and endless visits to my local tech shops, I have finally pulled the trigger and purchased my first DSLR – I’ve reached it! My first blogger milestone! I am so excited about this purchase and cannot wait to start using it! As it’s my first camera, I wanted something that was quite compact but I also wanted the option of different lenses and a tilt screen. That’s why I opted for the Olympus Pen EPL-6 and I feel that it’s so perfect for blogging and vlogging!

I’m going to keep this post short and just tell you a few features of the camera that I looked into when buying the camera. As I haven’t used it much, I’m yet to form a full review but will definitely review this camera once I figure it out properly! As for now, I love it, and you guys can help me be the judge as most of my photos from now, will be taken with this camera 🙂


Some pics 🙂

hi_ol13

IMG_6893 IMG_8268 IMG_2624

IMG_7407 IMG_7883


Features:

  • 3″ LCD tilt, touchscreen – tillable through 135 degrees and perfect for vlogging and selfies!
  • Small External Flash
  • 2 Zoom Lenses – 14-42mm and 40-150mm
  • 12 Art Filter Lenses
  • WiFi and GPS Compatible
  • 200 – 25600 ISO range provides the sensitivity you need for clear, dynamic shots in many lighting conditions
  • Price: £289 – got a bargain at PC World

Z-OLYMPUS-EPL6-TOP

Z-OLYMPUS-EPL6-BACK-600


It takes high quality photos with great focus and face recognition. Also really good for landscaping when on holiday and compact so super travel friendly. Do any of you guys have this camera or tried it out? How did you like it? 🙂


Sachita x


Blogger Recognition Award

Hey!

First of all I’d like to thank Bhavika for nominating me for this award! Please take a minute check out her blog here.
bloggerrec_award

Blogger Recognition’ Award Rules:
1)  Select 15 other blogs you want to give the award to. Do some digging if you must! Find those blogs. You cannot nominate yourself or the person who has nominated you.

2) Write a post to show off your award! Give a brief story of how your blog got started, and give a piece or two of advice to new bloggers. Thank whoever nominated you, and provide a link to their blog. List who you’ve nominated in the post. Make sure to also attach the award itself! (You can do this by right-clicking, saving, and uploading the image above).

3) Comment on each blog and let them know you’ve nominated them. Provide a link to the award post you created


My Nominations

  1. With All My Affection
  2. Meika & Me
  3. Prettify Your Life
  4. That Pommie Girl
  5. Aubergine Reverie
  6. The Daily Cup
  7. Beautiful Hello
  8. A Girl Obsessed
  9. All About Ashni
  10. Thumbelina Lillie
  11. Sophia Meola
  12. Lydia Rose
  13. The Sartorial Coquette
  14. Sprinkle of Surprise
  15. Makeup by Makena

How I Started My Blog and A Few Pieces of Advice

It’s been nearly 2 months now since I started my blog and I can’t believe the amazing feedback and support I have received from it! I feel so grateful to everyone who takes a moment to read my posts and I honestly just love inspiring others with my posts.

I initially started this blog as a more regularly way to post about the things I love, as compared to my Youtube Channel where I would not post as often. As I have been working throughout my summer this year, I have hardly had any time to film and edit videos and thought that starting a blog would be the best way to keep up with the latest trends and talk about my favourite topics. Making this blog has been one of the best decisions I’ve ever made!

For advice, if any of you out there are reading this right now and are in two minds whether to start blog or not, I’d say do it! Don’t hesitate and don’t look back, it’s a great decision and once you get into the flow of things it’ll become a lot easier! Believe in yourself!

As I’m pretty new at this myself, I’ll leave the professional advice to the experts. Right now I’m still learning and there’s such an amazing and wide platform out there in the blogging world that is yet for me to discover! I can’t wait!

Please don’t forget to check out my nominations and to mention me in your posts 🙂 Thank you again to Bhavika who has been one of my constant supporters in the blogging world 🙂


Sachita x

Amazing Beauty Tricks with Coconut Oil

Hey!

IMG_06341

You may have already made the switch to virgin coconut oil for use in the kitchen, but did you know you can also switch up some of your beauty products for this wonder oil? This do-it-all ingredient can be used as skin moisturiser, makeup remover, exfoliant and so much more. It’s been around 2 to 3 years since I’ve been using virgin coconut oil and about three jar-fulls to be completely convinced of it’s benefits! Here’s the ways you can incorporate virgin coconut oil into your beauty routine 🙂

Make sure to use Virgin Coconut Oil for the best results as its 100% natural. I usually use Tiana The World’s Premier Extra Virgin Coconut Oil

076228_A


Hair Mask/ Deep Conditioning

Applying a tablespoon-sized dollop onto your hair and really working it into those ends and the scalp, leaving it on for around 20 mins minimum (the longer you leave it the more nourished your hair becomes – I tend to leave it on overnight) and washing it off with shampoo, will add moisture and shine into those limp locks.

Alternatively, after shampooing apply the oil to the ends of wet hair and leave on for around 5 minutes before rinsing giving you a great quick fix with a more hydrated and shiny look.


Frizz Fighter

Rub a pea-sized amount between your fingers to warm it up and apply it to the ends of your hair for all day frizz protection. It also leaves hair super soft and hydrated!


Body Oil

Coconut oil tends to come as a solid in a jar and because of this, it’s creamy, light texture makes for the perfect moisturiser to apply all over your body. Just by taking a finger-full amount for each part of the body and letting it sink into your warm skin when coming straight out of the shower, makes the perfect hydrant for your skin. Using this routine every other day and switching with a cream based moisturiser, would give the oil a couple days to penetrate through the skin before applying it again.


Body Scrub

Mix half a cup of sea salt or brown sugar and an equal amount of coconut oil and use your hands to circulate it around any dry patches on the skin. It removes all the dead skin cells, leaving your skin feeling baby soft and its super inexpensive! Add a few drops of vanilla extract, or your favourite essential oil to give your scrub a gorgeous tropical scent.


To Remove Eye Make-Up

One of my favourite, go-to eye make-up removers and yes, it works on waterproof mascara too! I usually remove the make up on my face first with Micellar Water and then move onto the eyes. Taking some liquified oil onto my fingertips and slathering it over my lashes and eyelids, I leave it there for around a minute and watch the makeup melt away haha. Taking a cotton pad, I gently sweep it over my eye to pick up all the make up and it really does come off in one swipe! Rinse with warm water and your done!

Another amazing benefit is that it hydrates your under eye area, preventing under eye bags and dark circles and also helps to increase hair growth on your lashes and brows 🙂


Acne Scarring

Coconut oils is so great at reducing the darkness of acne scarring. Taking a pea-sized amount and moisturising it into your face before going to sleep, really shows results in one week! You’re probably thinking, why would I put an oil on my face if I have acne?! But coconut oil mimics your skins natural oil with less of a chance of clogging pores. It helps to cool down the skin and reduce inflammation and therefore reduces the amount of toxins produced, stopping oxidation so the acne scars heal quicker 🙂


Lip Balm

Chapped lips won’t stand a chance against super hydrating coconut oil. Dap some over your lips before you go to sleep and wake up with hydrated, plump and super soft lips! It makes lipstick application so easy!


Highlighter

Now I haven’t actually tried this one, but I’ve heard that it works really well as a highlighter so I thought I would suggest it. Taking the tinniest amount and sweeping it across the tops of the cheekbones, cupids bow and centre of the nose for hydrated skin which glows from within. A lot of natural make-up brands use coconut oil as a base in their formulas, so it must really work!


Shaving Cream

Forget the store-bought shaving creams! With coconut oil’s skin-soothing properties, your razor will glide so smoothly allowing for a close shave and your legs will be moisturised in the process. I would usually shave out of the shower when using this as it can get quite slippery and combined with water, things could get a bit messy haha. It’s inexpensive, antimicrobial and leaves a lovely tropical scent!


Do you guys use coconut oil? What do you like to use it for?


Sachita x

My Fave Blushes ❤️

Hey!

IMG_2612

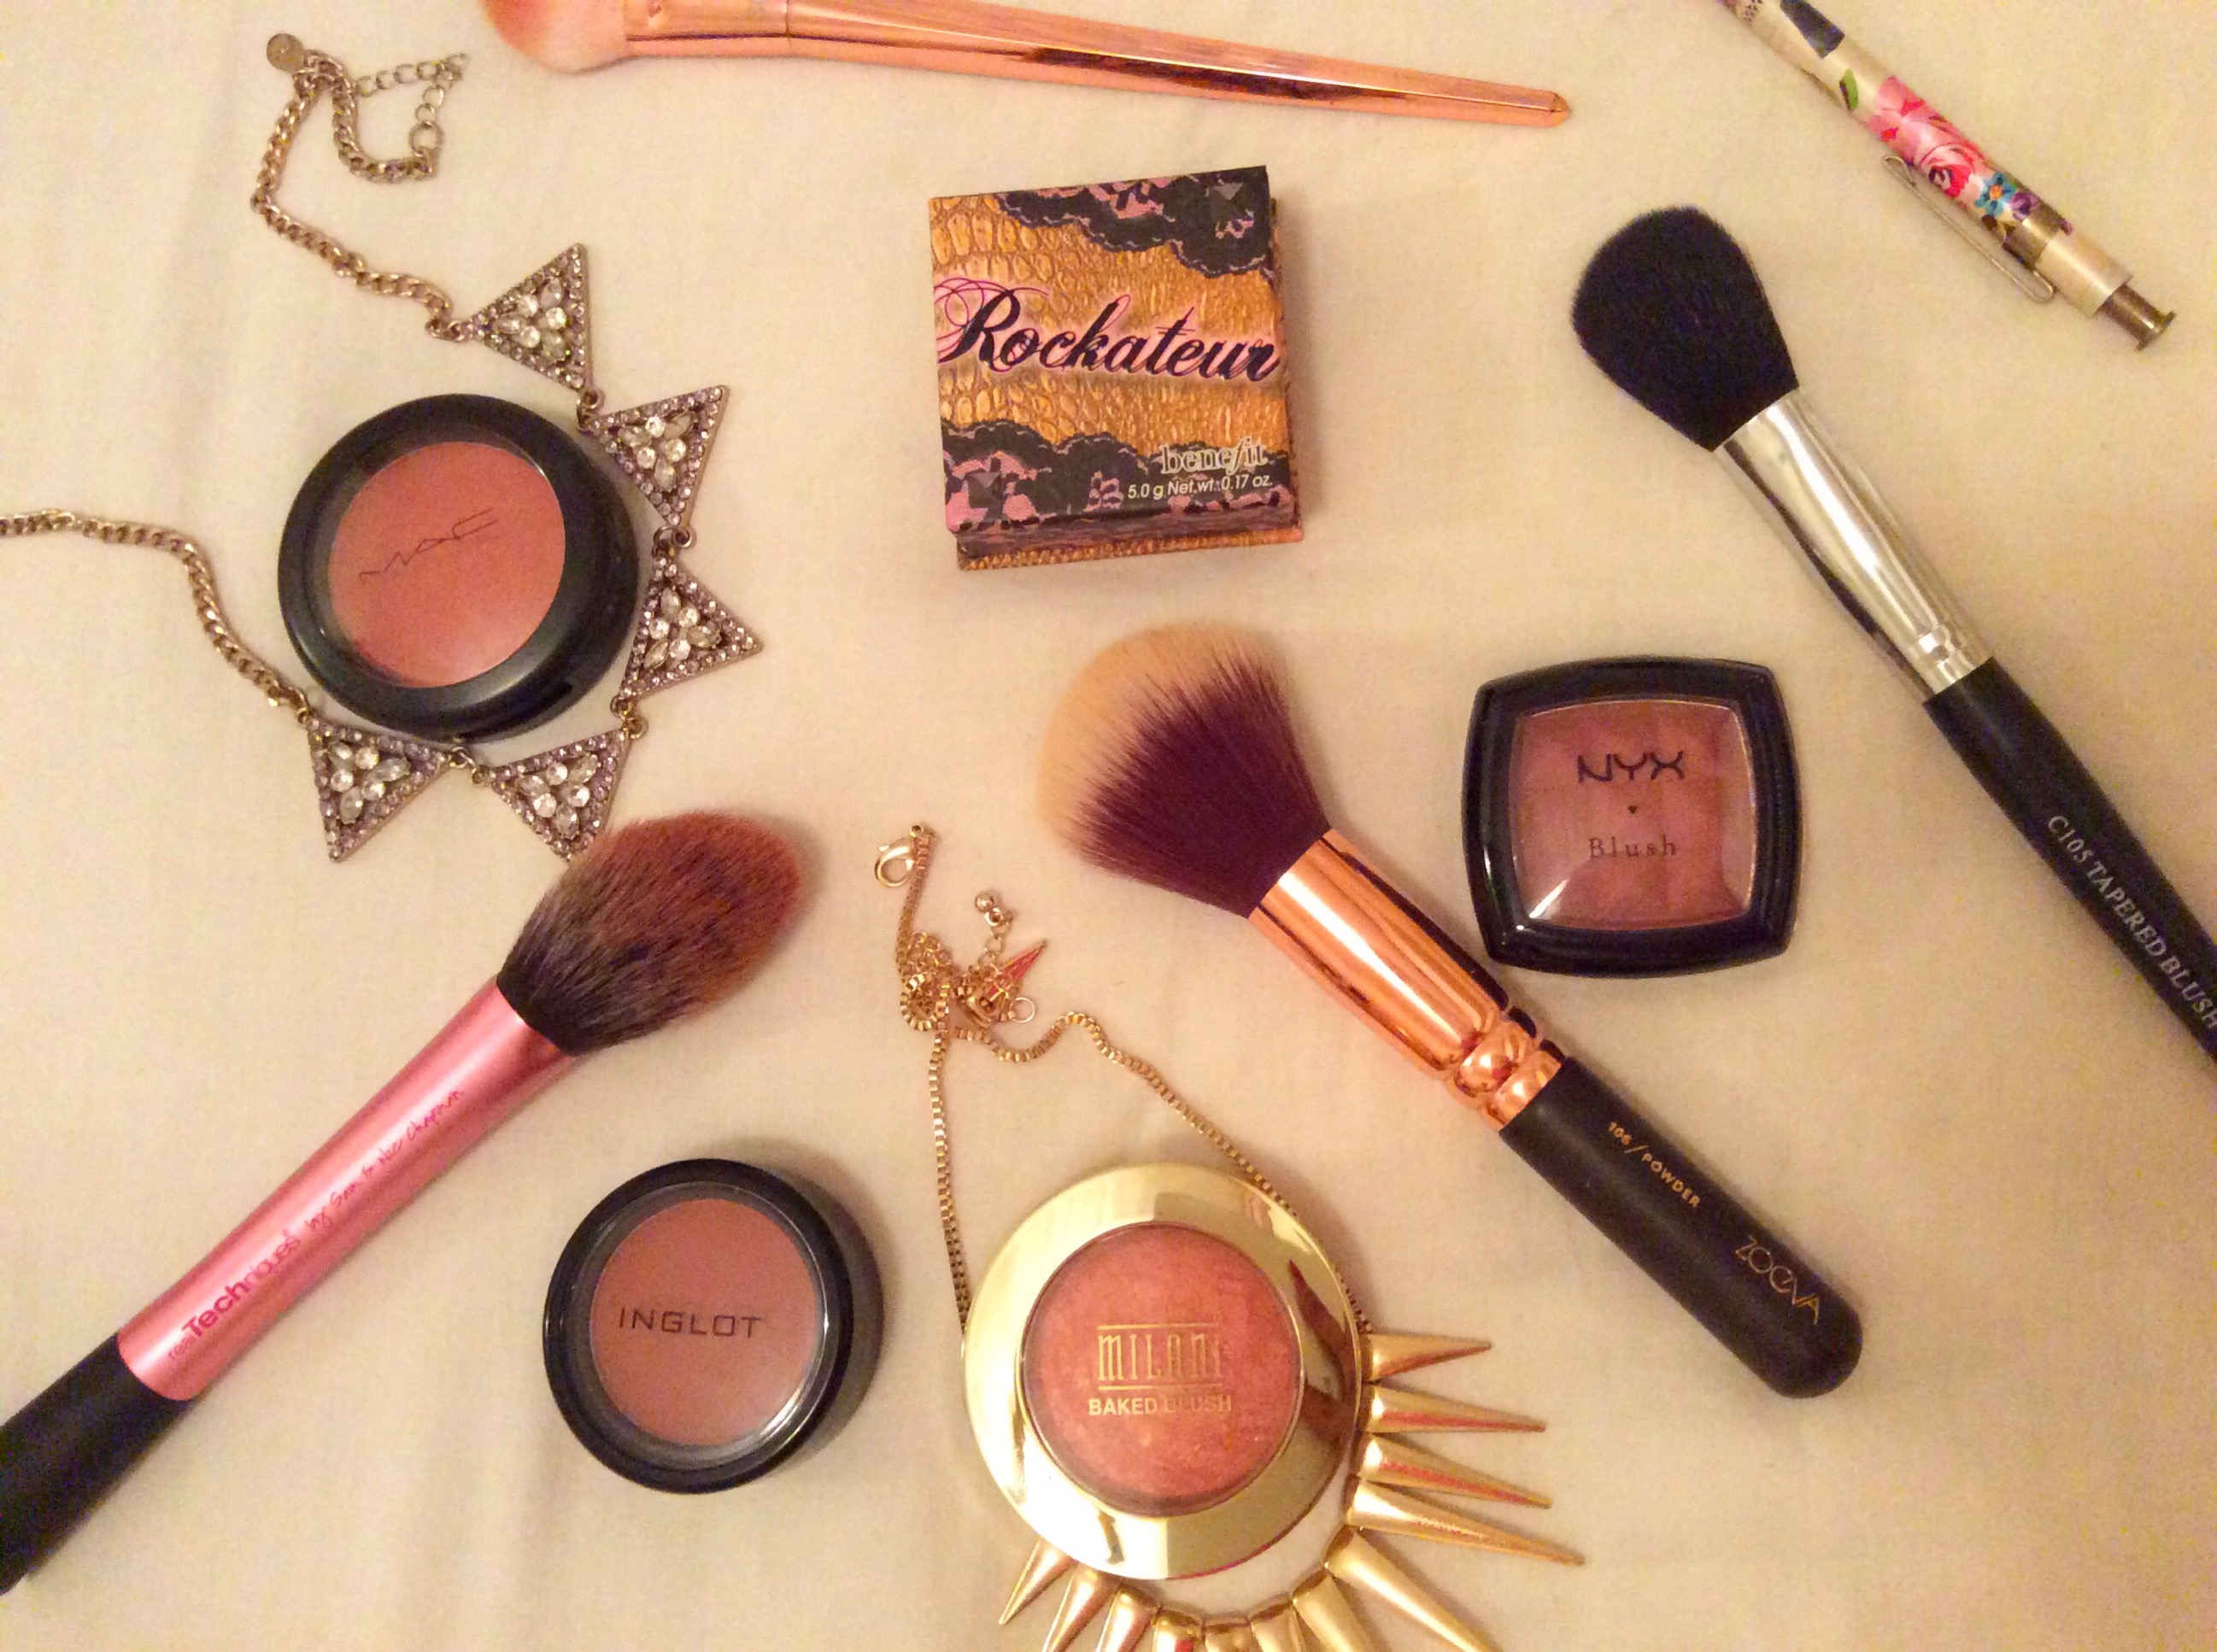
Following on from my post on ‘My Favourite Mascaras‘, I thought I’d continue this short series and write the second post on my favourite blushes, as requested 🙂 My current MAC foundation shade is NC44.5 so I would say I have a medium-tan skin-tone shade, just so that you have an idea of the shades of the blushes.

IMG_3692

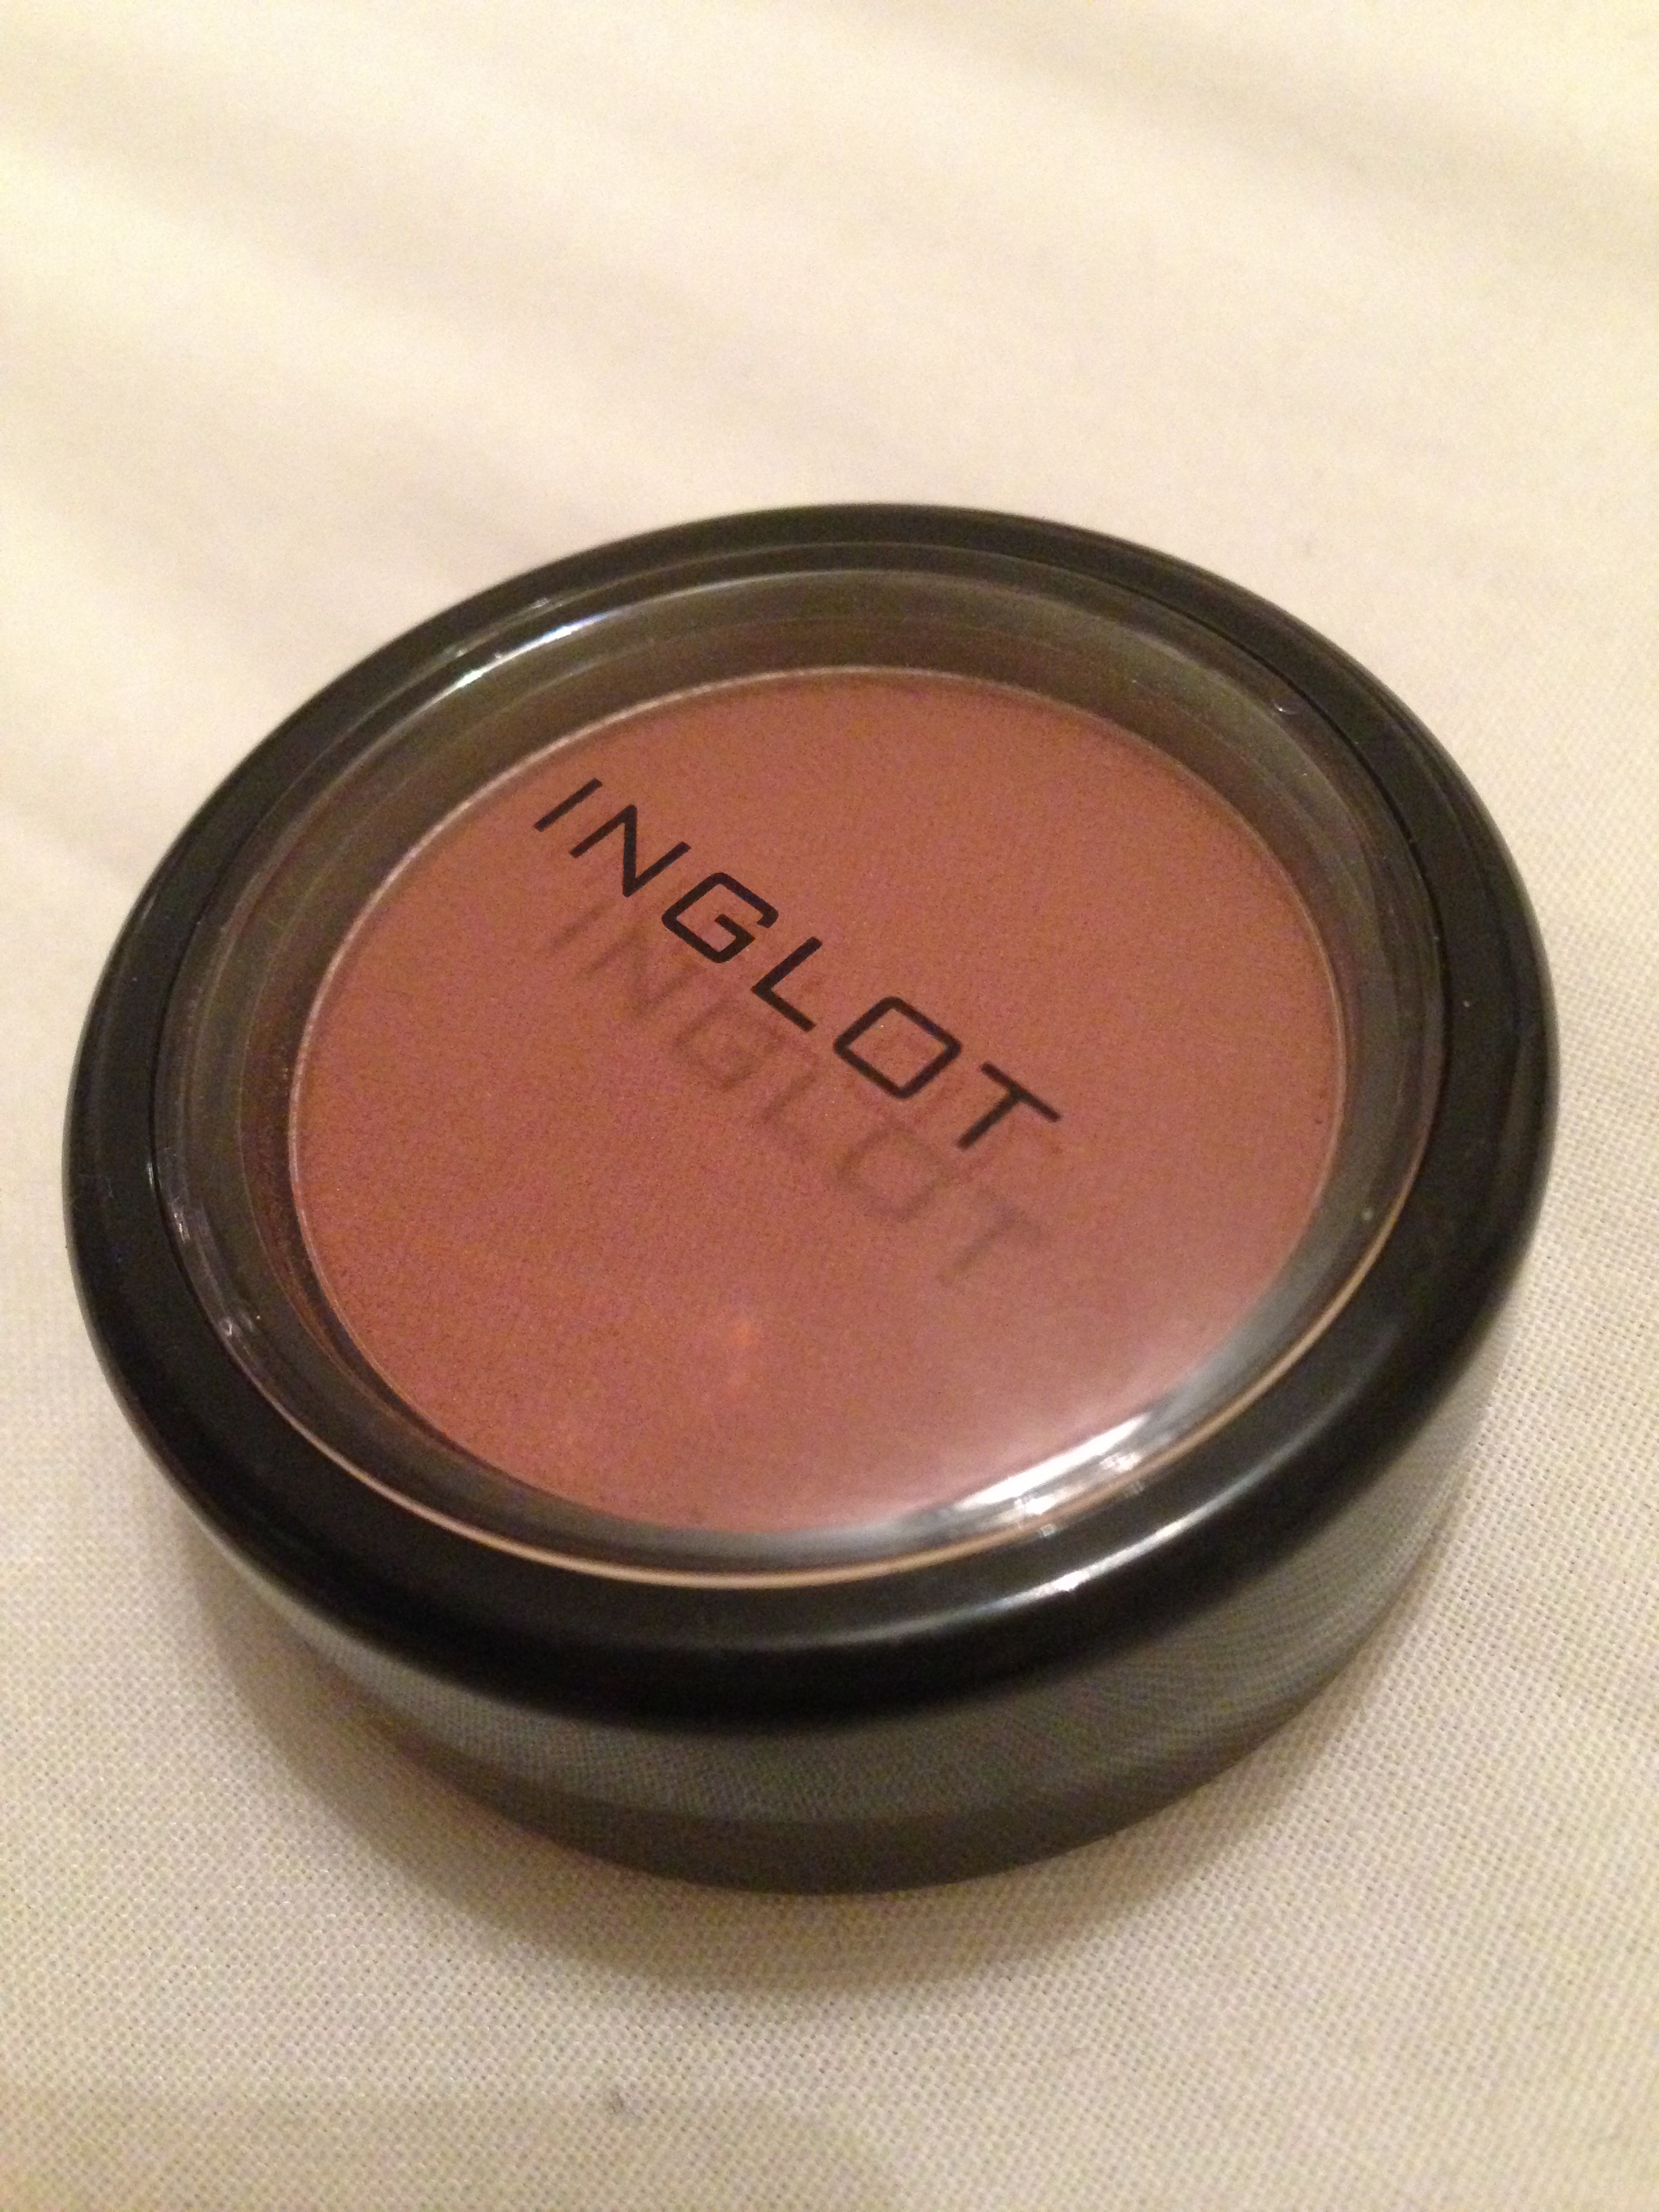
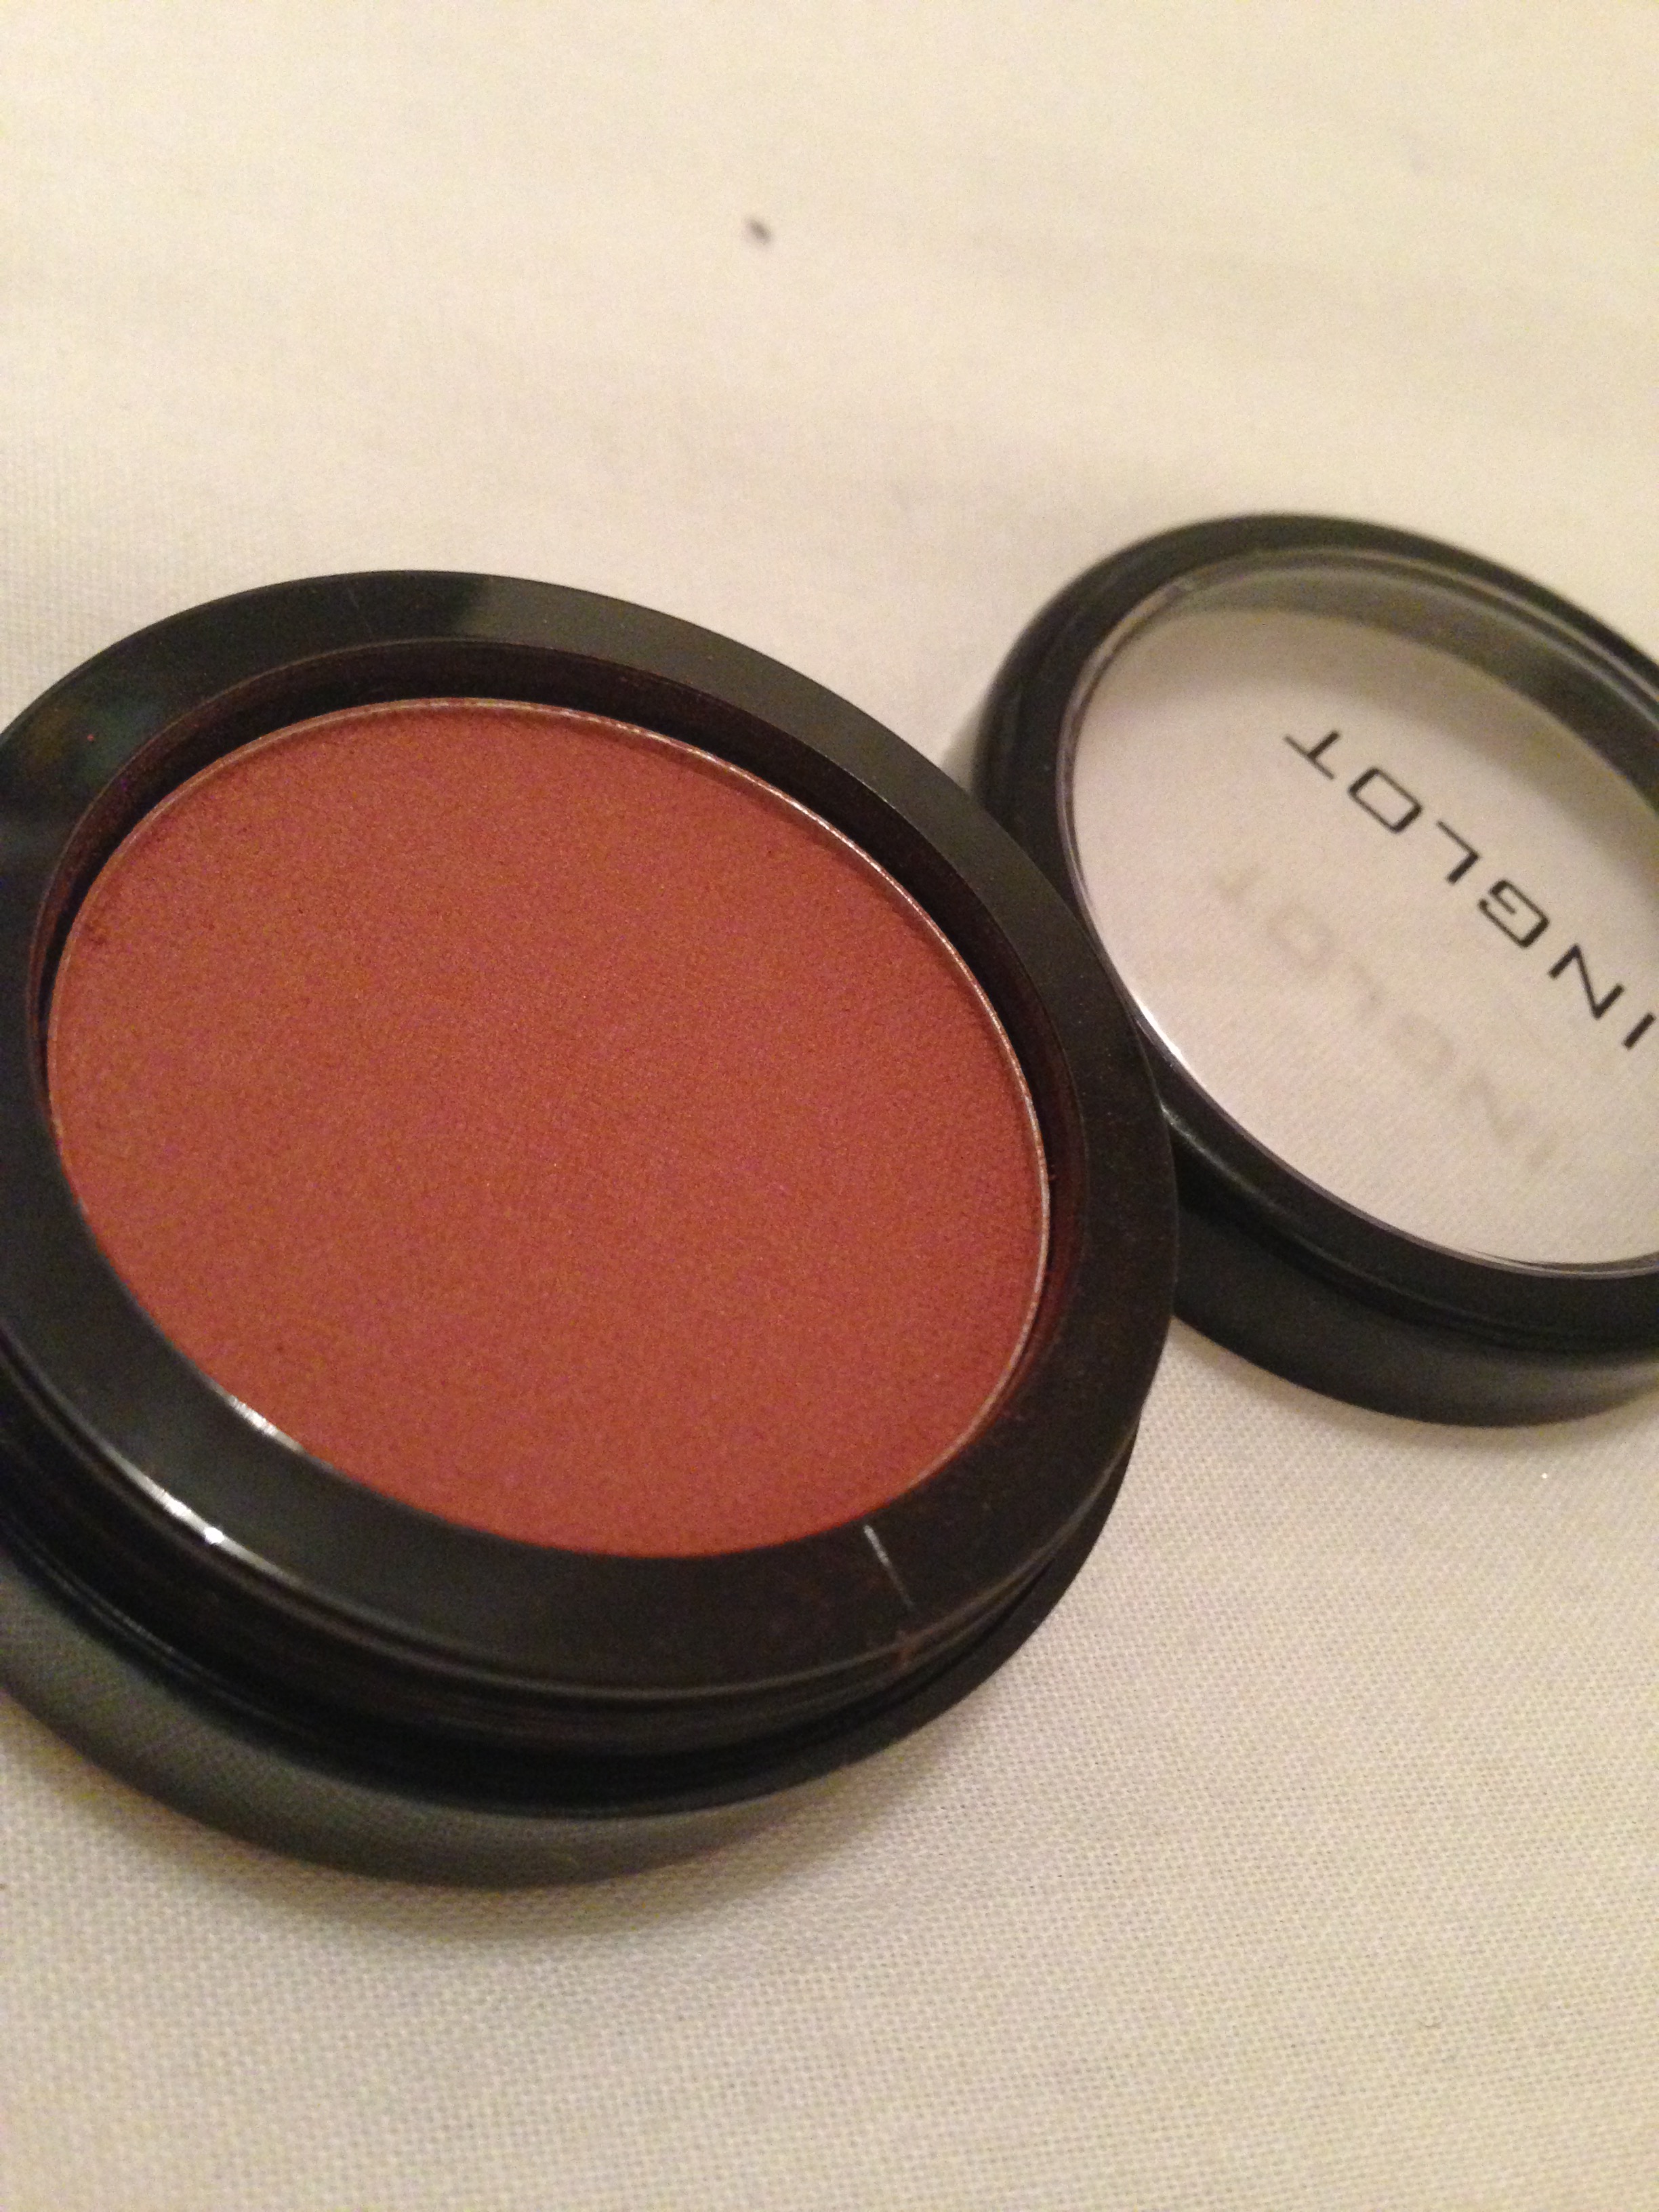
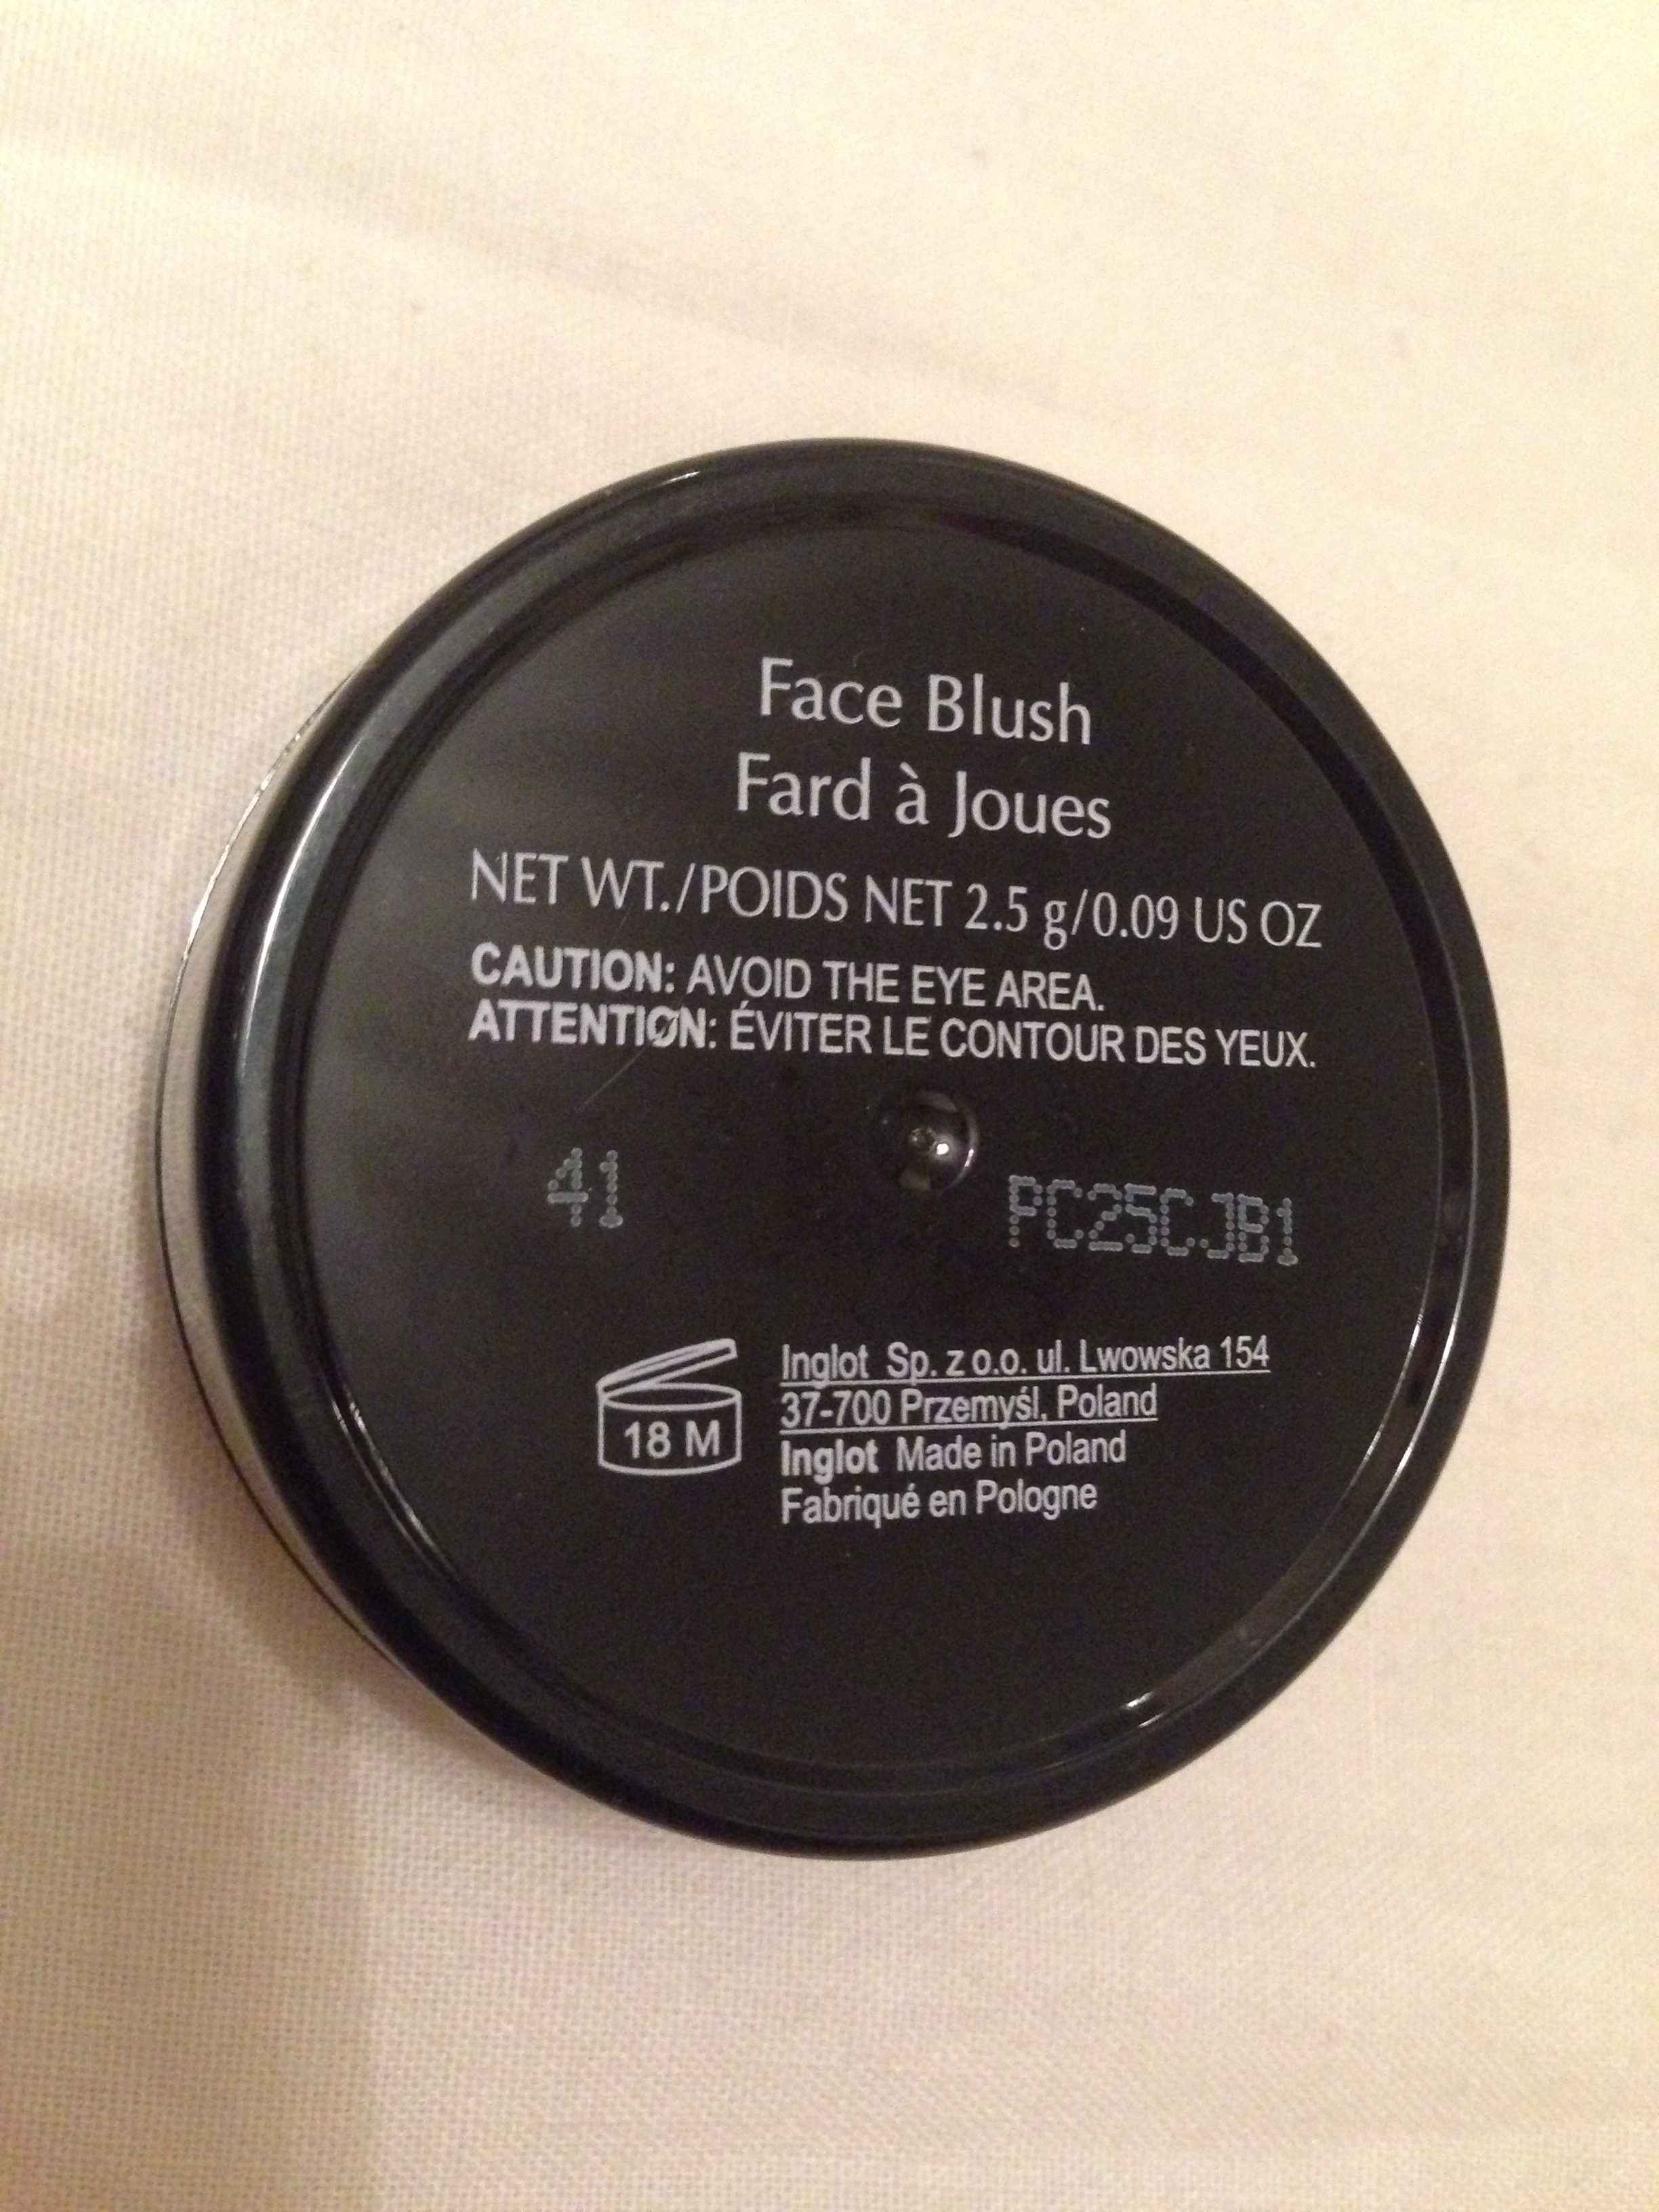
Ingot Face Blush #41

IMG_4167 IMG_5198 IMG_2145

As mentioned in my July Favourites post, one of my all time favourite everyday blushes is the  INGLOT Face Blush #41

INGLOT have such a great range of colours and with their unique Freedom System, it allows you to mix and match colours and products to custom design your own palette. This way you can experience their massive range of colours and pick and choose your favourites! They also come as individual face blushes like you can see in the photos above.

It’s a gorgeous matte brown-red shade and great for summer – it’s so long wearing and gives a smooth application. I usually use the Real Techniques Blush Brush to apply this. It gives a nice healthy glow to the face and paired with a gorgeous highlighter, it creates great dimension on the face. I love it!

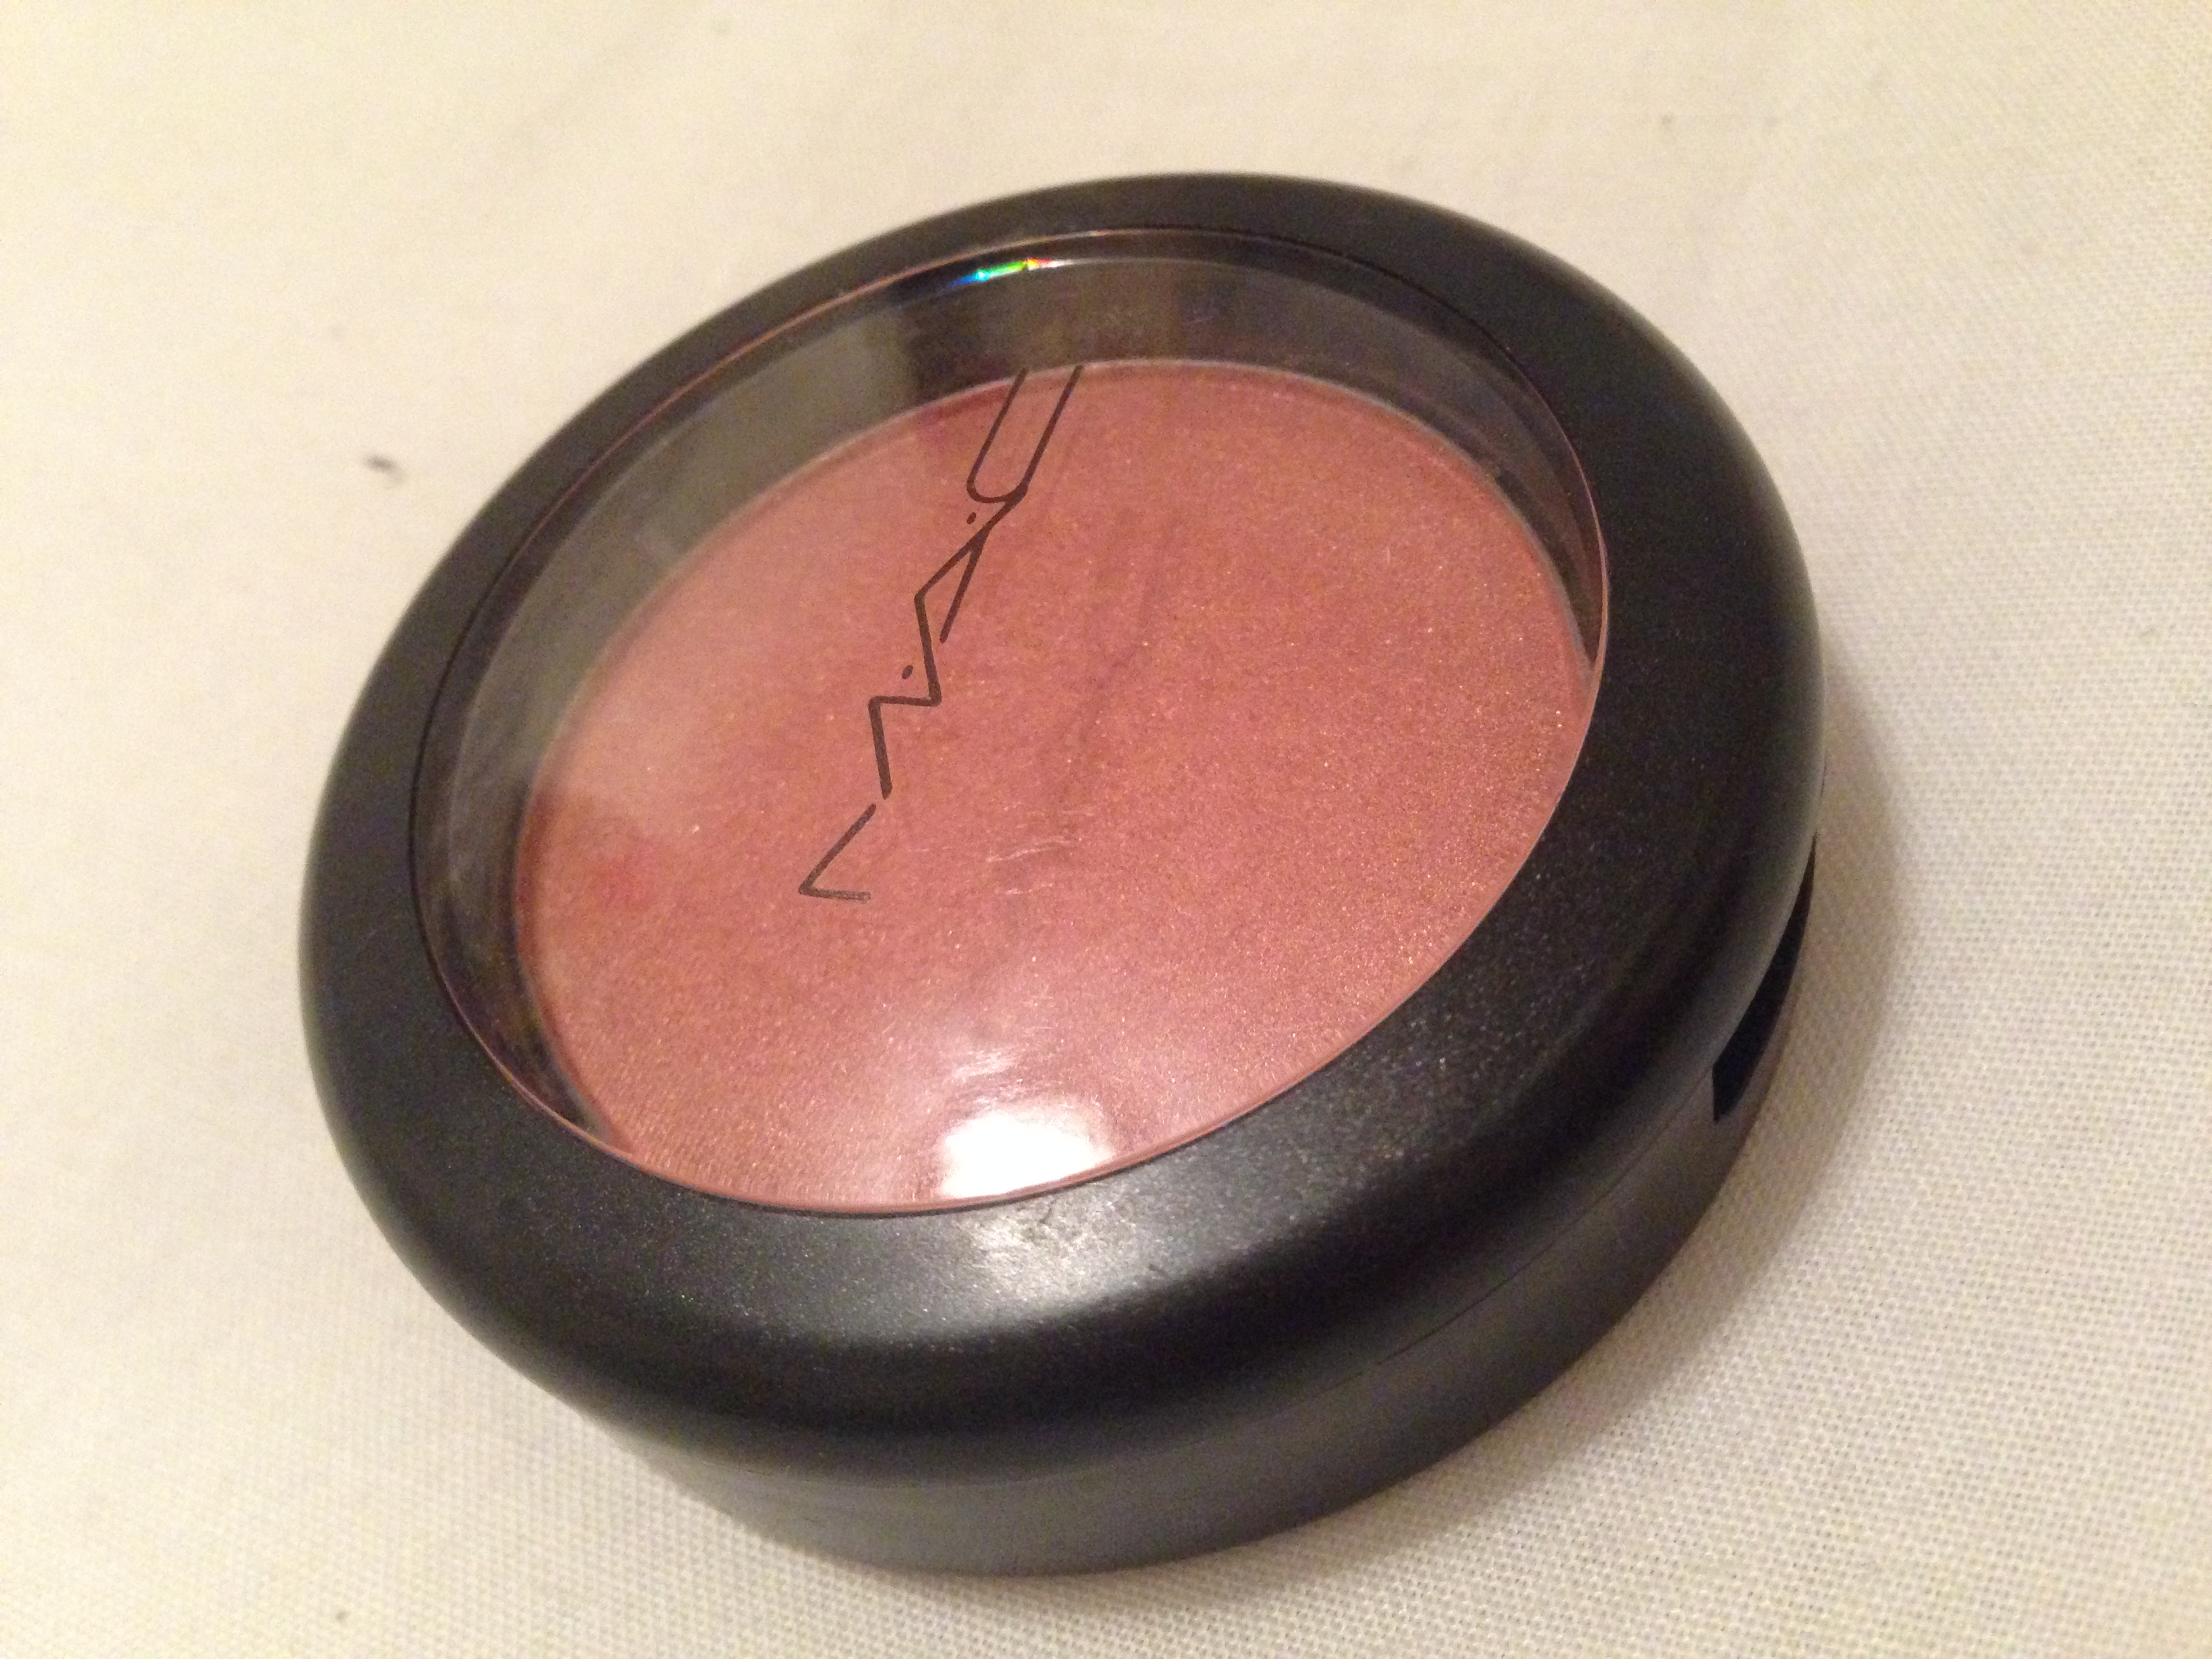
MAC Sheertone Shimmer Blush – Peachtwist

IMG_6678 IMG_0214

Although a shimmery blush, MAC’s Peachtwist gives the perfect amount of pigmentation for a natural look. It actually creates more of a light sheen rather than a shimmer to your cheeks which can be blended for a sheer look or built up for a more shimmery look. I usually pair this with the INGLOT #41 above, or the NYX Bordeaux below, applying this underneath for a slightly more matte look as I typically go for matte blushes during the day.

As I have more of a medium-tan skin tone, I would think that this blush, being a rosy, peach colour with a subtle gold sparkle, may be slightly too strong for those who have a fairer skin-tone, in which case this blush can be blended out to create more of a rosy glow on the cheeks.


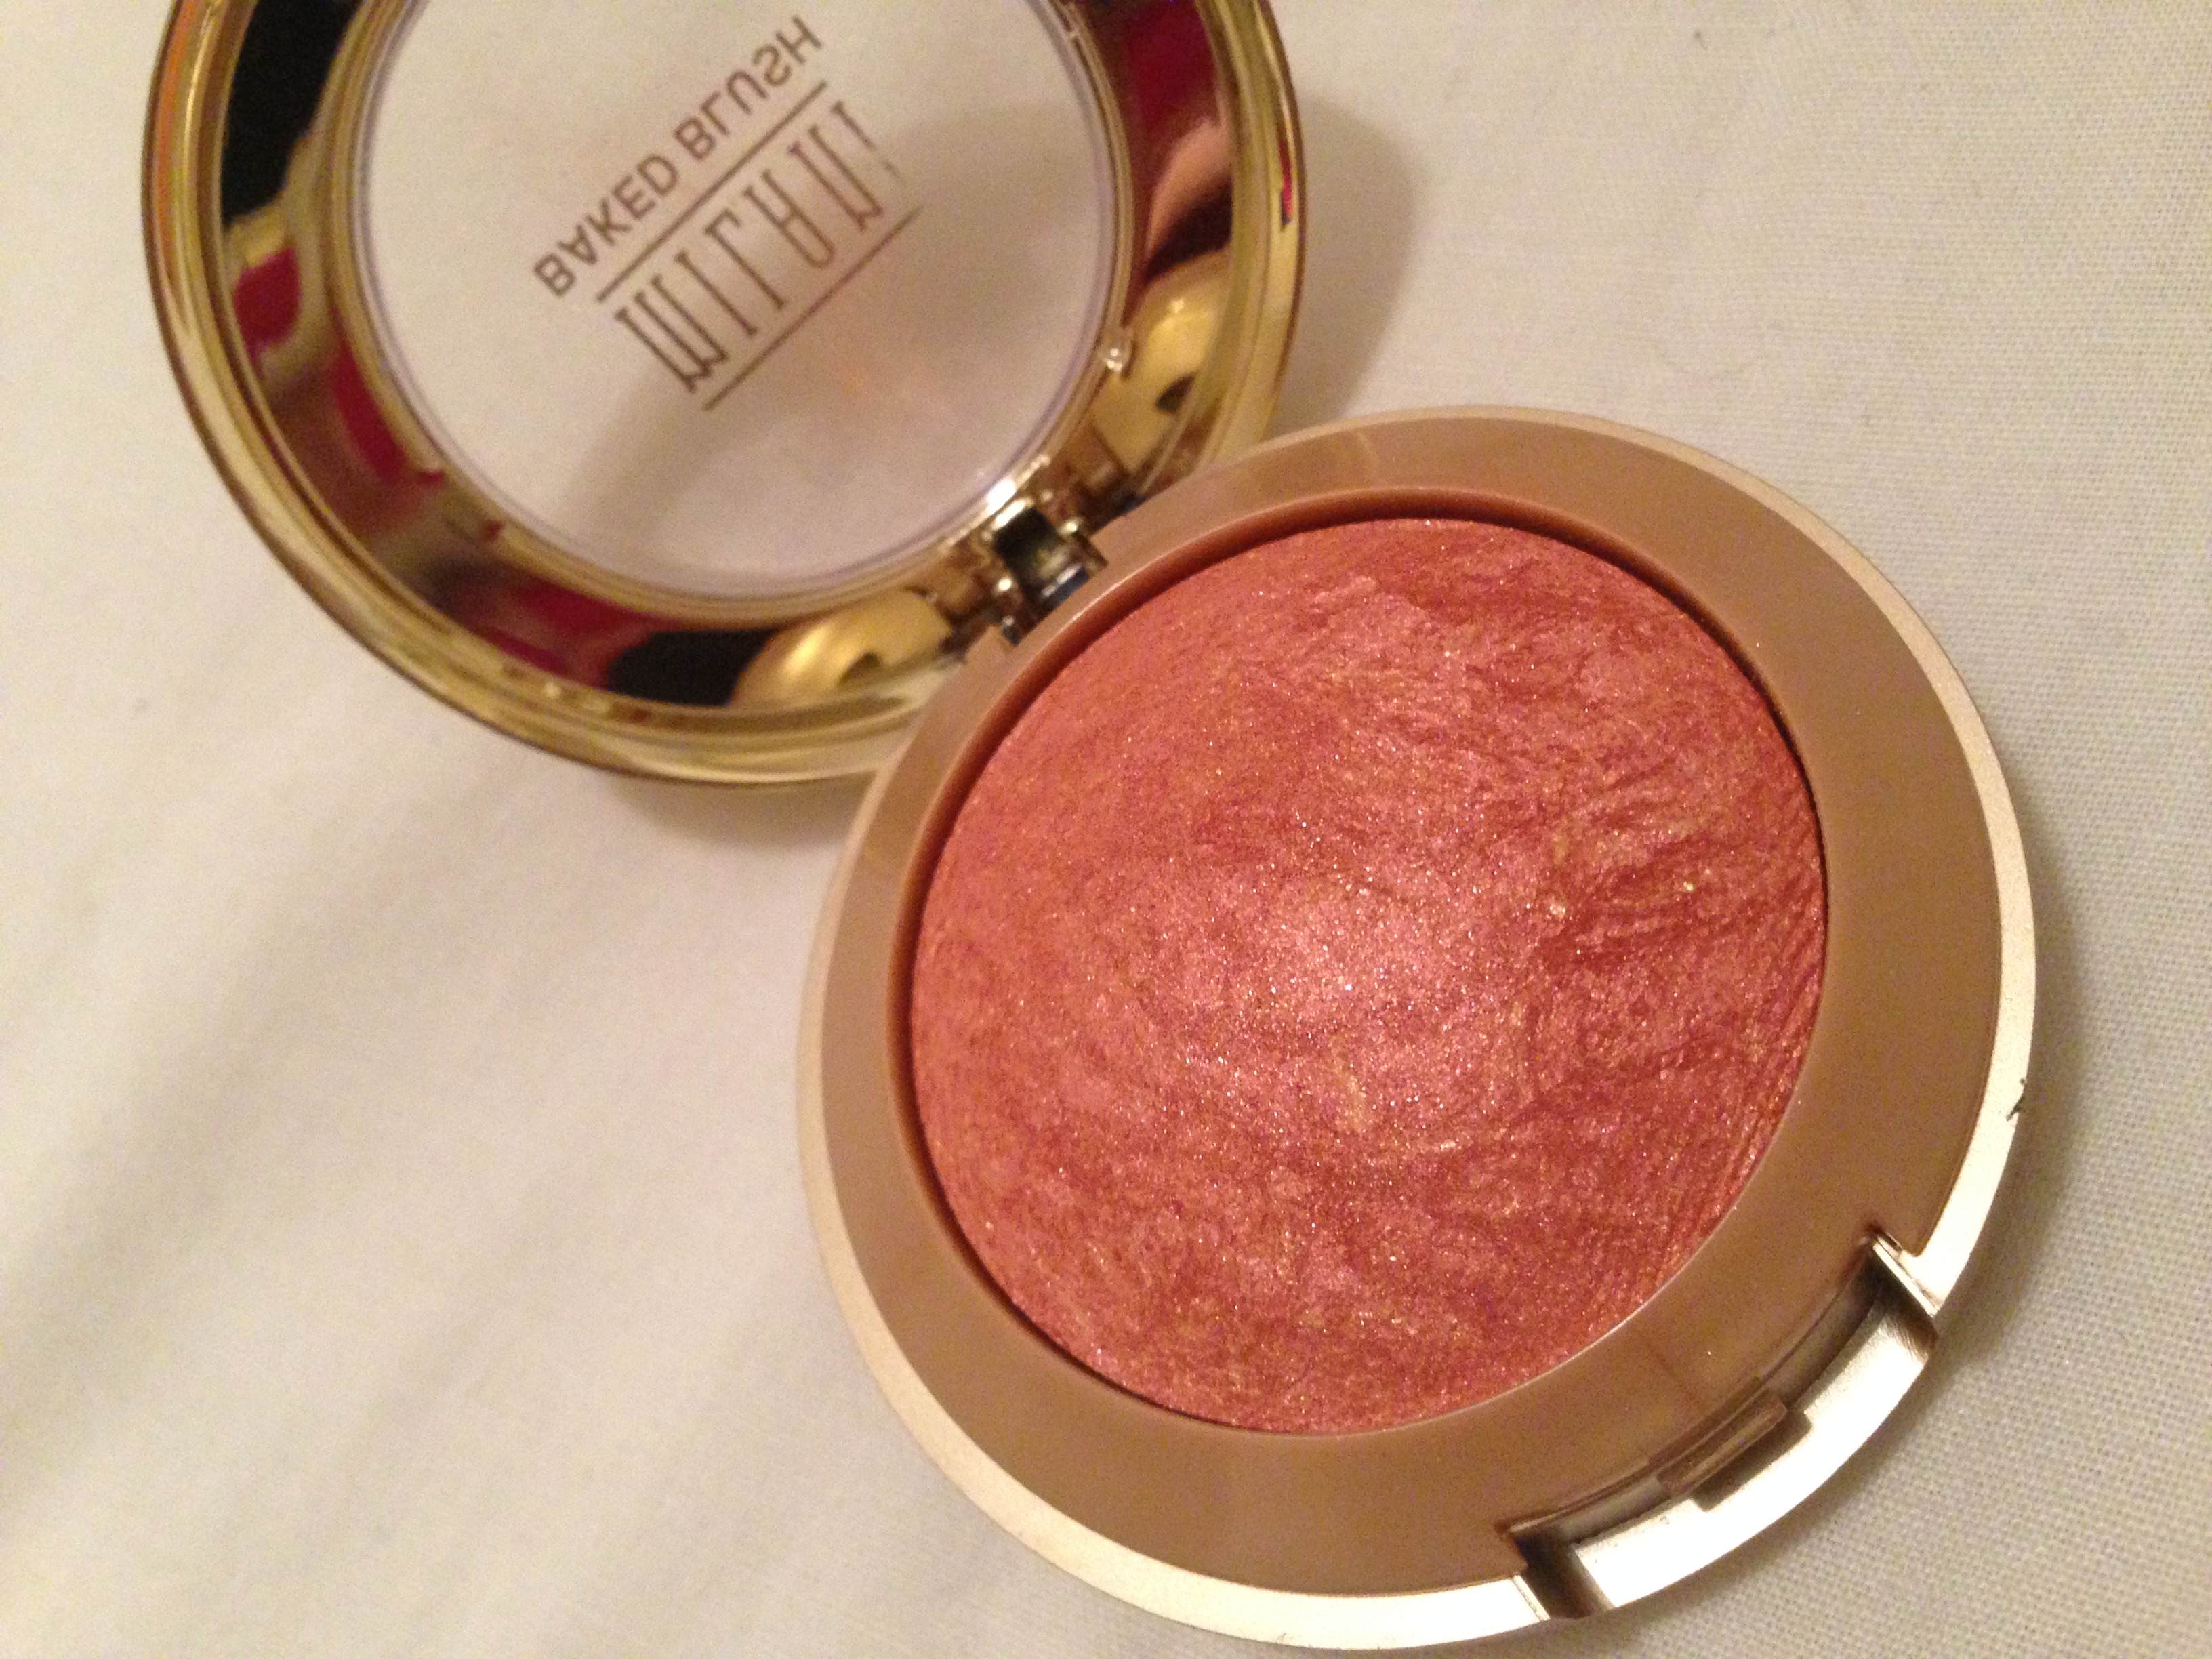
Milani Baked Powder Blush – Rose D’Oro #02

IMG_3581 IMG_0834

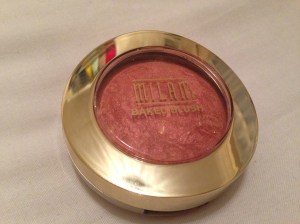
I love the Milani Baked range, as I mentioned in my July Favourites post, the baked blushes were the first Milani products I tried. With them being super inexpensive I found myself in possession of three of the Baked Blushes; Milani Rose D’Oro, Milani Berry Amore and Milani Red Vino. I am obsessed with all three of these, but the one I tend to reach for most is the Milani Rose D’Oro, just because it’s great for a more natural look and the others can sometimes be a tad intense so I tend to save those for nights out 🙂

They have such a beautiful, silky texture and easy application. Rose D’Oro is very shimmery with an immediate swatch, but once blended it can also create a lovely sheen just like the Peachtwist above. It can be built up to look vibrant as well, and can be used for a beautiful highlight on the hight points of the face. With its golden shimmer, it looks great on more of a tanned skintone and can be paired with a matte blush for a more subtle, everyday look.


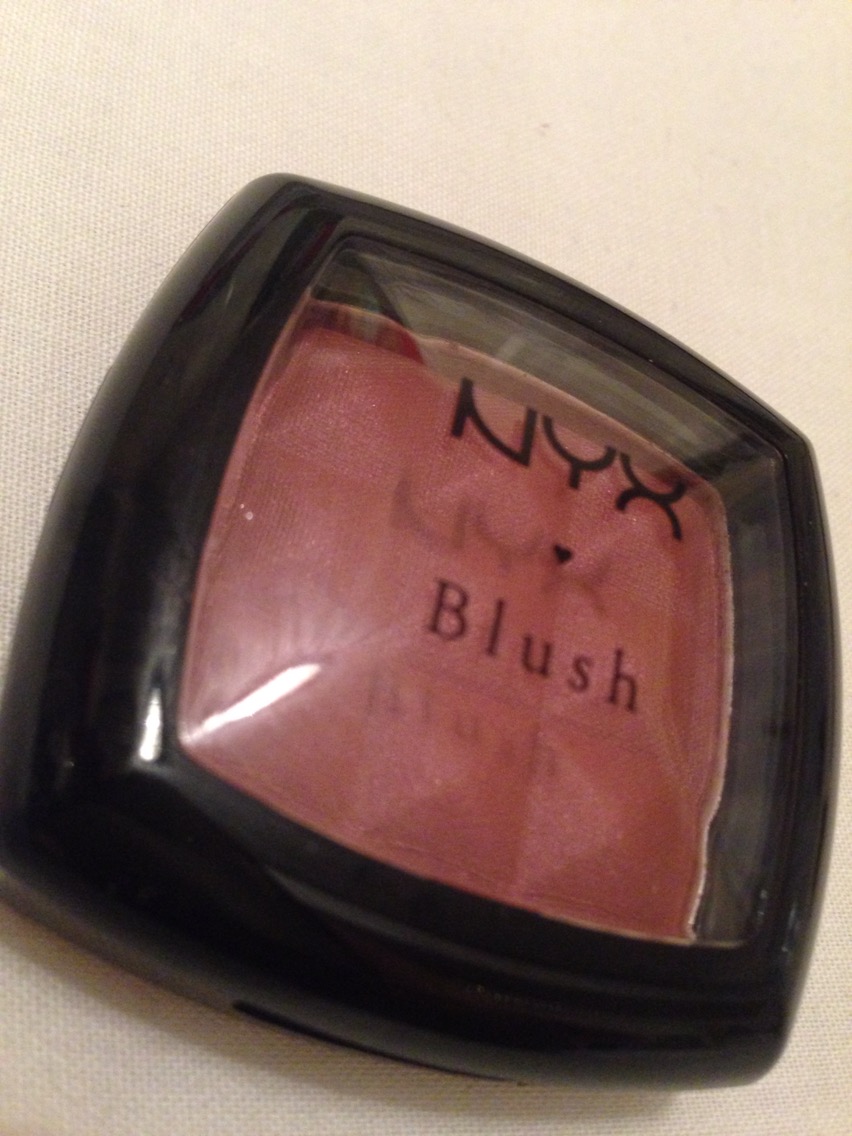
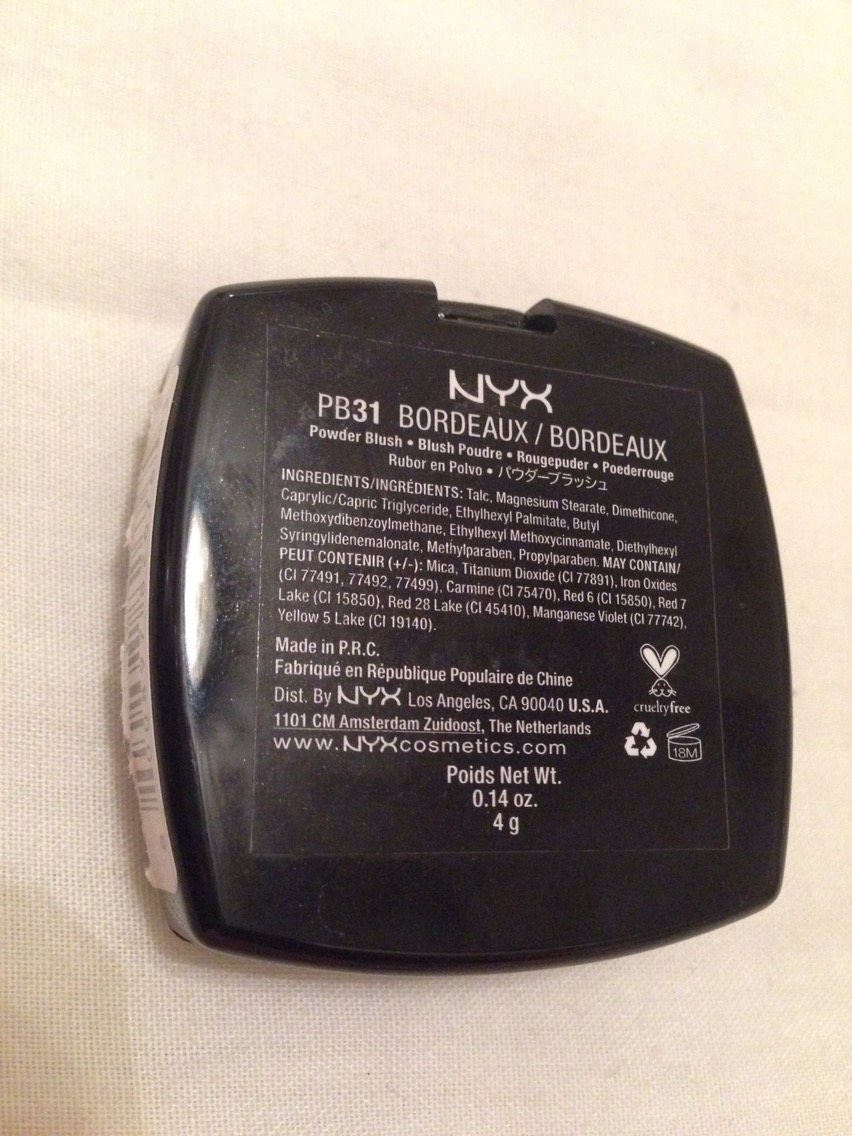
NYX Powder Blush – Bordeaux

IMG_6023 IMG_6024 IMG_6025

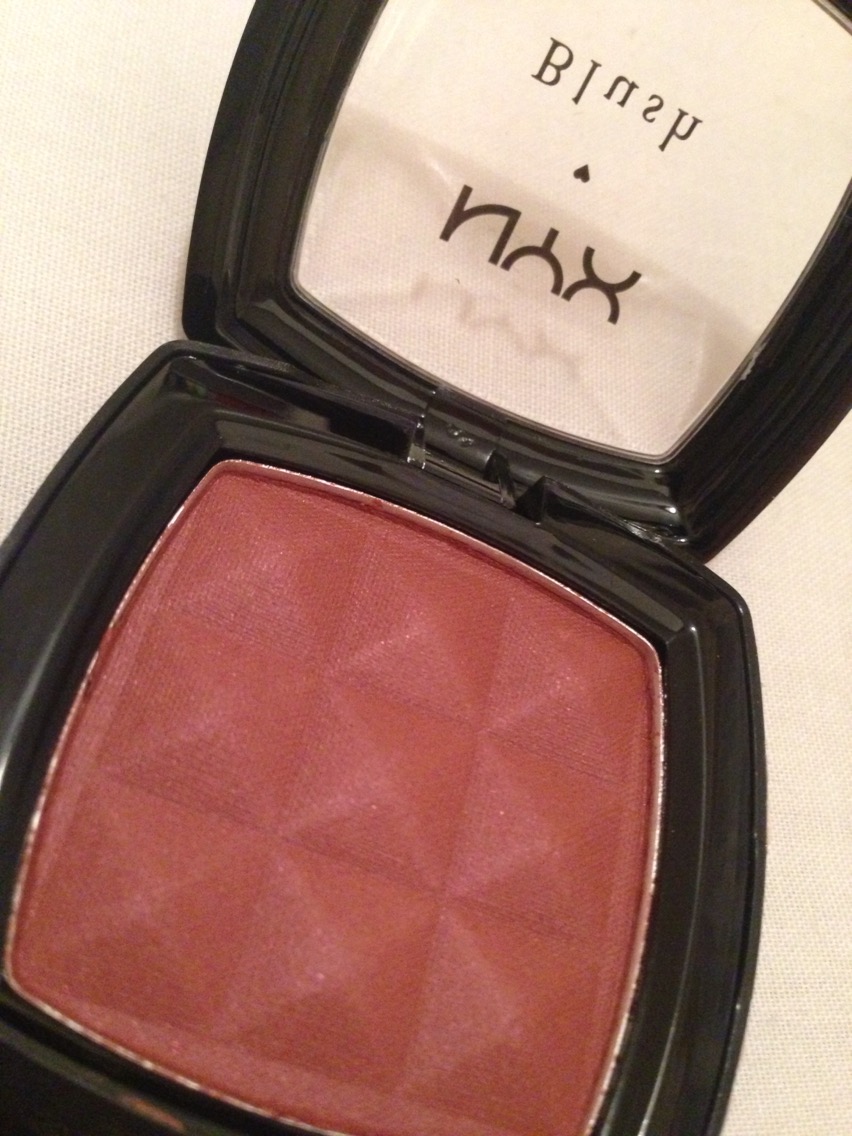
NYX Powder Blush in Bordeaux is a deep red-brown with a slight shimmer in the pan but actually goes on the cheeks matte! This blush paired with MAC Retro Lipstick is such a nice combo! Although a slightly darker shade, once blended the colour looks stunning on! I love the NYX formula and the fact that their products are very affordable.

I purchased this blush at IMATS (see my haul video here) and as there were no testers at the NYX stand, I was unable to go in for a quick swatch, but thank god I picked it up! It’s another of my go to blushes and again, like the INGLOT #41, perfect for everyday. I find that I would wear this on less of an oily-skin day or if I don’t have any blemishes on my face, as the slight shimmer in the pan can tend to come through after a few hours of wear.
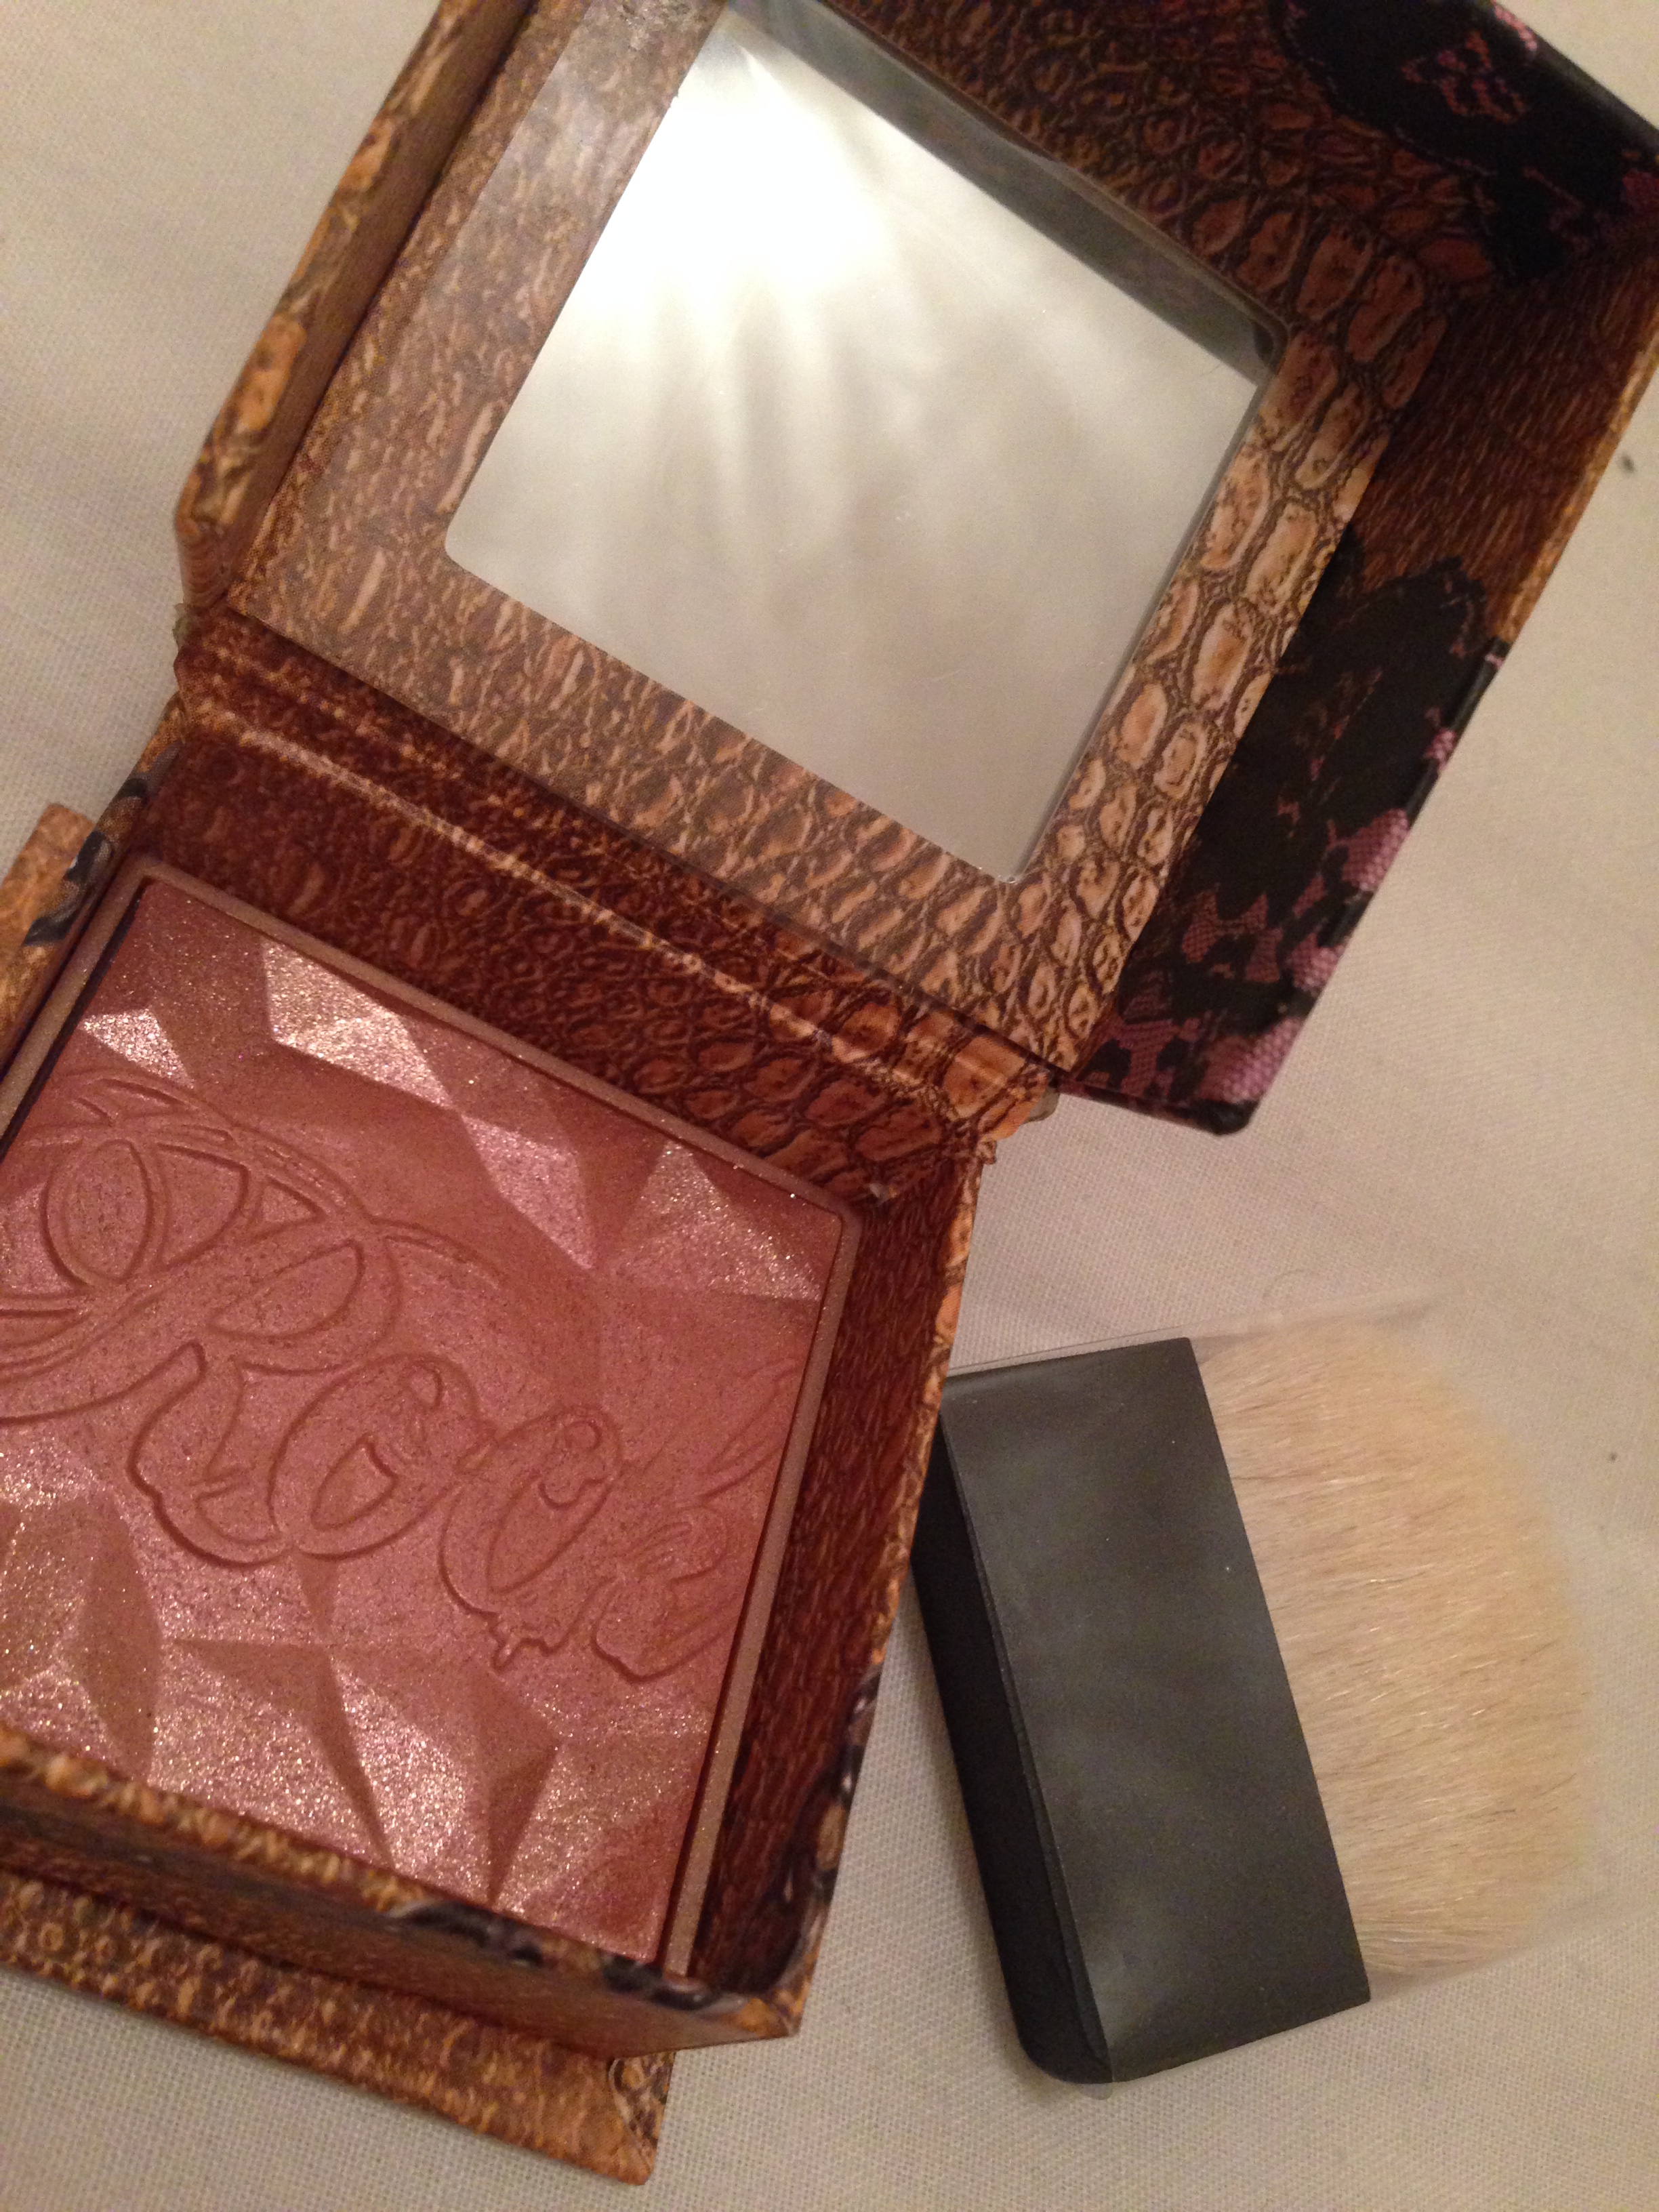

Benefit Rockateur

IMG_6021 IMG_6020 IMG_3262

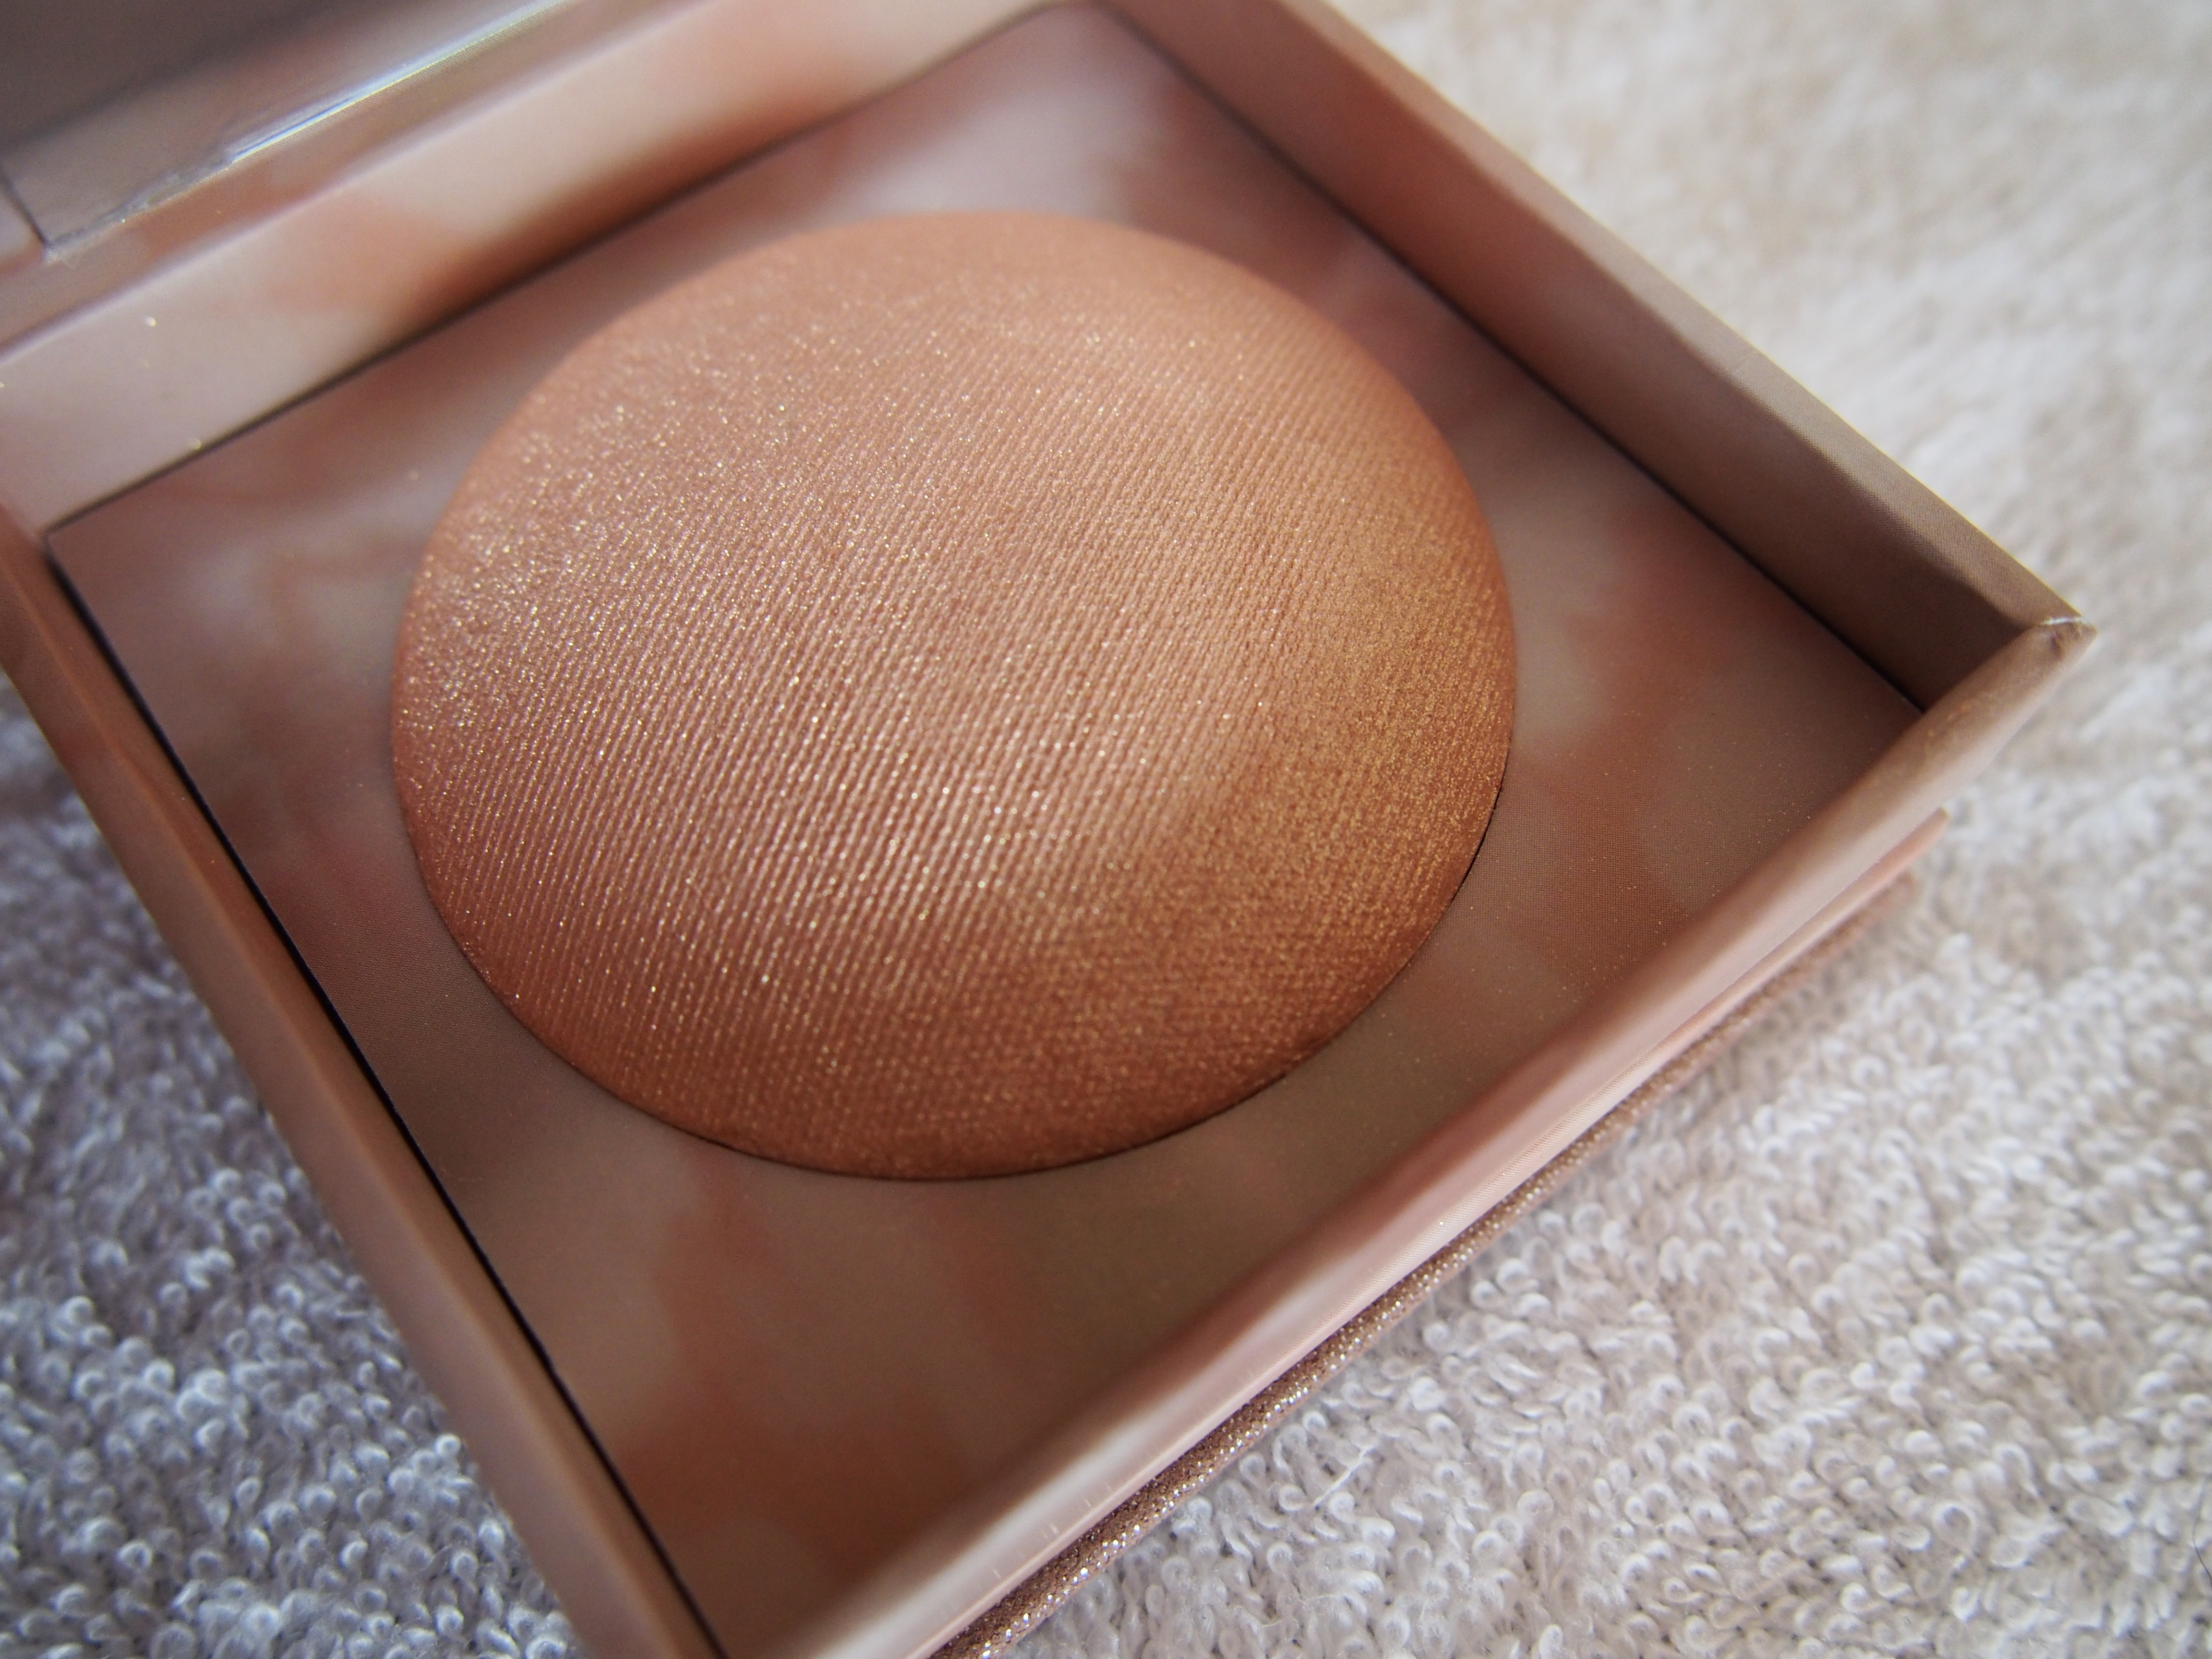
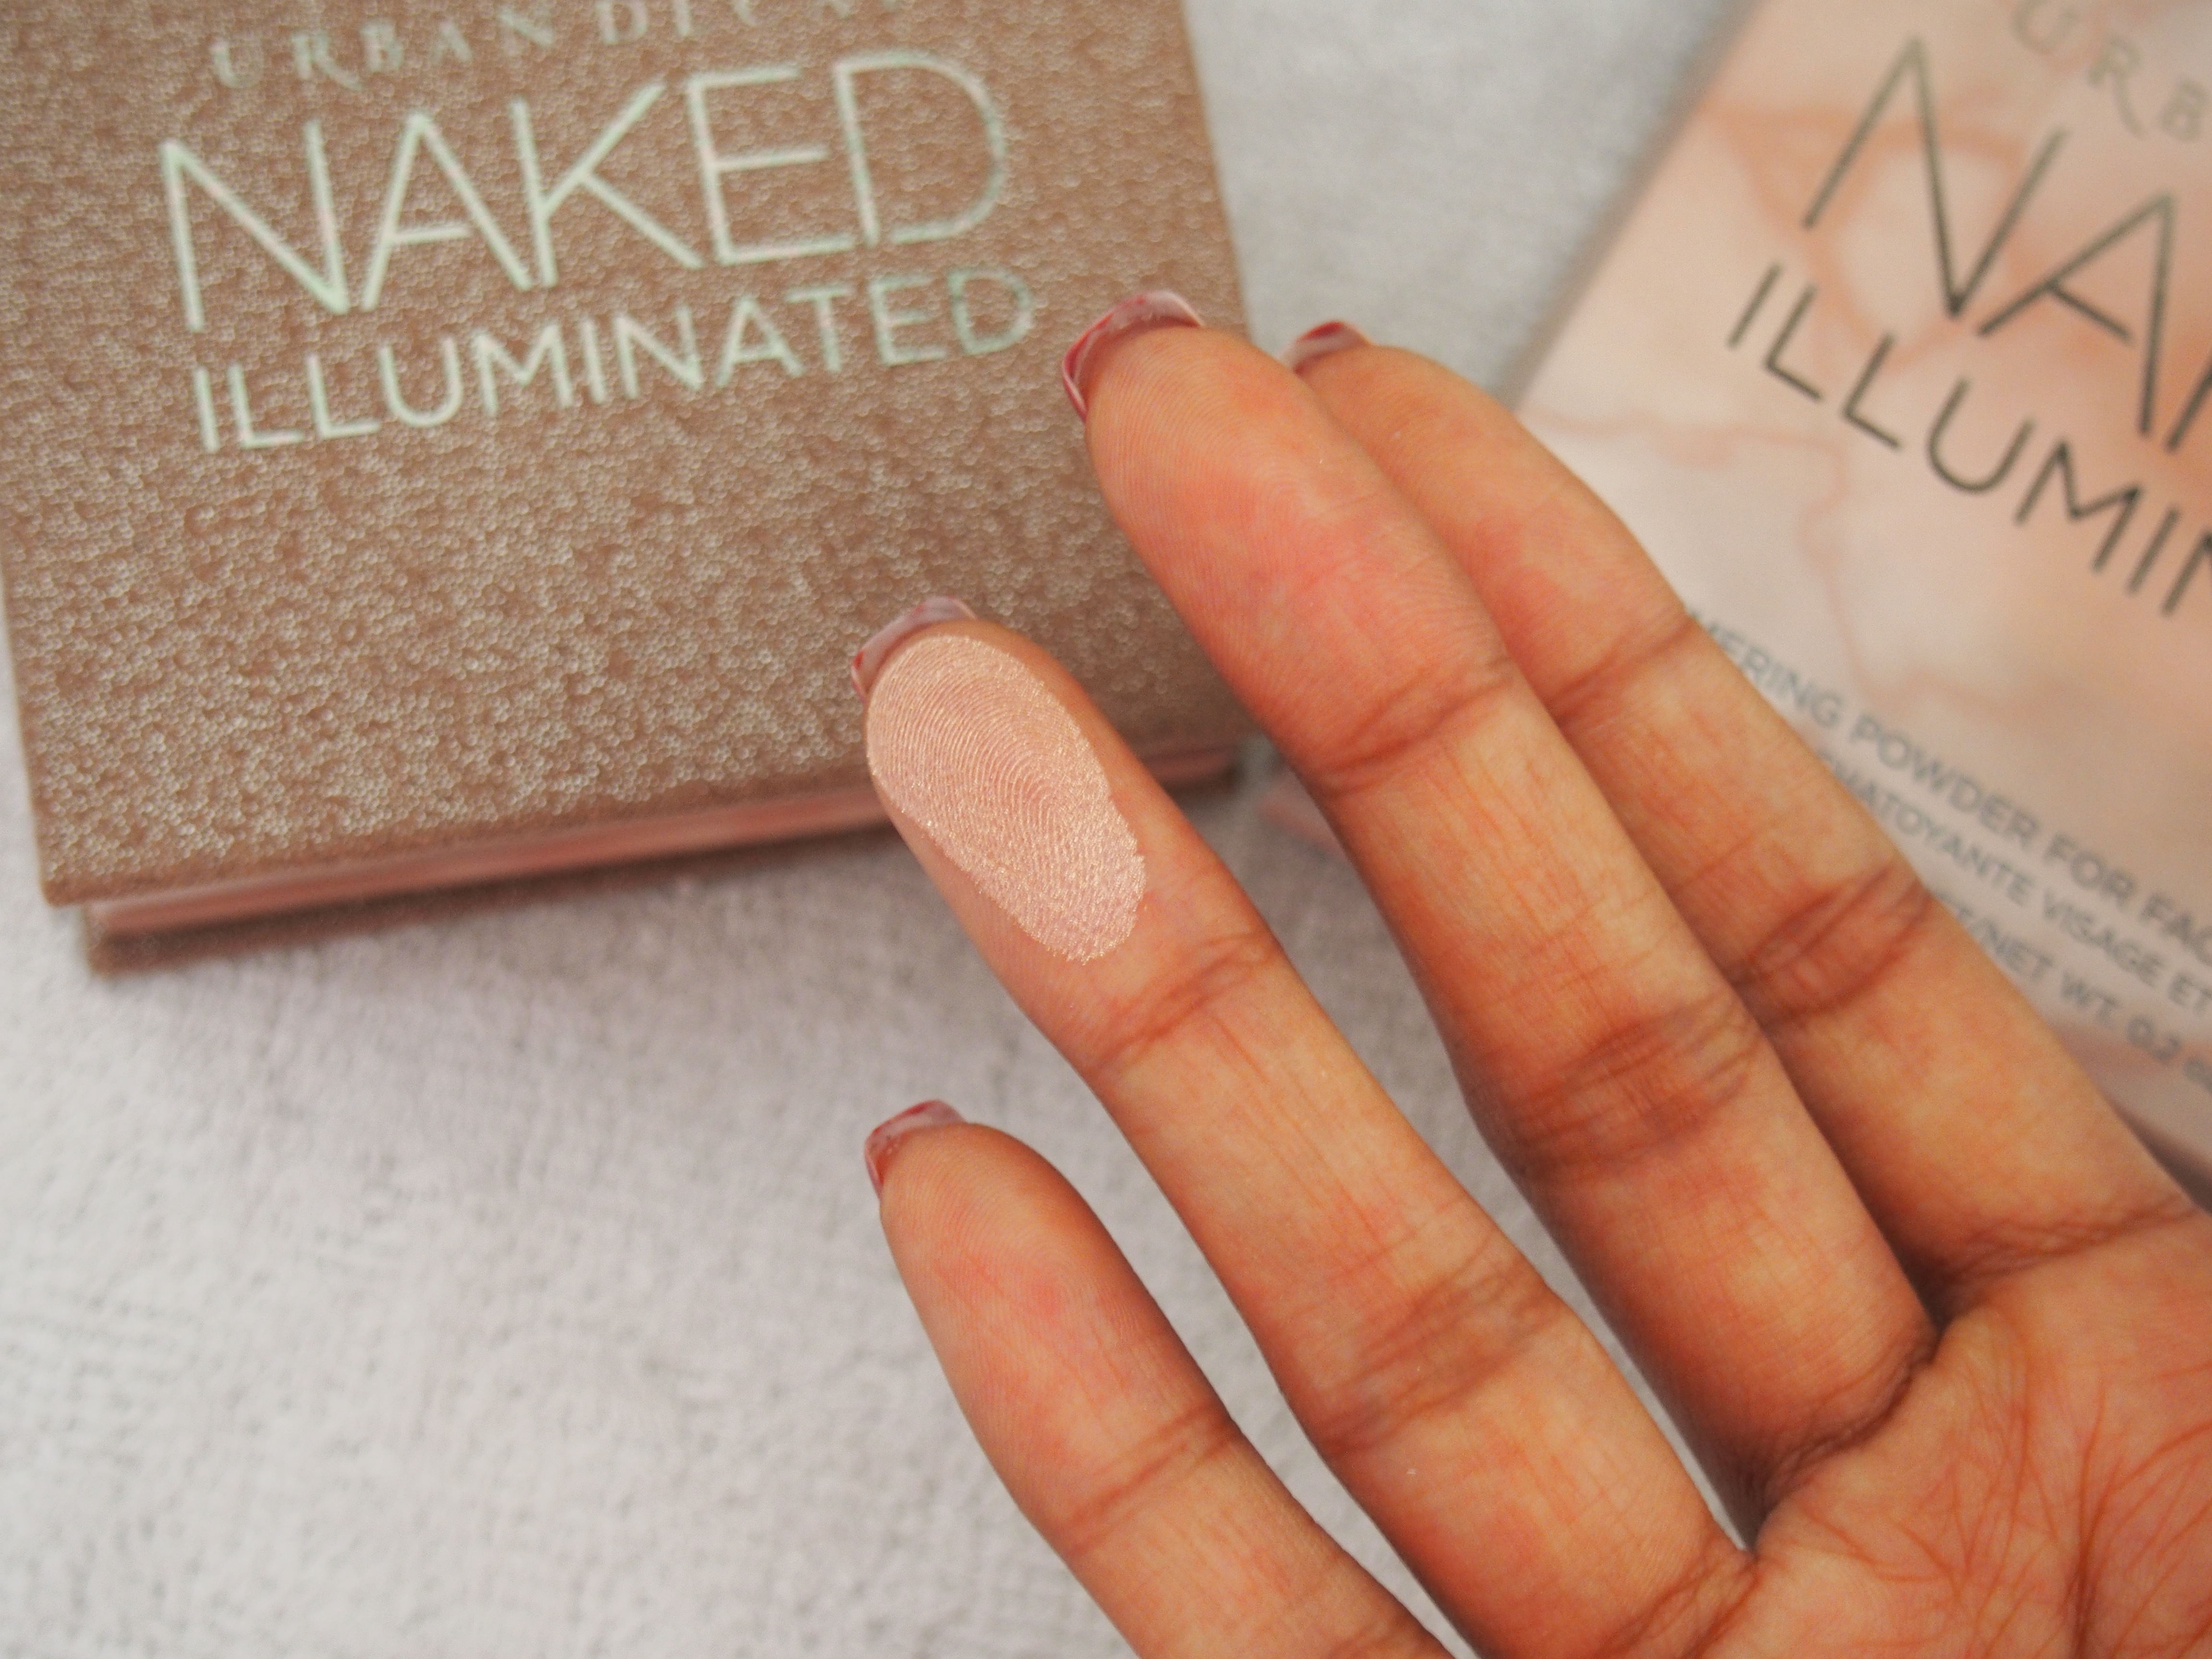
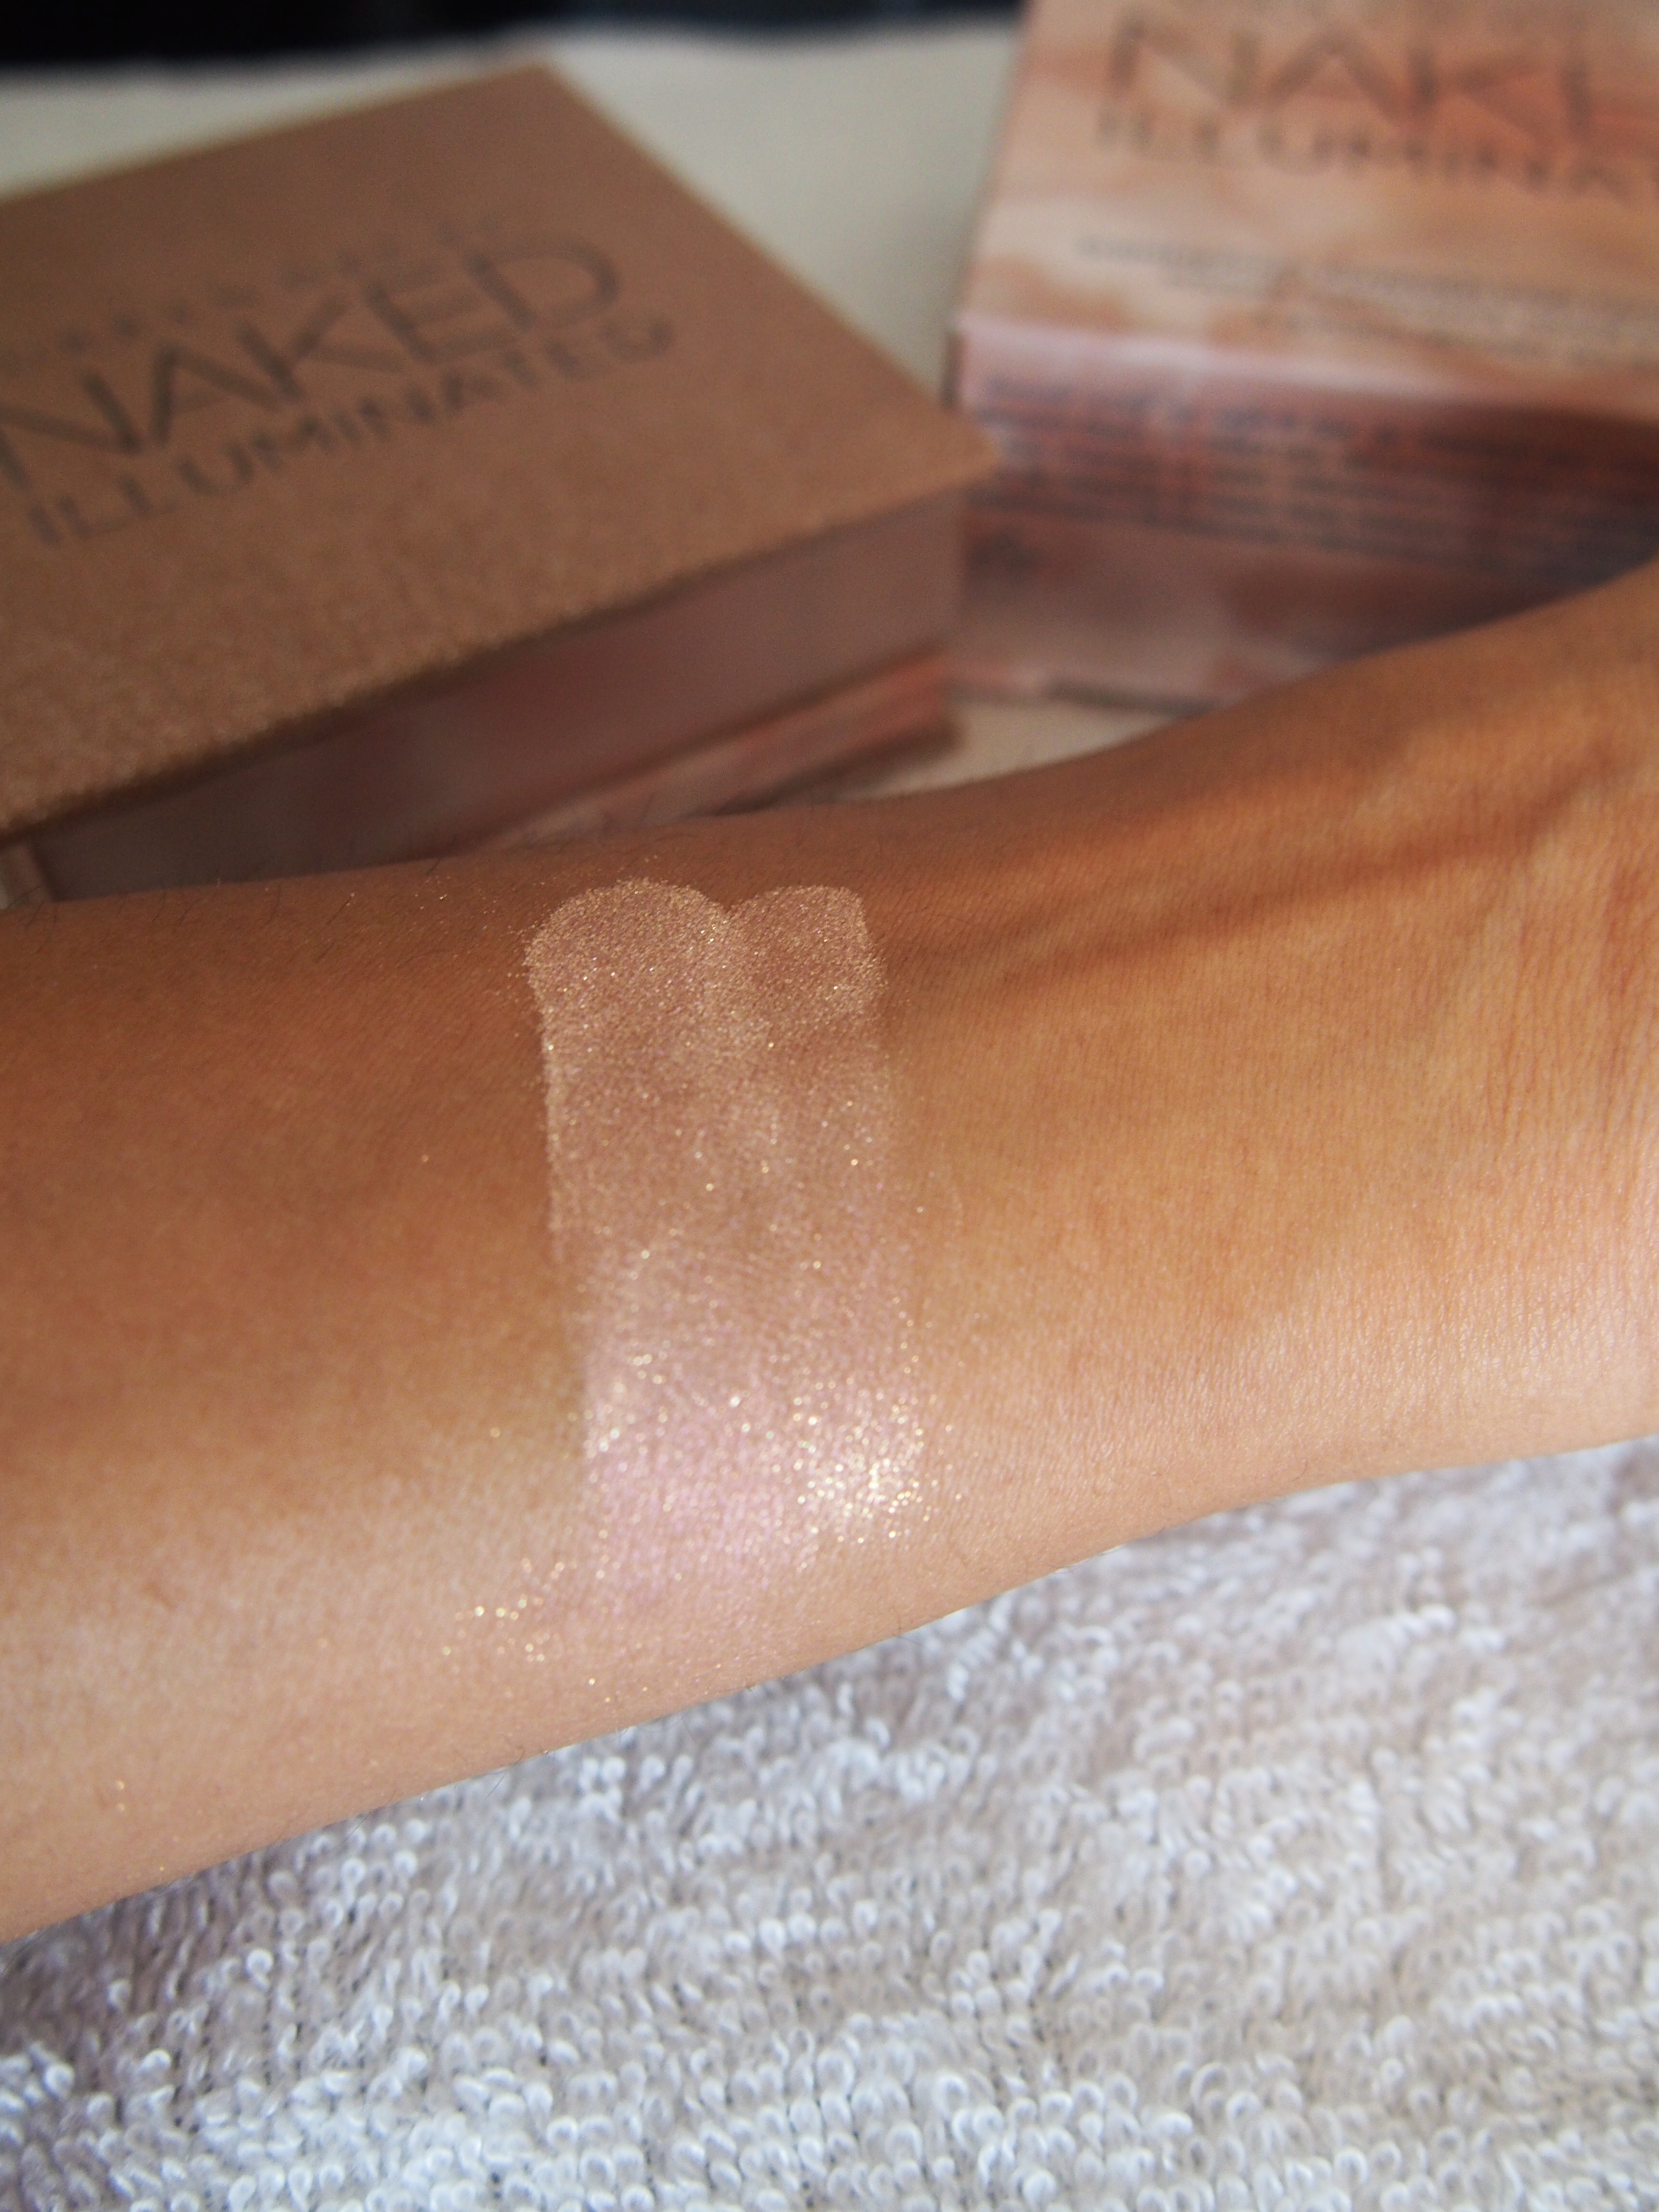
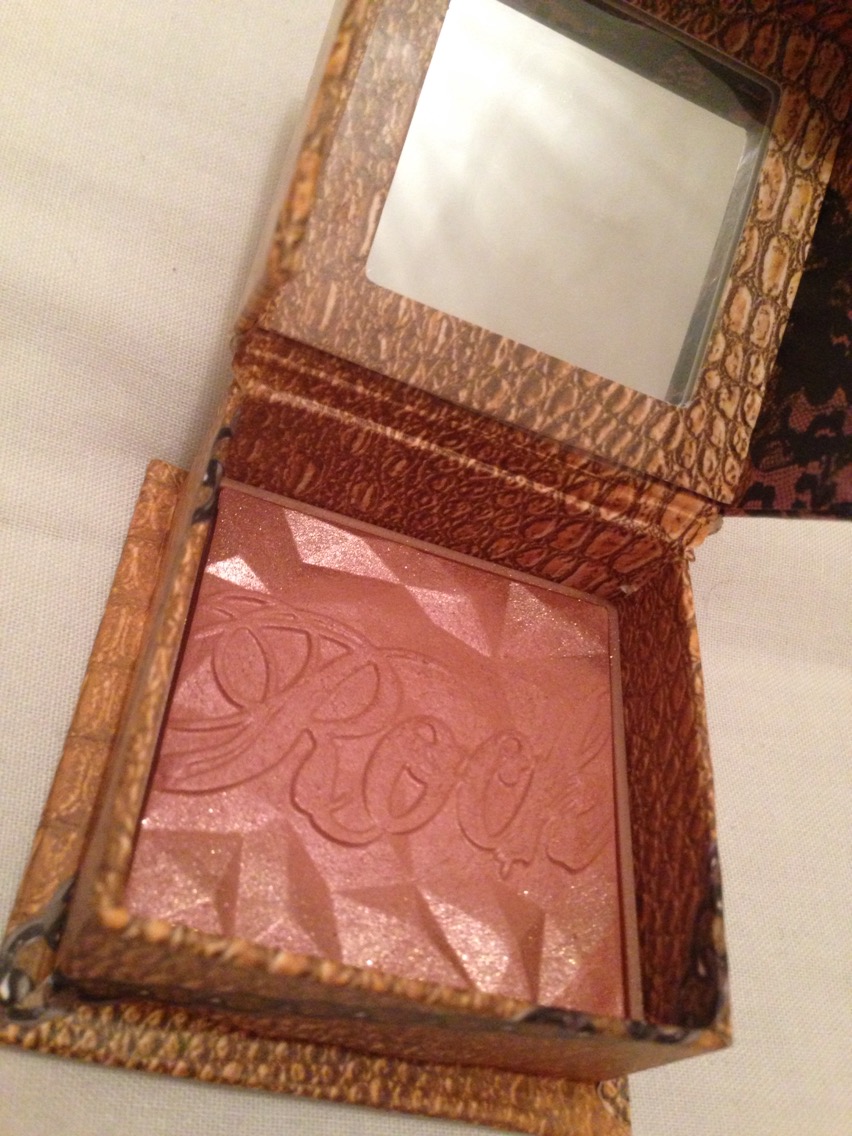
As you may have already noticed, I love anything Rose Gold! The Benefit Rockateur is one their many Box O’ Powders and of course is rose gold in colour. I just find that rose gold compliments my skin tone really well and am always drawn to it, whether it be in make up or jewellery.

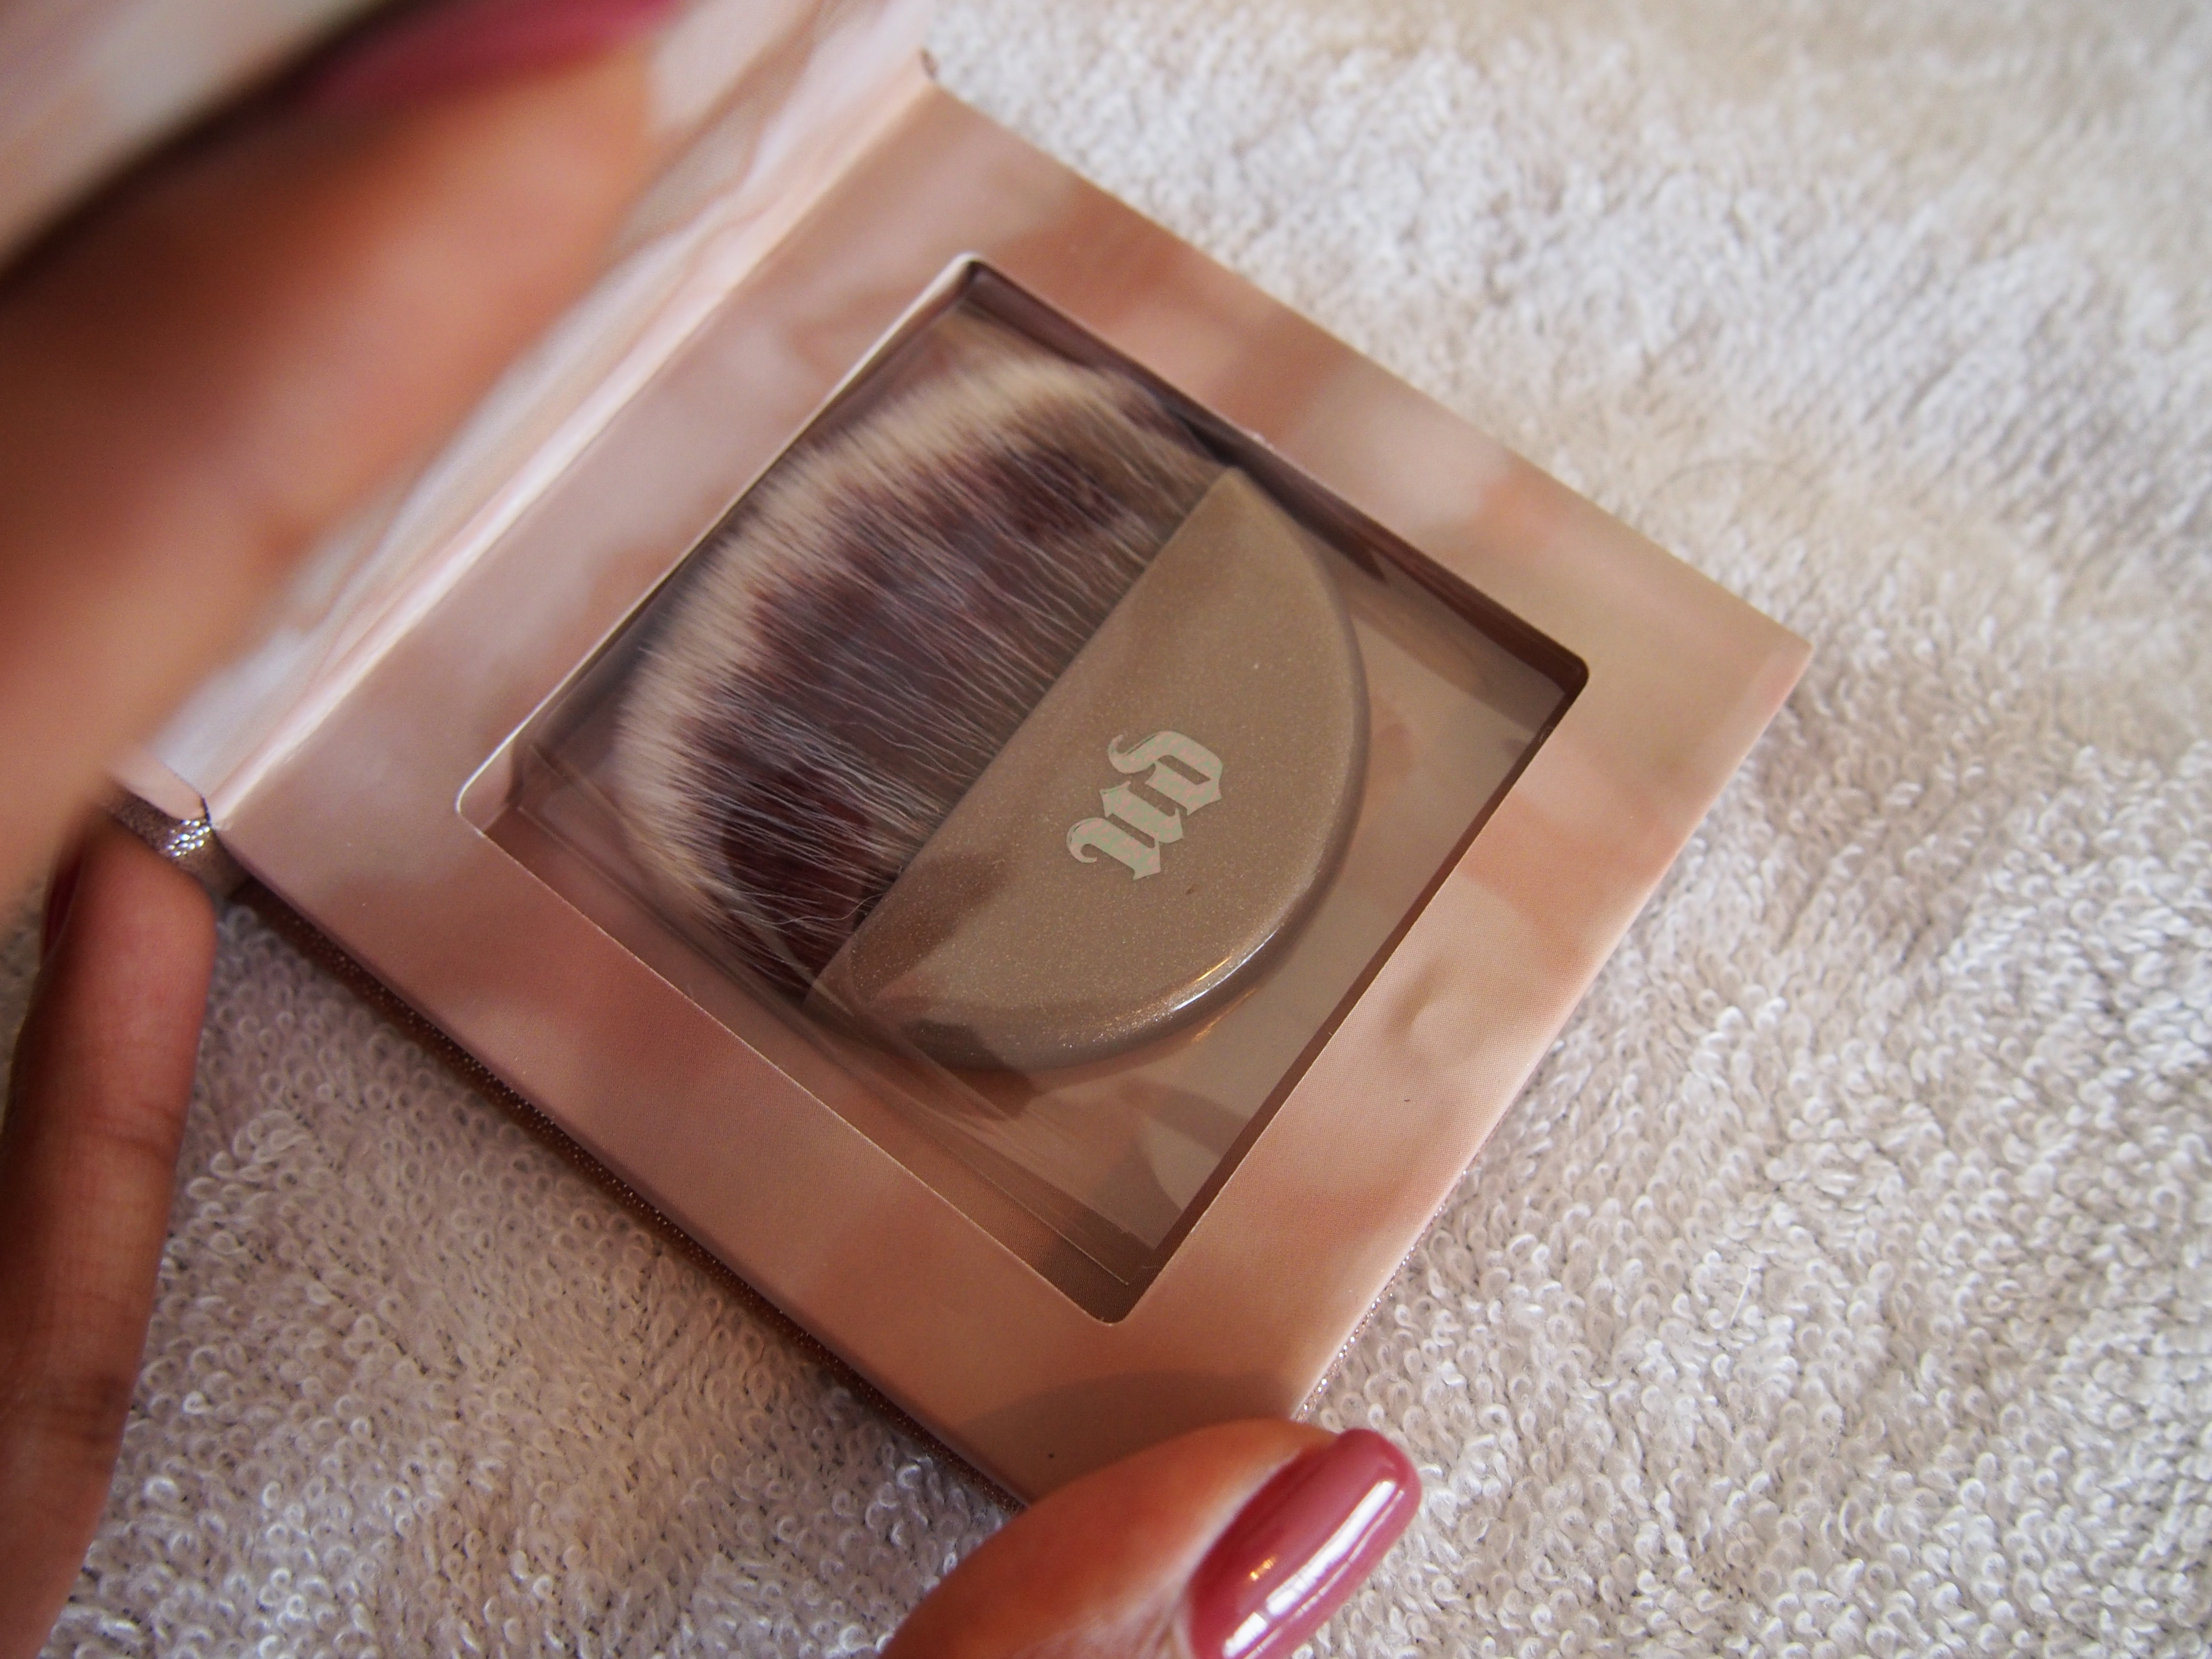
The Rockateur generates a healthy flush that brightens up the complexion without being overly shimmery and this one is actually great for all skin-tones! As the colour is build-able, just like most of the other blushes I have mentioned, it can be taken from day to evening really easily. It goes on like a light cream product but is actually a finely-milled powder, creating a lightweight feel to the face. It also comes with a small brush inside making it very travel-friendly. This blush with a gorgeous natural, but lengthened lash using the Roller Lash is perfect!

Another thing I love about this blush is the packaging! I mean look at the packaging! Isn’t it gorgeous?! I’m such a sucker for beautiful packaging haha.


Please let me know your thoughts if you’ve used any of the blushes I have mentioned, and I’d love to know your favourite blushes in the comments 🙂


Sachita x

La Roche Posay Effaclar Duo [+]|Review

Hey!

Screen Shot 2015-08-14 at 23.05.09

I thought I would share with you guys my thoughts on La Roche Posay’s Effaclar Duo [+]. This is one of my all time favourite face treatments and with my skin type being combination oily and blemish-prone, it’s the perfect treatment!


The Formula

The new ‘plus’ formula has the addition of an ‘Anti-Marks‘ claim compared to the original Effaclar Duo. It’s amazing at reducing the appearance of acne scars or redness on the face, with noticeable differences in no longer than 10 days! It’s a great cream based product and doesn’t leave a greasy residue, containing an effective amount of the topical disinfectant benzoyl-peroxide. It also contains the antioxidant vitamin E which works as an anti-irritant to help reduce blemishes and scars. It has a slightly fresh scent, which I prefer way more than any other benzoyl peroxide based product that can sometimes smell of detergent.


How it’s Worked for Me

As my skin type is combination oily and blemish-prone, this treatment has been a lifesaver! I have been using this for around a year now on an ‘on and off’ basis when I come across scarring on my face. I have seen noticeable differences in my skin and have received so many compliments on my skin with people asking what I’ve been using.

I also find that this treatment works really well as a base for my make up, or as a make up primer. I always use it before starting my make up and it provides a really smooth feel when applying my foundation or tinted moisturiser.

I apply this in the morning after cleansing and also at night after removing my make-up. I feel that it can sometimes be slightly drying so I would add the teeniest amount of coconut oil which helps to moisturise and hydrate my skin.

With its gel-ish formula, it is surprisingly lightweight on the skin and it’s kept my skin feeling well-nourished and hydrated. It has a lovely calming sensation so even if a blemish is about to appear, it will reduce the breakout by keeping the area calm and clean.


The Packaging

I love the tube packaging with a tiny needle nosed dropper making it super hygienic. It’s really easy to apply and you only need a pea-sized amount for the whole face. Each tube has 40 ml of product and it does tend to finish quite quickly if you were to use it everyday, so it can be quite expensive to repurchase.


Pros

  • Contains medicated anti-acne ingredient: Benzoyl Peroxide
  • Reduces redness and appearance of scars
  • Works amazingly as a primer
  • Fragrance-free
  • Oil-free
  • Great spot treatment

Cons

  • Expensive for the quantity
  • No SPF
  • Need quite a lot to use as a moisturiser

Overall

Although I still have a few small blemishes and scars, they have reduced and faded dramatically and there has been a massive improvement in the overall state of my skin. I would highly recommend this product to anyone who is looking to reduce the appearance of scars or dark spots. I love this though, and really haven’t found any treatment which works as well as this does at reducing scarring. Even prescribed treatments from the GP haven’t worked as well as this does – they would always tend to dry out my skin and leave it with a flakey residue.


Other La Roche Posay Products

La Roche Posay ~ 3 Step Effaclar Anti Blemish System

Screen Shot 2015-08-14 at 23.10.30

After experiencing the amazing effects of the Effaclar Duo [+], I decided to try out the Effaclar Anti Blemish System. This comes with a Purifying Foaming Gel, Clarifying Toner and Effaclar Duo [+]. To be completely honest, I felt like the cream worked best on my skin and didn’t seem to notice a huge difference with the other products, which is why I didn’t feel it necessary to write a full review on the whole system.


Screen Shot 2015-08-14 at 23.11.17

La Roche Posay ~ Serozinc

This zinc water formula gives an amazing, calming and hydrating feeling to the face and really helps at reducing blemishes! I’m going to be doing a full review on this soon so watch this space 🙂


I’d love to hear your thoughts on Effaclar Duo [+]? What other La Roche Posay products have you tried that are worth a go?

I’d love to know in the comments below 🙂


Sachita x

Indian Engagement Party |GRWM

Hey!

IMG_5900

Yesterday we had an Indian function for my cousin who just announced his engagement.

And of course, just like any other Indian function, a great excuse to glam up for the day! I wanted to show you guys my outfit of the day 🙂

So I decided to go for this beautiful royal blue outfit which is from Venisons in Wembley, London. It’s simple but elegant and quite ‘dress like’ so you don’t really need to wear it with the traditional “chundri” like most other anarkali outfits.

It has some gorgeous gold embellishments at the top and a netted layer on the bottom. This really gives that extra sparkle to the outfit – a must for every indian outfit imo haha!

IMG_5877 IMG_5878 IMG_5879

The bottom is also a very unique style with an asymmetrical netted layer and some gold material from the layer behind, peeping through from underneath.

This outfit is also great for an evening look and can be paired with a nice pair of gold sparkly heels to finish it off. I opted for a sensible pair of gold, flat sandals (of course with some silver diamantes :P) this time as I knew there’d quite a bit of running around to do – and i’m so glad I chose flats haha!

IMG_5905 IMG_5904


Wedding season is upon us – have you guys been getting glam recently? It would be lovely to see or hear about your outfits in the comments 🙂


Sachita x